
How to make mason jar tealight holders
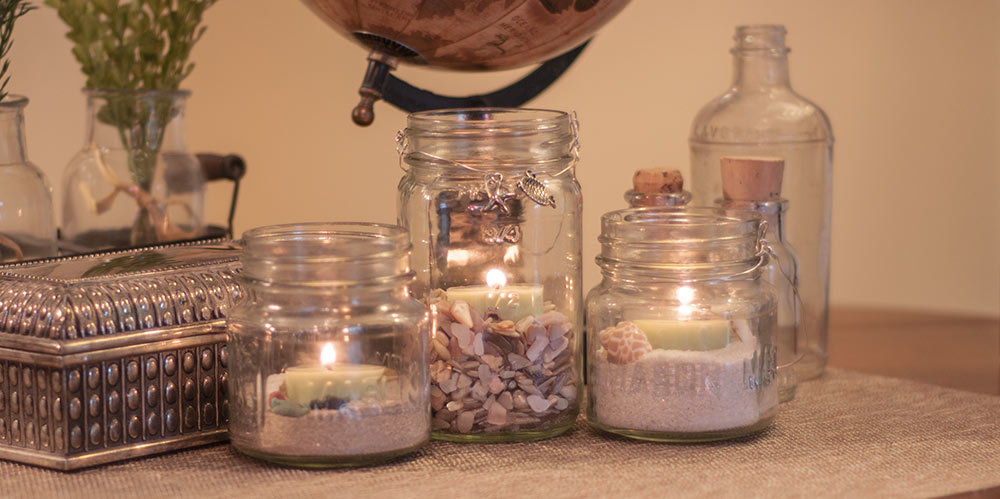
Mason jar tealight holders create a welcoming glow on a summer evening and also look great as table decorations for showers, weddings or any special gathering. These are simple to make and can be color coordinated for any occasion.
Materials to make 8 Mason Jar Holders:
- 8 Tealight Candles (Tealight materials listed in the Tealight Directions below)
- Bag of sand (plain or colored) or small shells (we got these at Michael's)
- Eight (8) Mason Jars, 8 oz. or 16 oz. Jars
Tealight Directions
This project requires 8 tealight candles, which you can make very easily.
Tealight Materials:
- 8 Clear Plastic Tealight Cups
- 1/4 lb. (113 g) of GB 464 Soy Wax
- 8 ECO 0.75 Pretabbed Wicks
- 1 drop Lime Green Liquid Dye
- 1/4 oz. (7 g) Margarita Fragrance Oil
STEP 1: Melt your candle wax
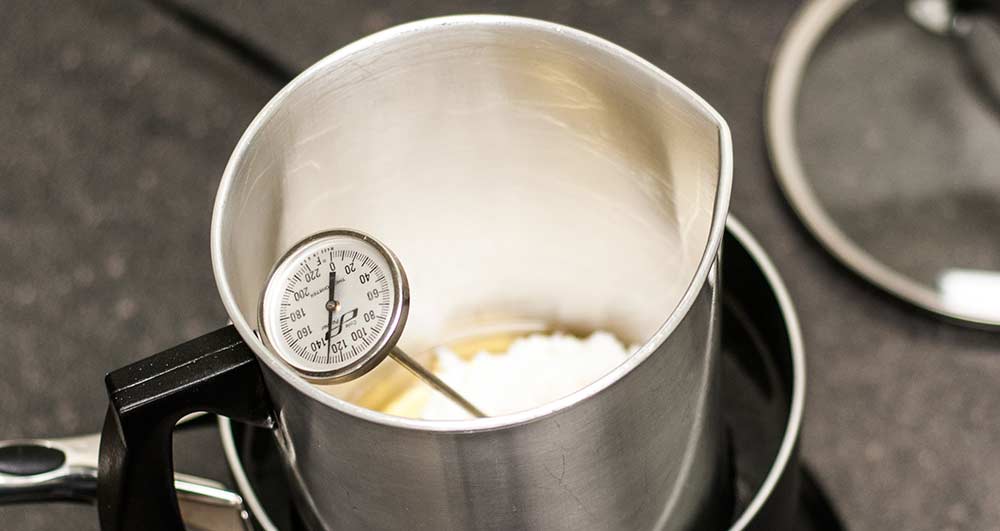
Place 1/4 lb. (113 g) of GB 464 soy wax in a Pouring Pitcher and heat to 185 degrees (85°C) using a double boiler or hot plate.
STEP 2: Center the wicks in tealight cups
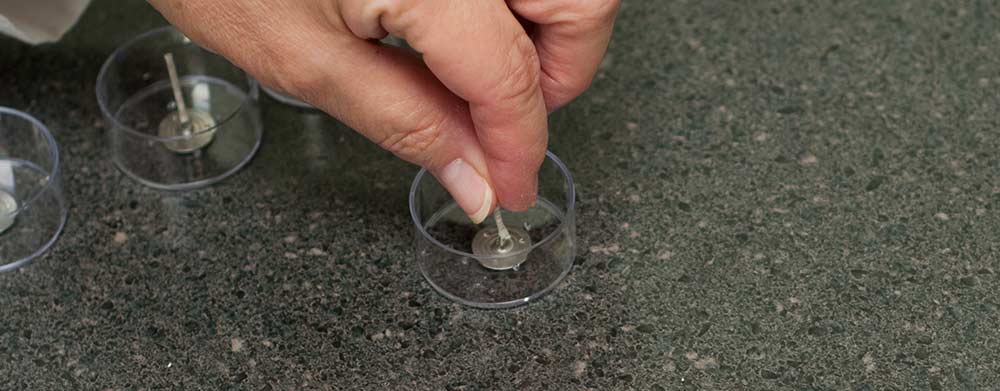
While the wax is melting, prepare your tealight cups by placing one ECO 0.75 pretabbed wick in the center of each cup. The 4 plastic prongs on the bottom will help you to center each wick correctly.
STEP 3: Add candle dye and stir
When the wax reaches 185 degrees (85°C), add 1 drop of Lime Green Liquid Dye and stir gently but thoroughly for about 2 minutes.
STEP 4: Add fragrance oil and stir
Remove from heat and add 1/4 oz. (7 g) of Margarita Fragrance Oil, again stirring carefully.
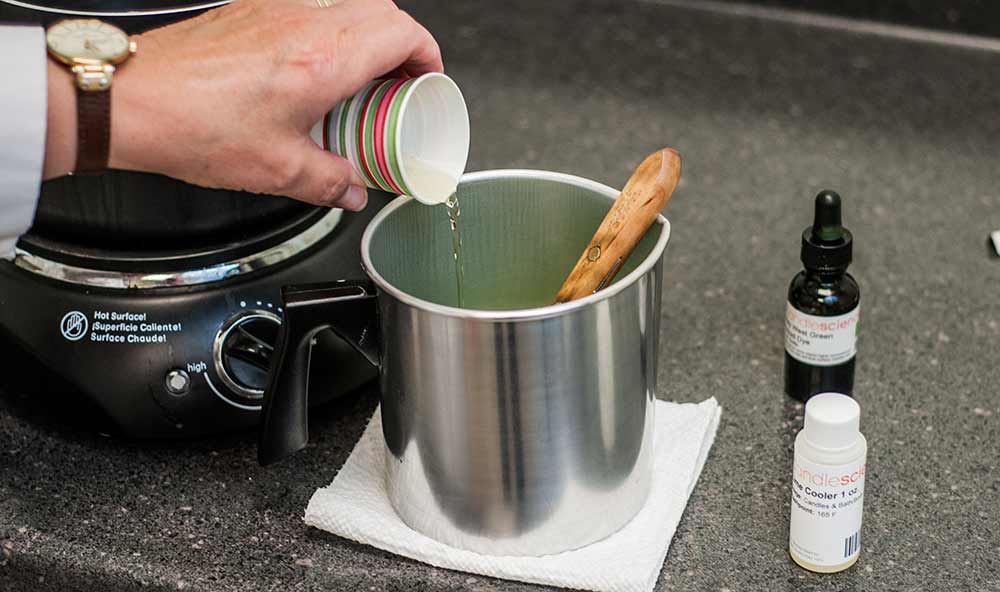
STEP 5: Pour wax into tealight cups
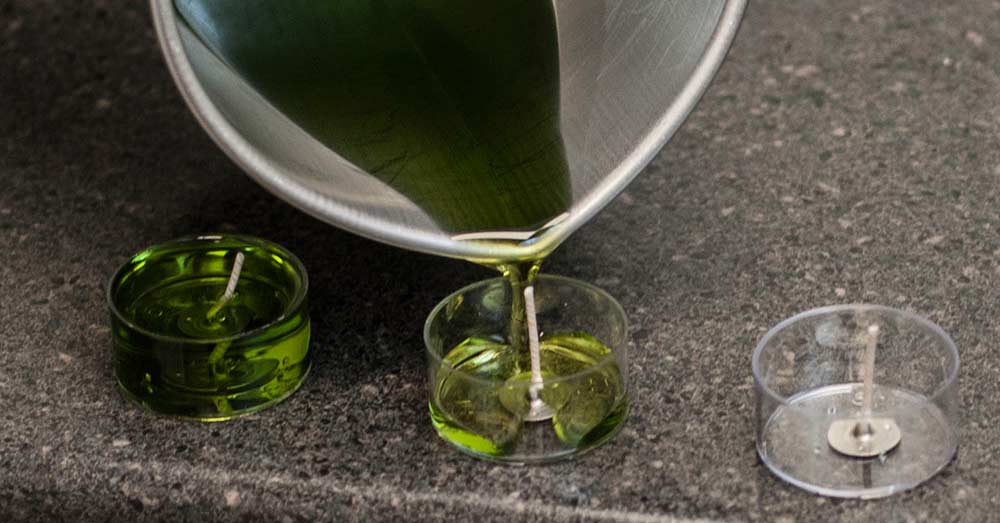
Allow the wax to cool to 135 degrees (57.2°C) and slowly pour into prepared tealight cups making sure you don't have any air bubbles.
STEP 6: Center wicks and cool overnight
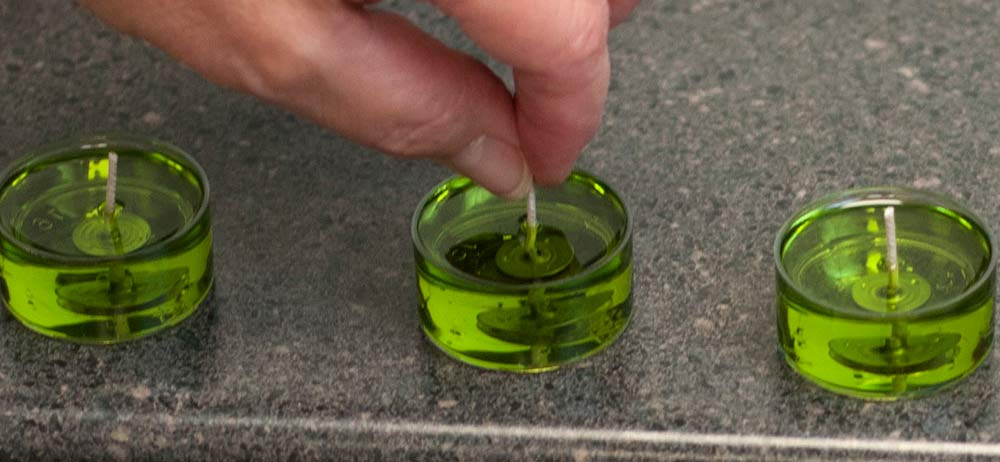
Check to be sure the wicks are completely straight and centered in each cup for safe burning. Readjust as needed while the wax is still liquid. Allow the tealights to cool and cure overnight.
Mason Jar Tealight Holder Directions
STEP 1: Add sand to bottom of the jar
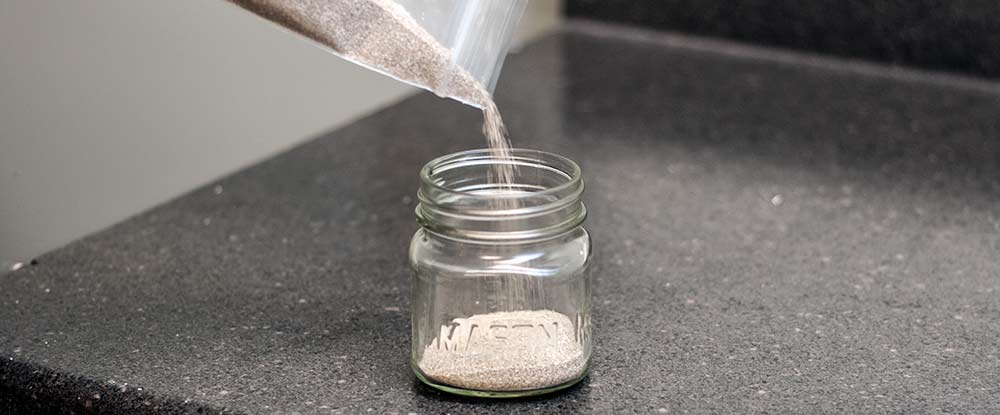
Carefully pour the sand or the shells into the jar about 1/2 inch (13 mm) deep.
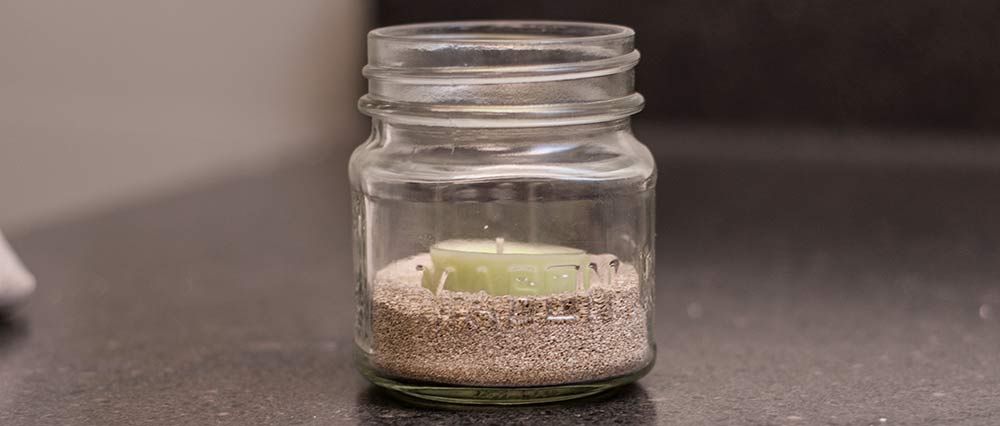
STEP 2: Place tealight in the center of the jar

Place one tealight candle in each jar and press it into place so that the sand or shells hold the tealight in place.
STEP 3: Enjoy
Place mason jar candles on a level surface, and remember to always follow all candle burning safety rules.
Note: The tealight candle will burn for approximately 5 hours.
DIY Mason Jar Lanterns
If desired, the Mason Jars can be hung using aluminum or steel wire. There are several different methods to do this, but this is how we did ours.
Note: Chose an aluminum or steel wire that will be flexible enough to work with and strong enough to hold the weight of your mason jar lantern.
How to add a wire handle:
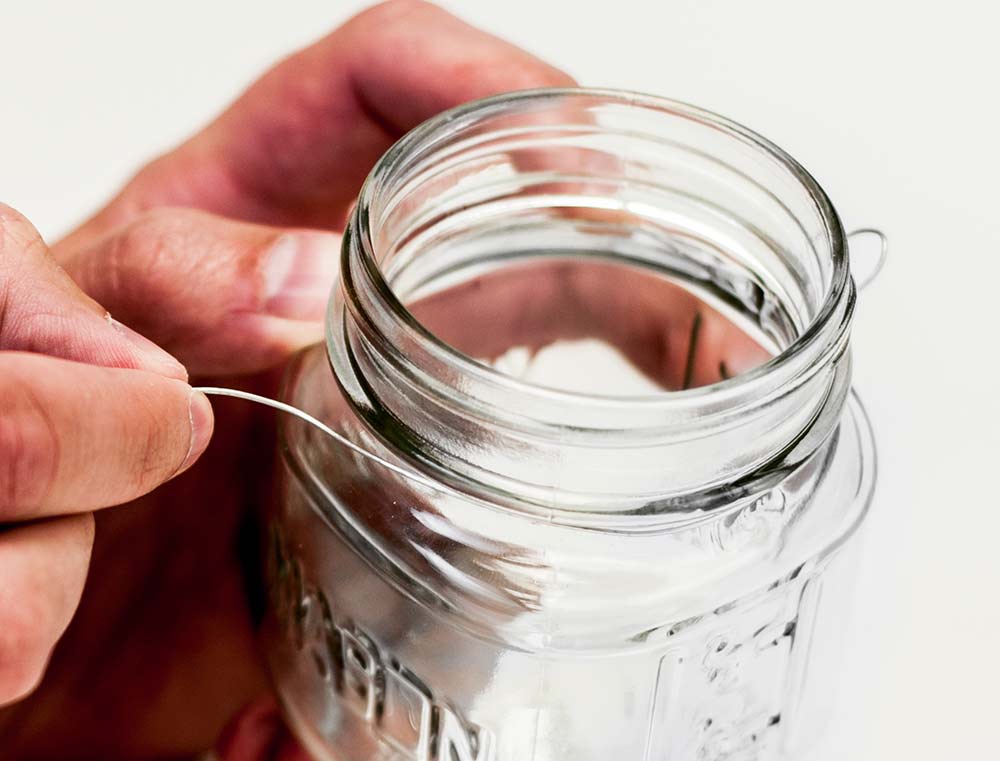
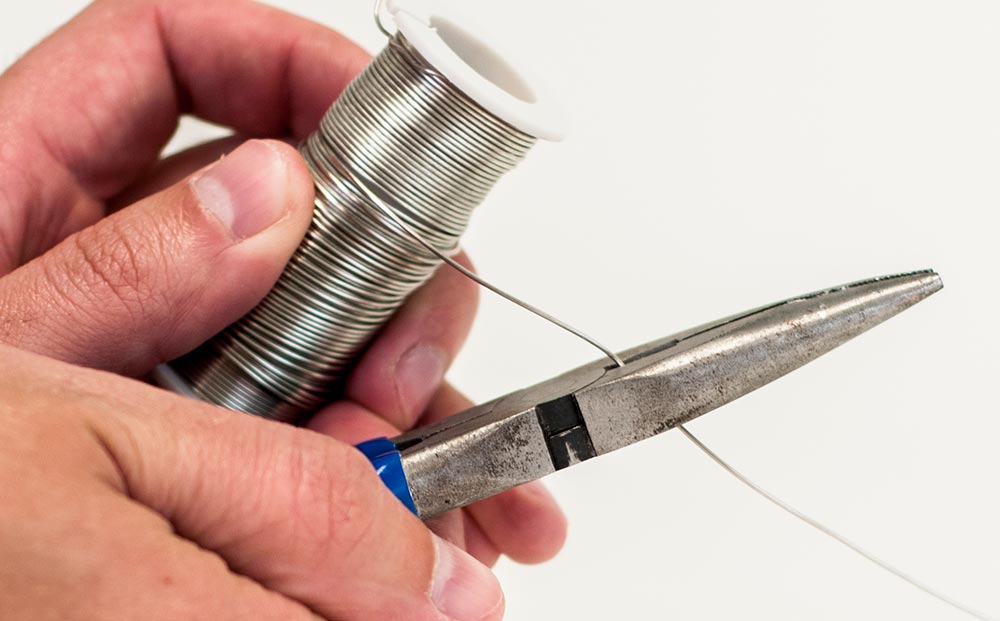
STEP 1: Wrap the wire around the neck of the jar three times and cut to length. This will measure the amount of wire you will need.
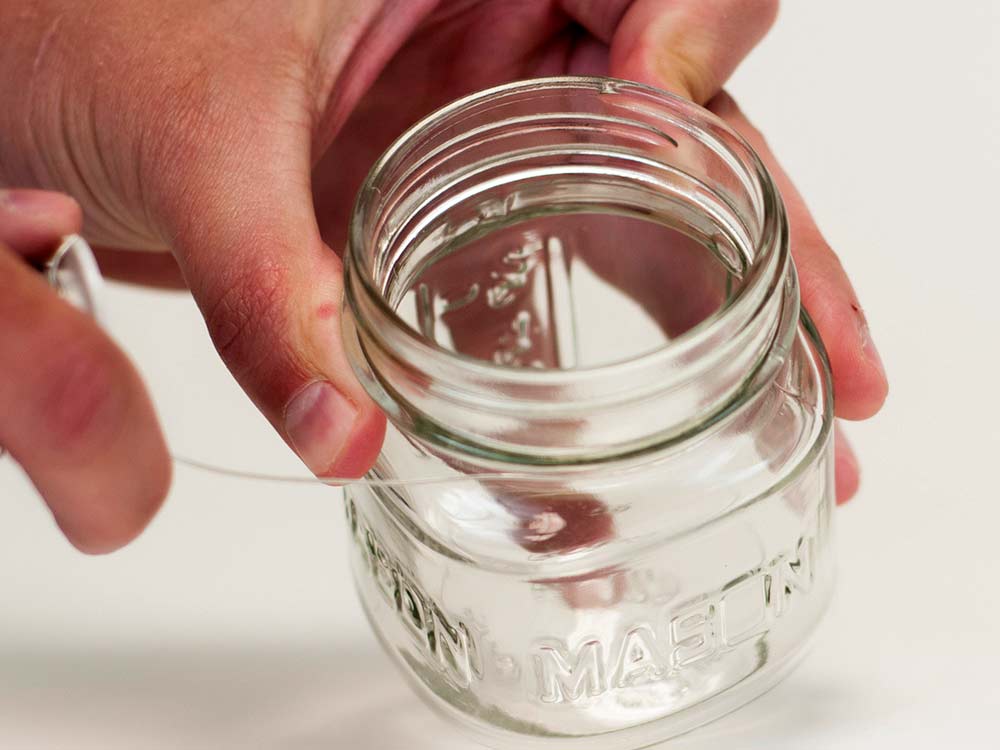
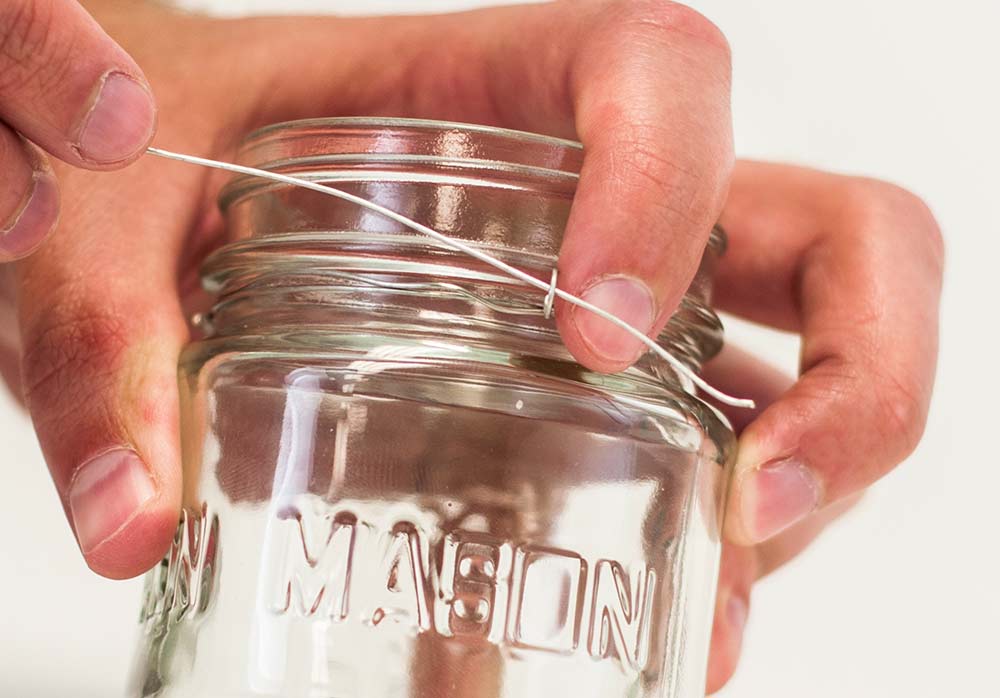
STEP 2: Hold one end of the wire on the neck of the jar and begin to wrap it around the neck of the jar.
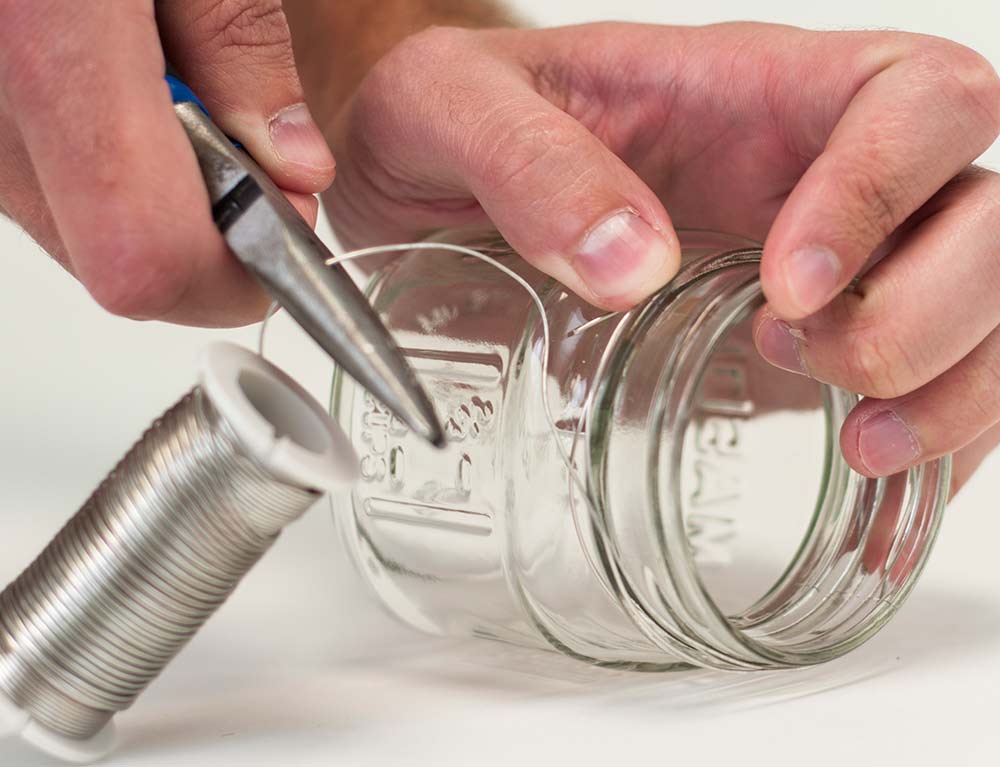
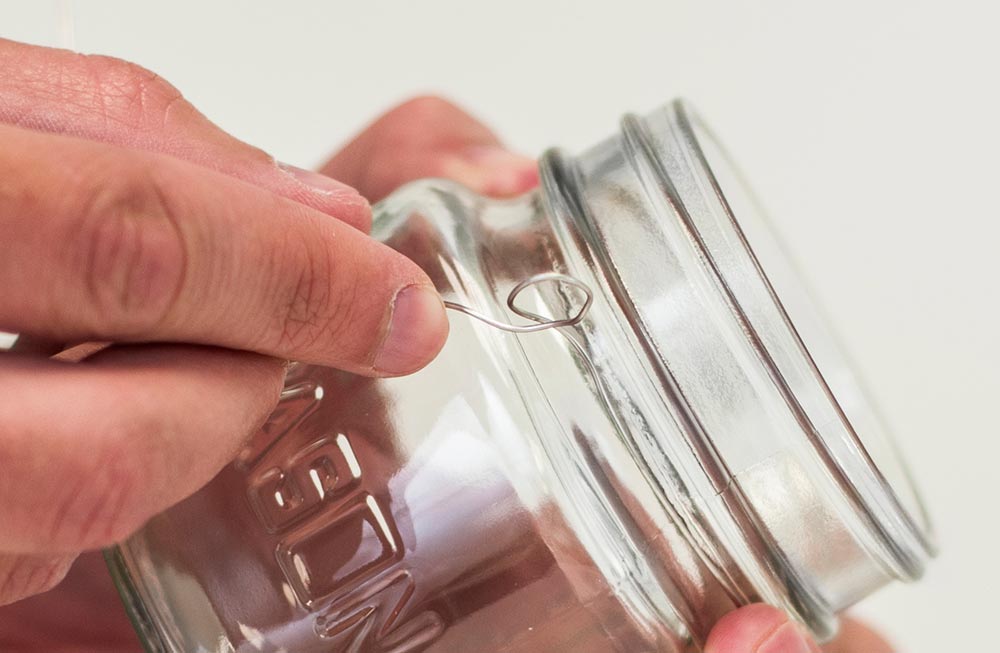
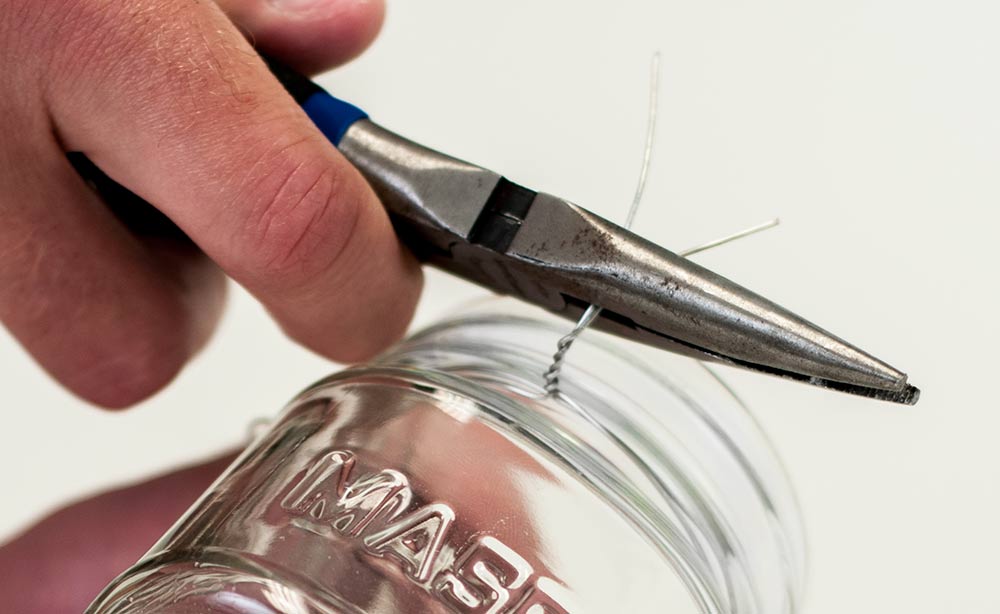
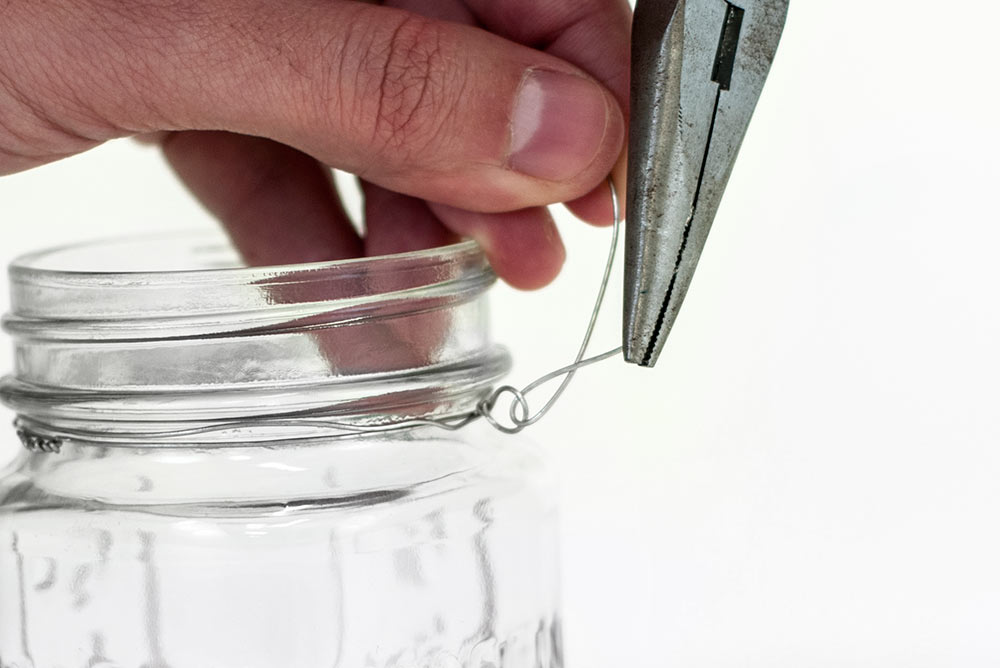
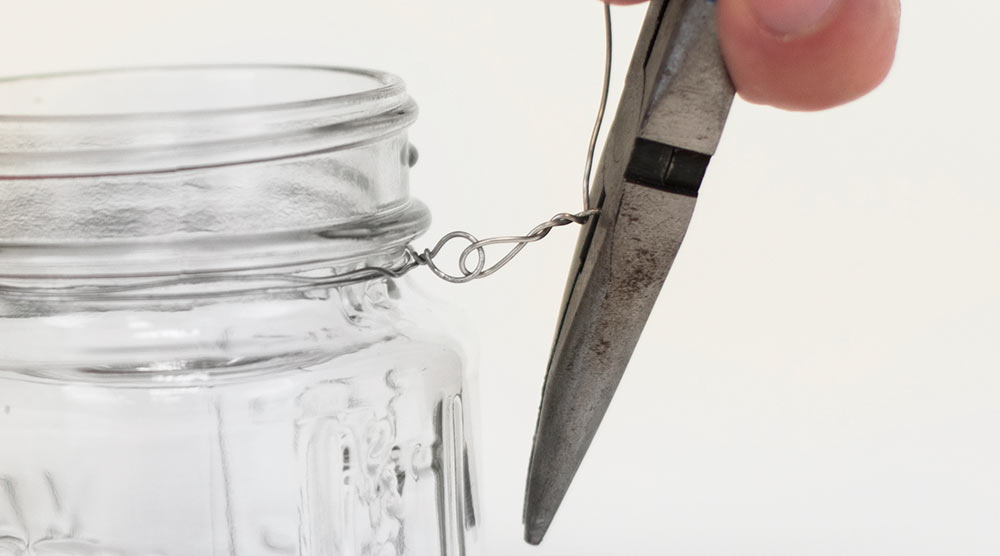
About a 1/4 of the way around the neck of the jar, twist the wire to make the loop. This can be done by hand or with a round object like a pencil. This loop will be one of two connections for the handle.
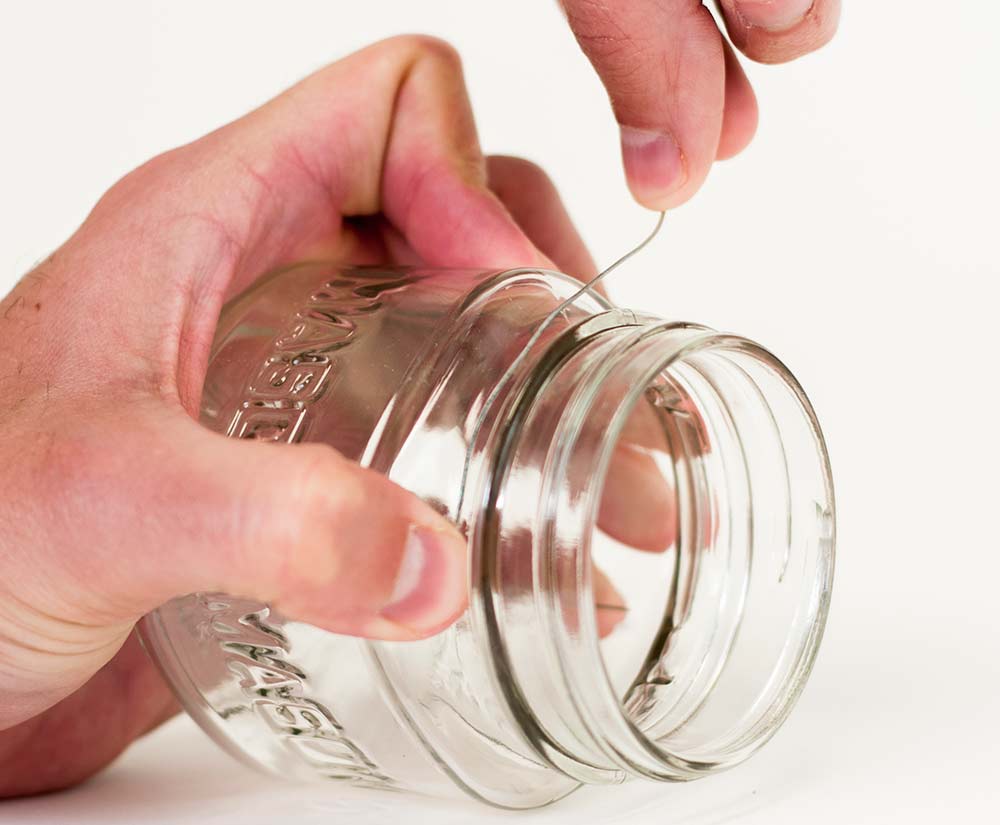
STEP 3: After forming your loop, continue placing the wire around the neck of the jar.
Stop when you are across from the first loop. Twist the wire to create the second loop connection for the handle.
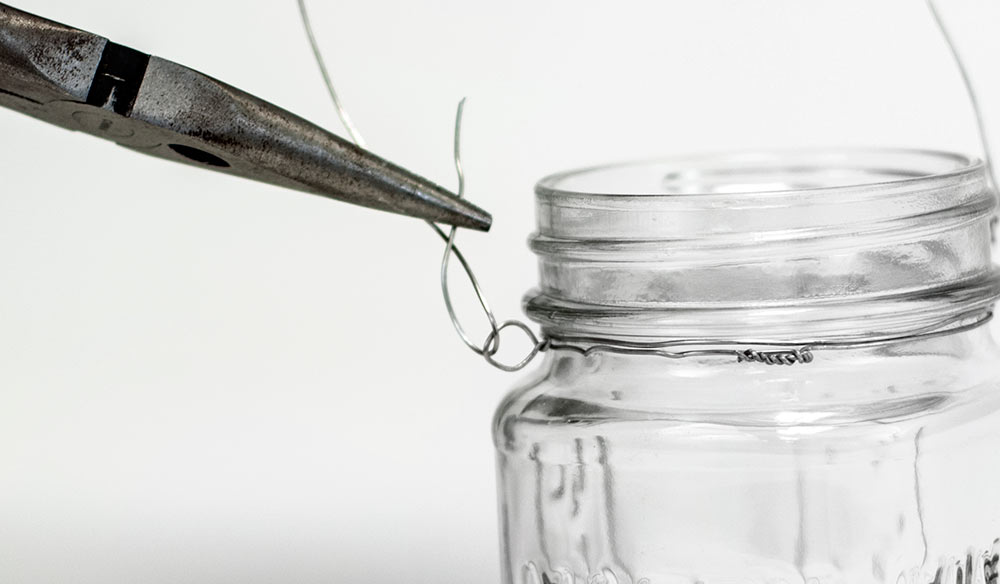
STEP 4: Once the second loop is made, continue placing the wire around the neck of the jar. You should make one full trip around the neck of the jar, leaving the end of the wire next to the first half of the wire at the starting point.
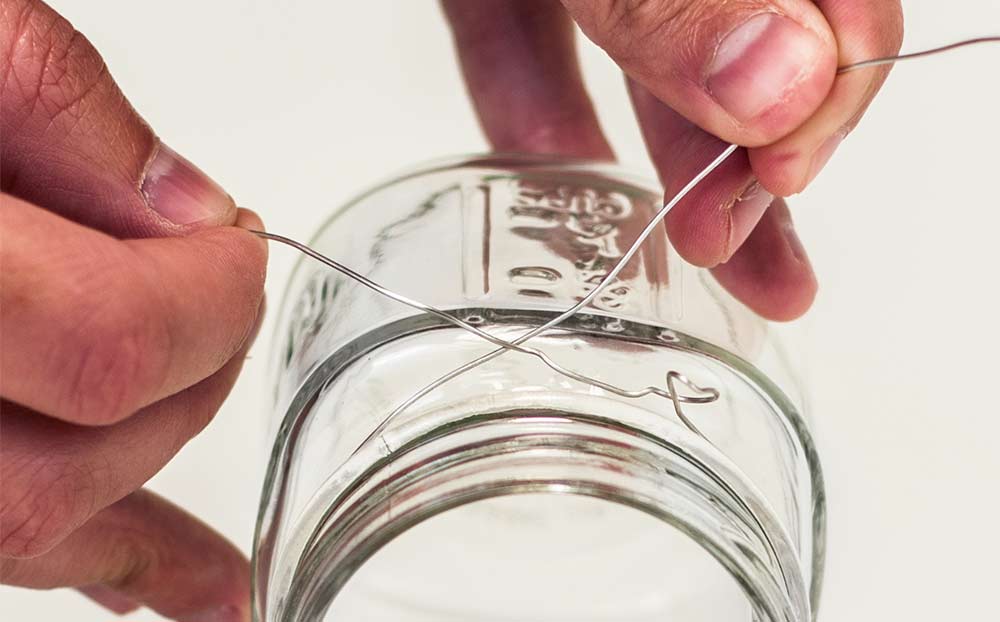
STEP 5: At this point you will twist the wire together, a pair of needle-nose pliers can be used for easier twisting. Twist the wires together in a manner that will tighten the wire around the neck of the jar so that it will not slip off.
You can also twist on the handle loops to tighten the wire around the neck of the jar.
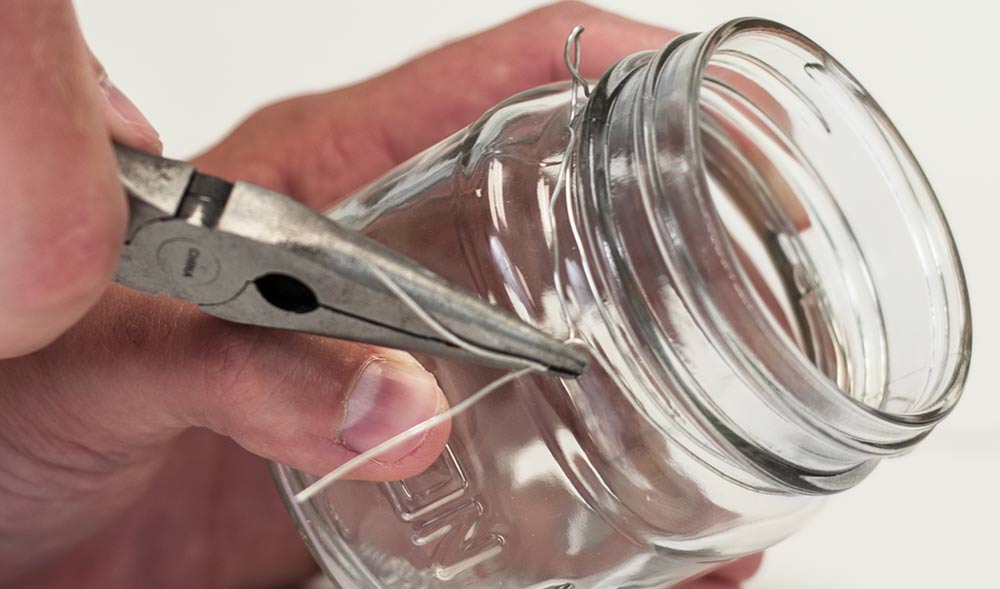
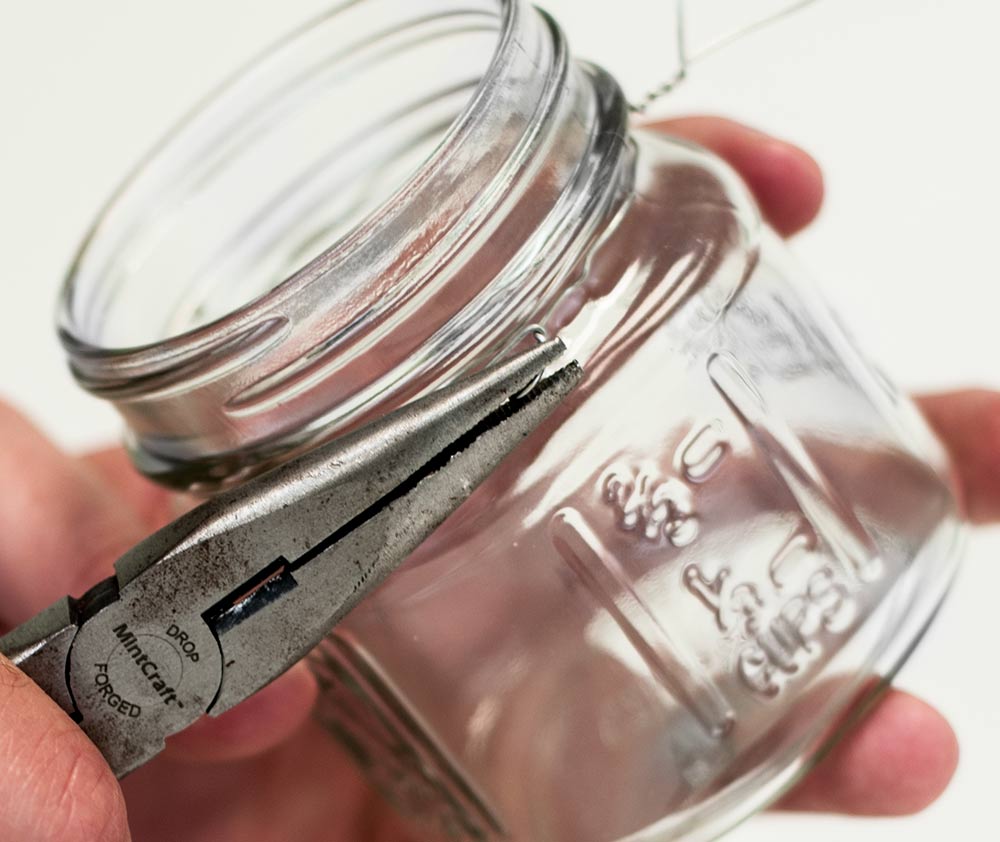
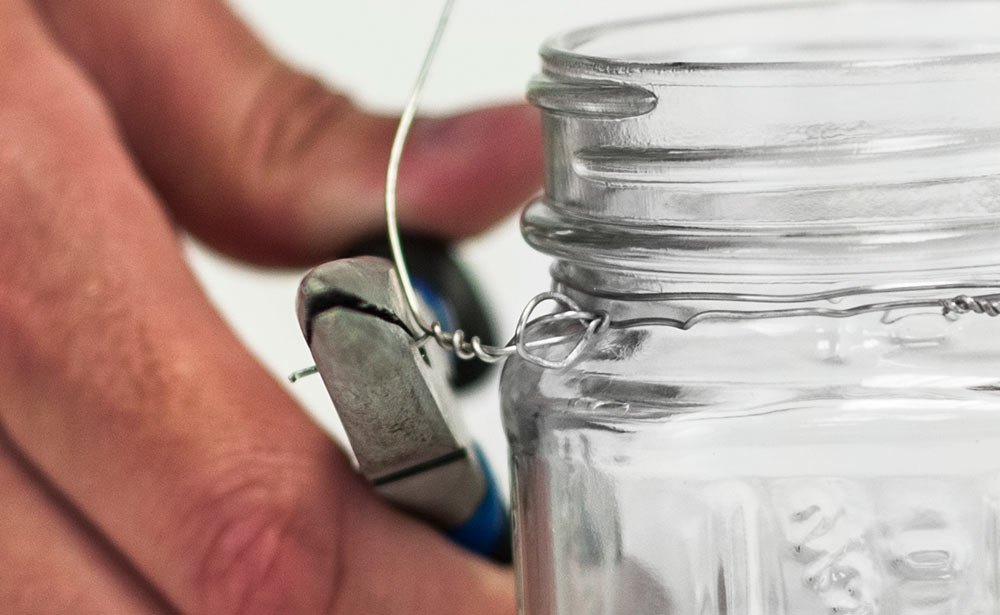
STEP 6: Cut off any excess wire. If the wire is still sharp you can use a small file to take off any sharp edges.
Step 7:
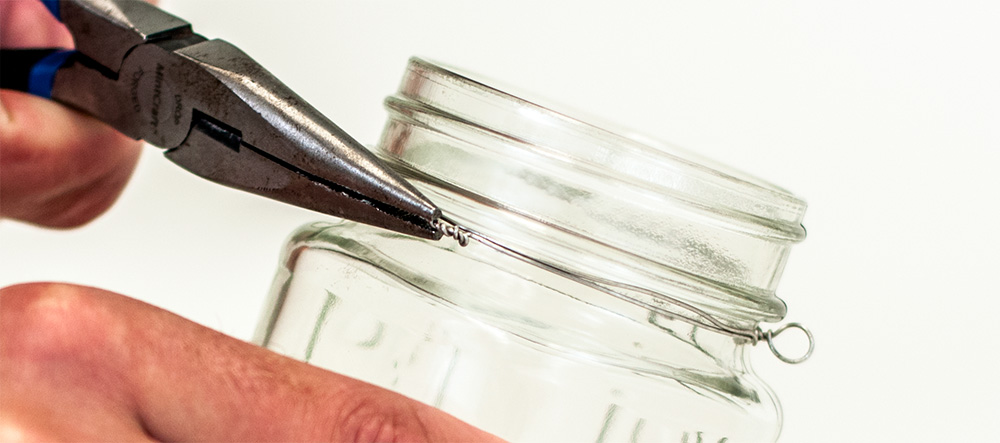
Using the needle nose pliers, bend the connected ends of wire in so that it is flush with the jar.
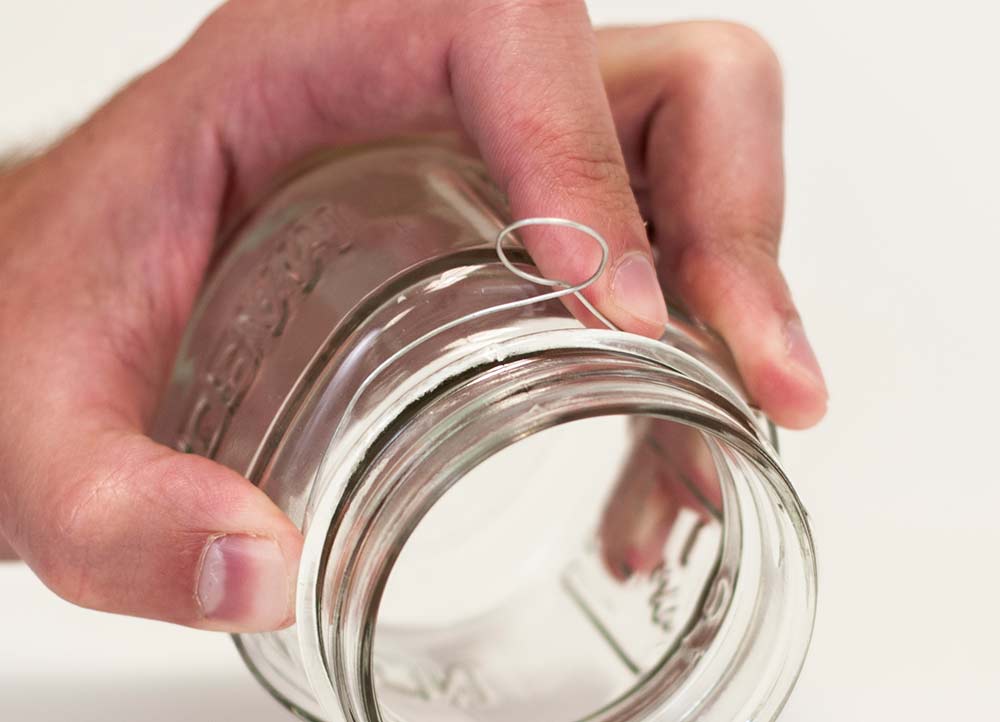
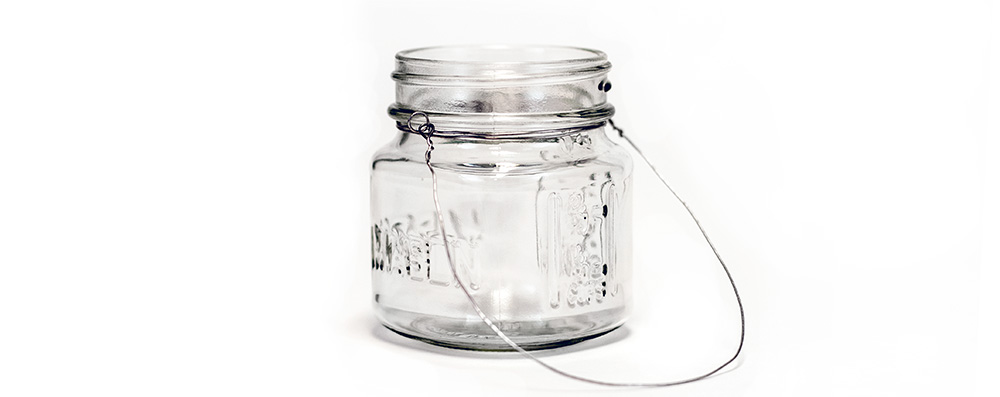
COMPLETED HANDLE LOOPS
STEP 8: Measure and cut a new piece of wire to the desired length for the handle.
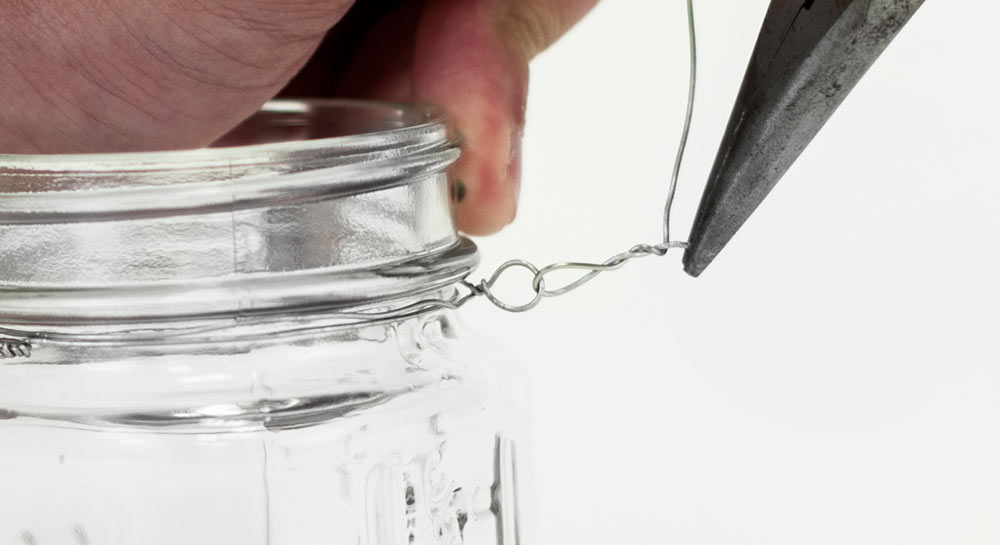
STEP 9: Using the wire for the handle, lace it through the center of the wire loop connected to the neck of the jar.
STEP 10: Create a new loop and twist to secure. This should create two links, connecting your handle to the wire around the neck of the jar.
Cut off excess wire and file down the sharp edge if needed.
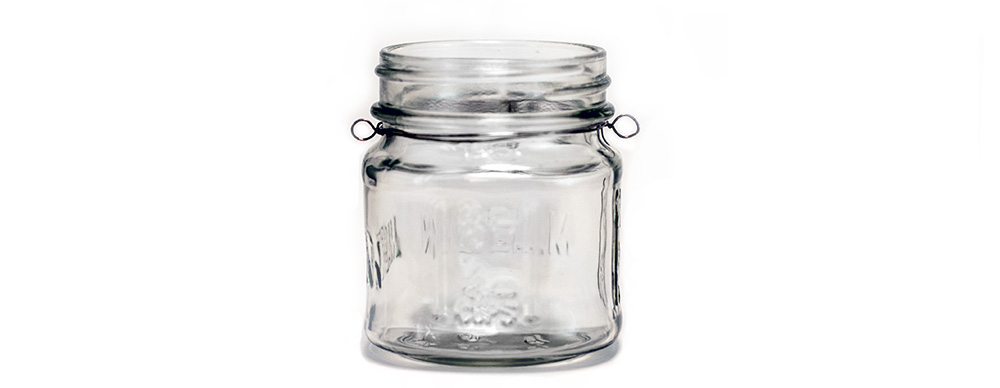
STEP 11: Repeat this step for the second loop. securing the handle to both sides of the top of the mason jar.
Your mason jar lantern is now complete. Enjoy!
Note: You can also attach decorative charms to the wire for an added touch.