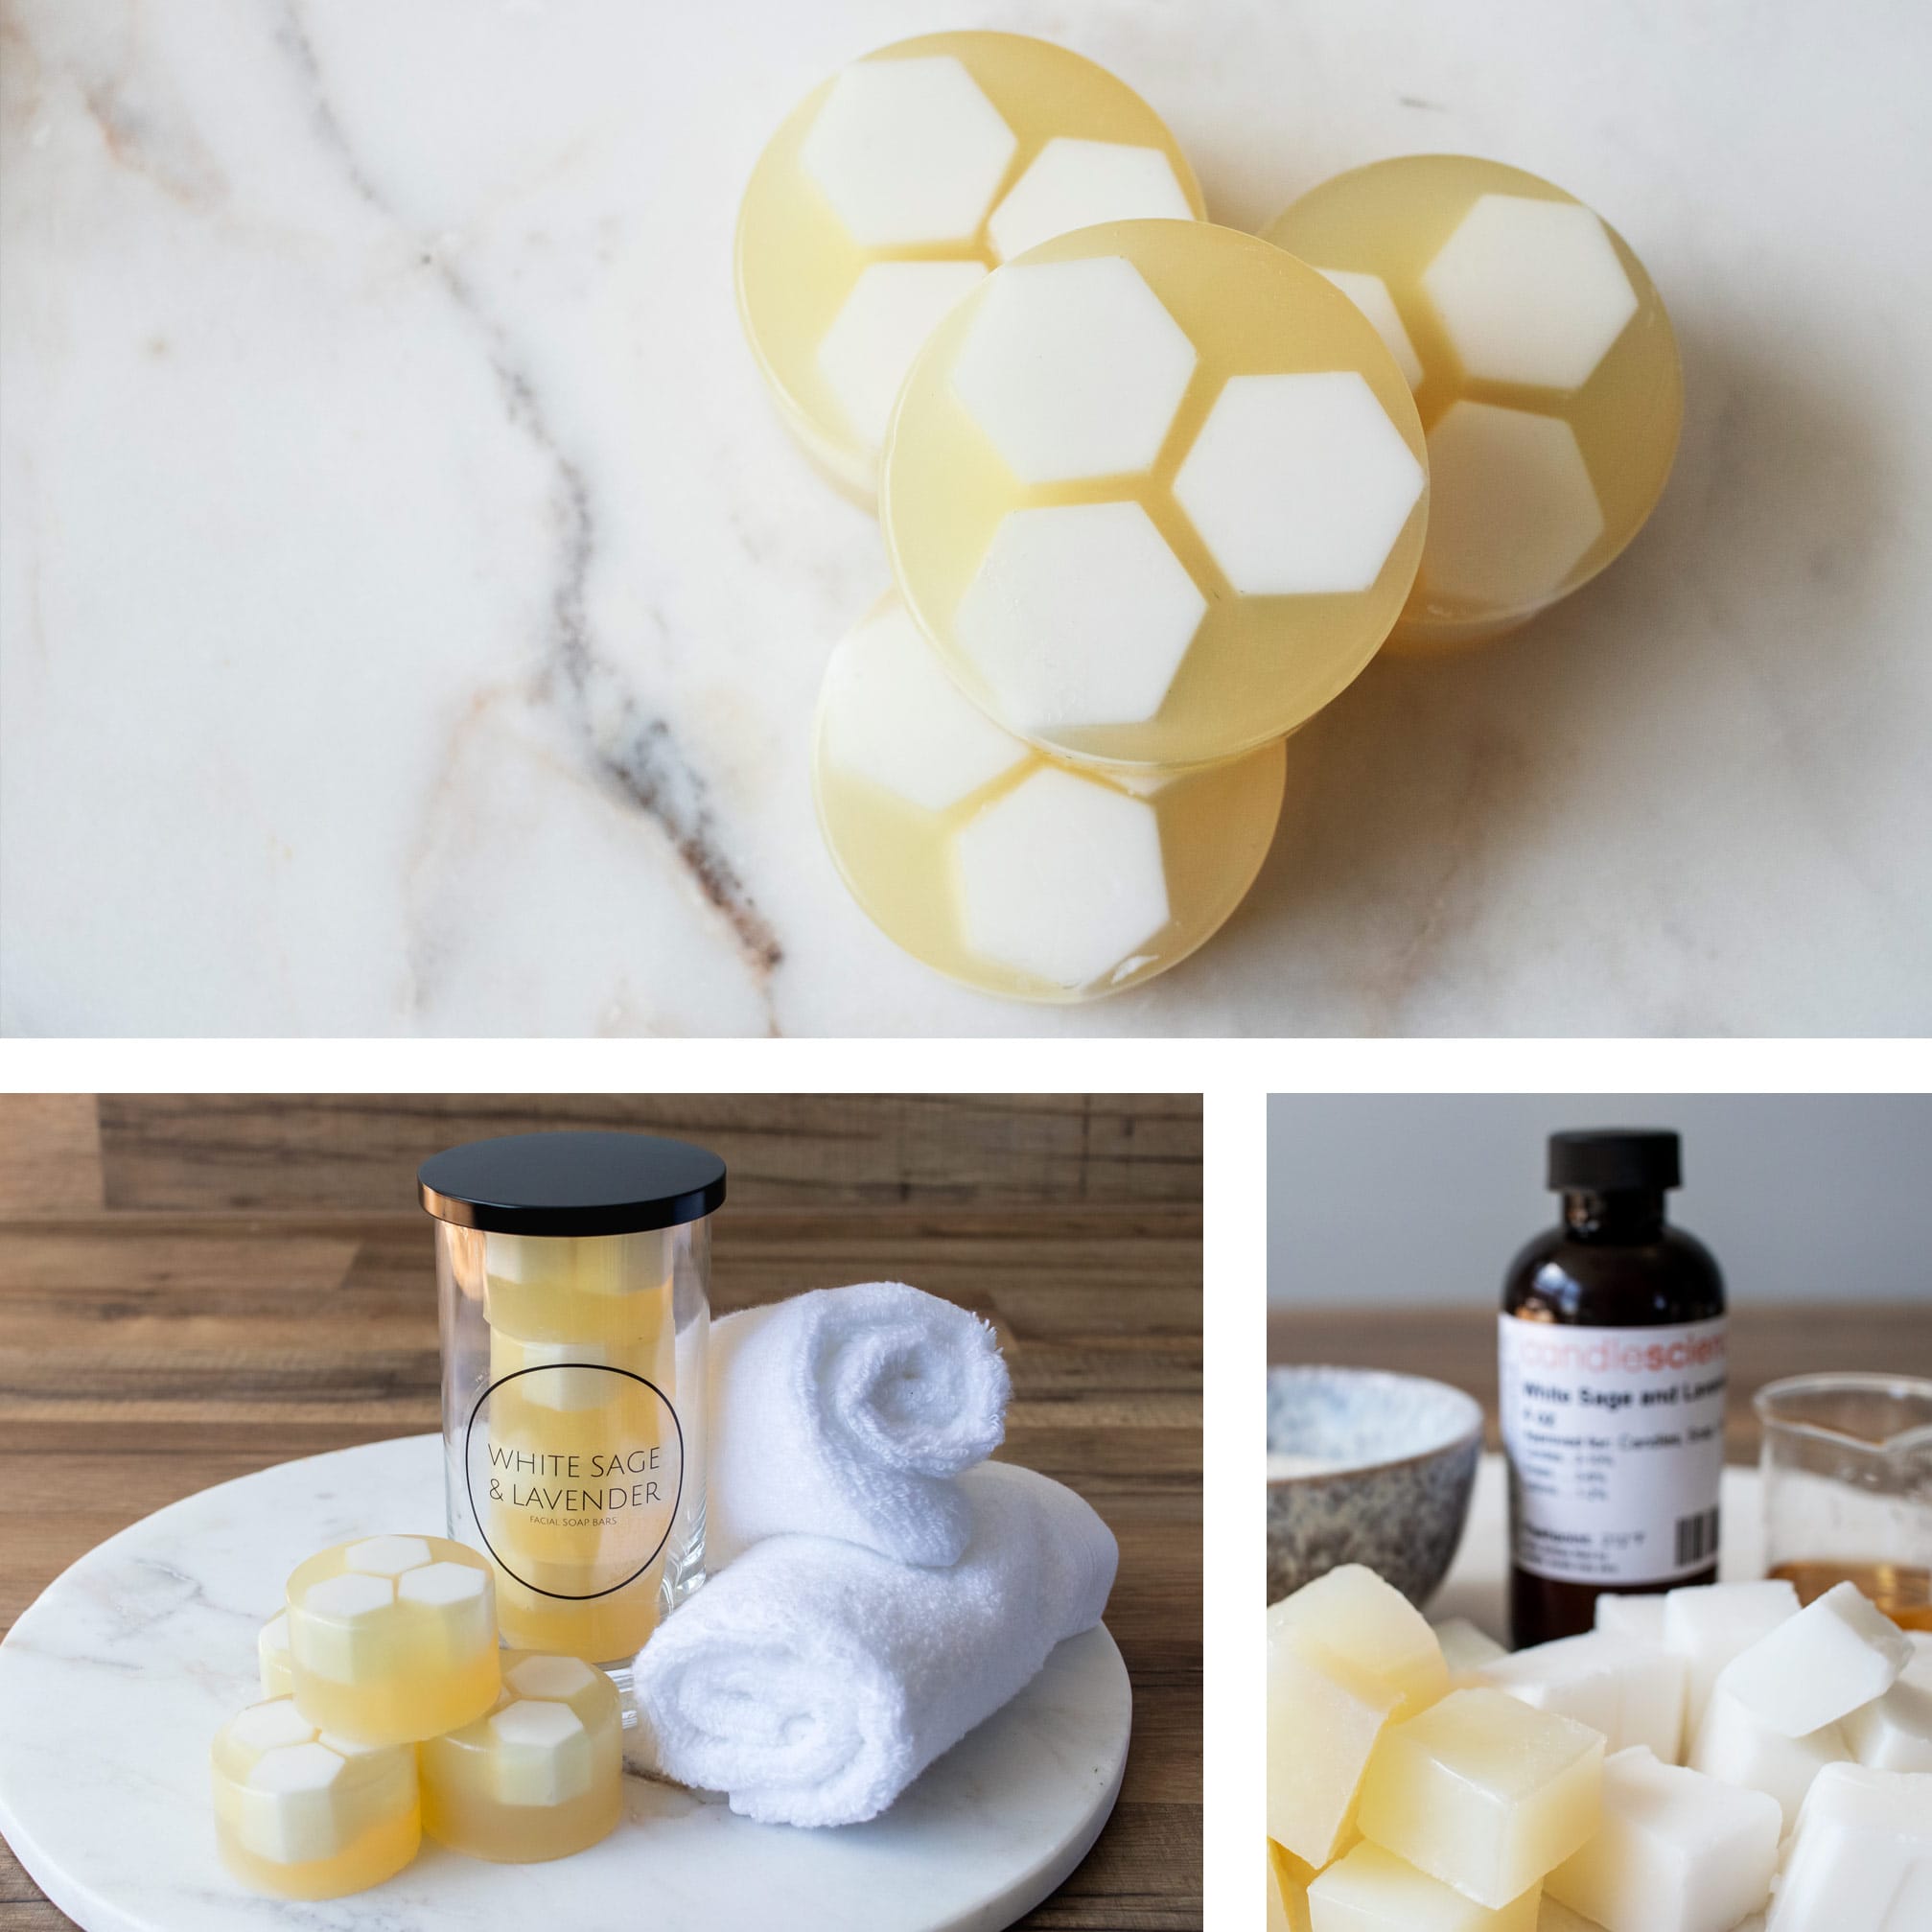
How to make honeycomb facial soap
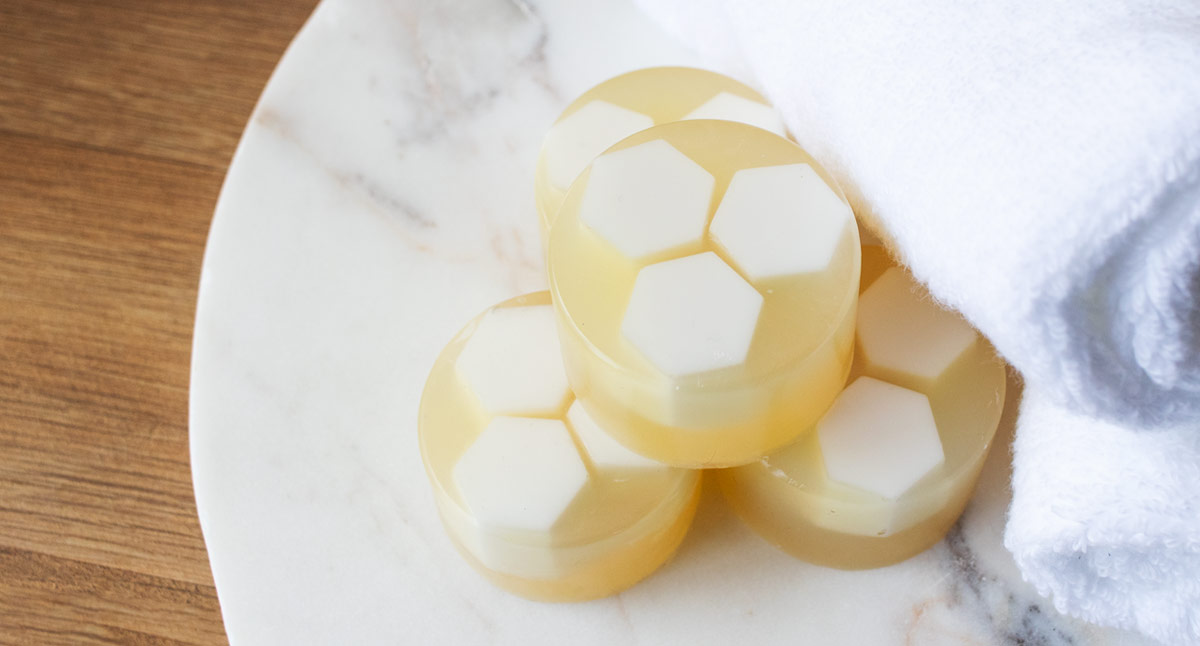
Easy recipe for luxury facial soap bars
Grab a quiet moment and get in a little relaxation—even if the only moment you can spare is in the washroom! Learn how to make these appealing honeycomb facial soap bars and gift yourself a bit of serenity.
In this tutorial, we’re showing off some of the possibilities of melt and pour soap and creating honeycomb facial soap bars. Made with two nourishing soap bases and fragranced with the calming White Sage and Lavender, these soaps are a great project for beginners or anyone who wants to explore additional melt and pour techniques. Honeycomb facial soap bars make desirable gifts (for others or yourself 😉) and impressive additions to guest washrooms.
Elevate these stylish soaps even further with optional add-ins like kaolin clay and calendula extract for extra luxury. Roll up your fluffiest towels, light a candle or two, and wash off the stress of the day. Ready to get started?
EO Notes: You can also use soap-safe essential oils for this project. When using essential oils, be sure to check your essential oil's recommended usage percentage and IFRA Certificate. How to Make Melt and Pour Soap with Essential Oils.
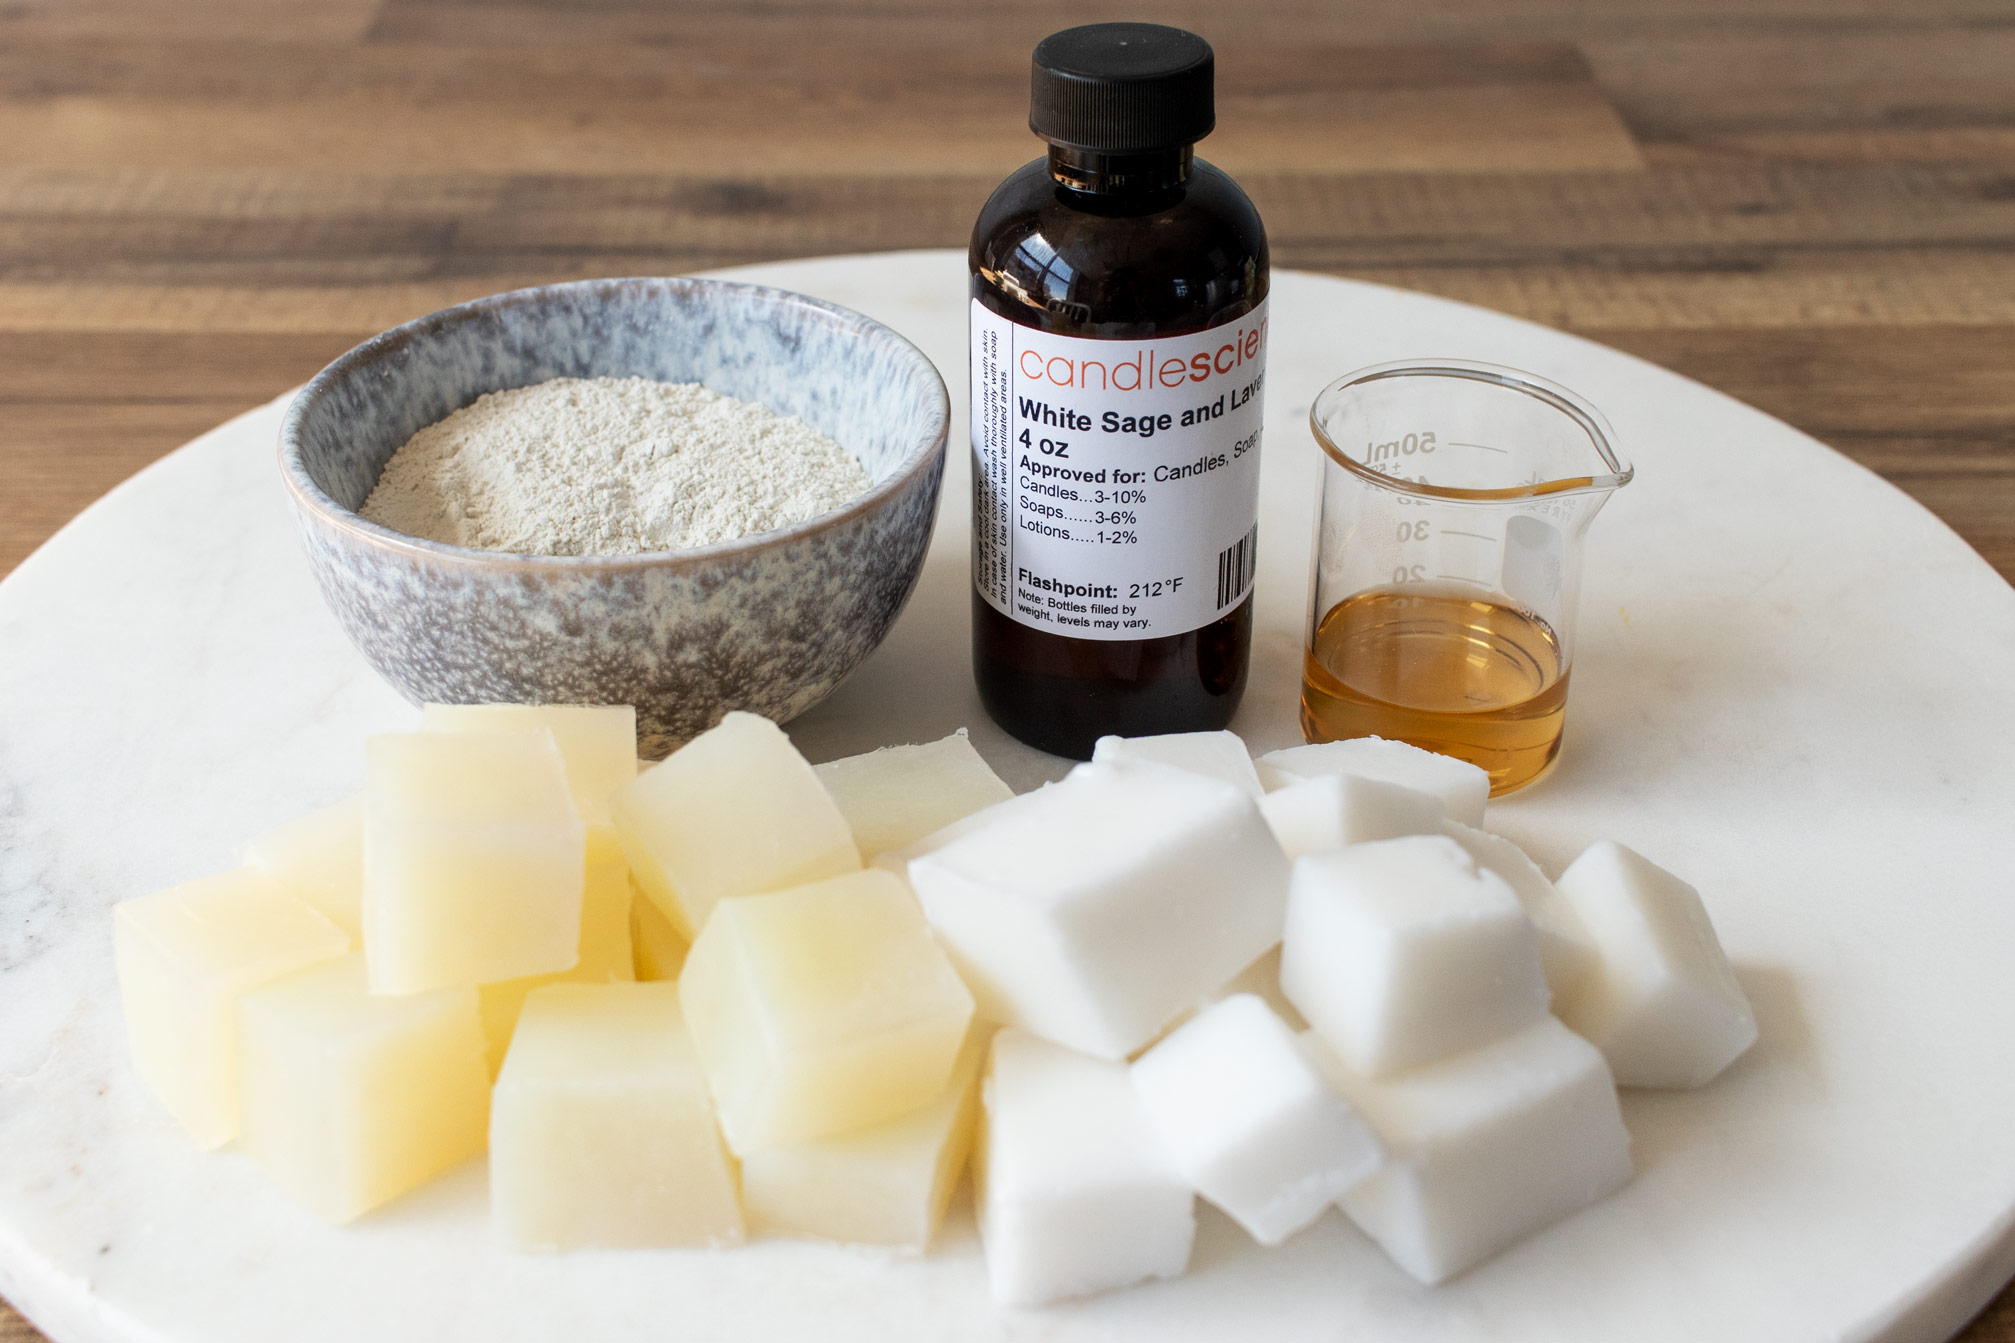
Additional Items Needed:
- Rubbing alcohol in a spray bottle
- Microwave
- Paper towels
- Latex gloves
Optional Items:
- Kaolin clay
- Calendula extract
Directions:
STEP 1: Prepare your supplies and workspace
Wash your equipment, soap molds, and utensils in warm soapy water and dry thoroughly. Don’t forget your workspace! Avoid any cross-contamination by spraying the area with rubbing alcohol or a 5% bleach solution, then wipe dry with a clean paper towel.
STEP 2: Make the 'honeycomb' embeds
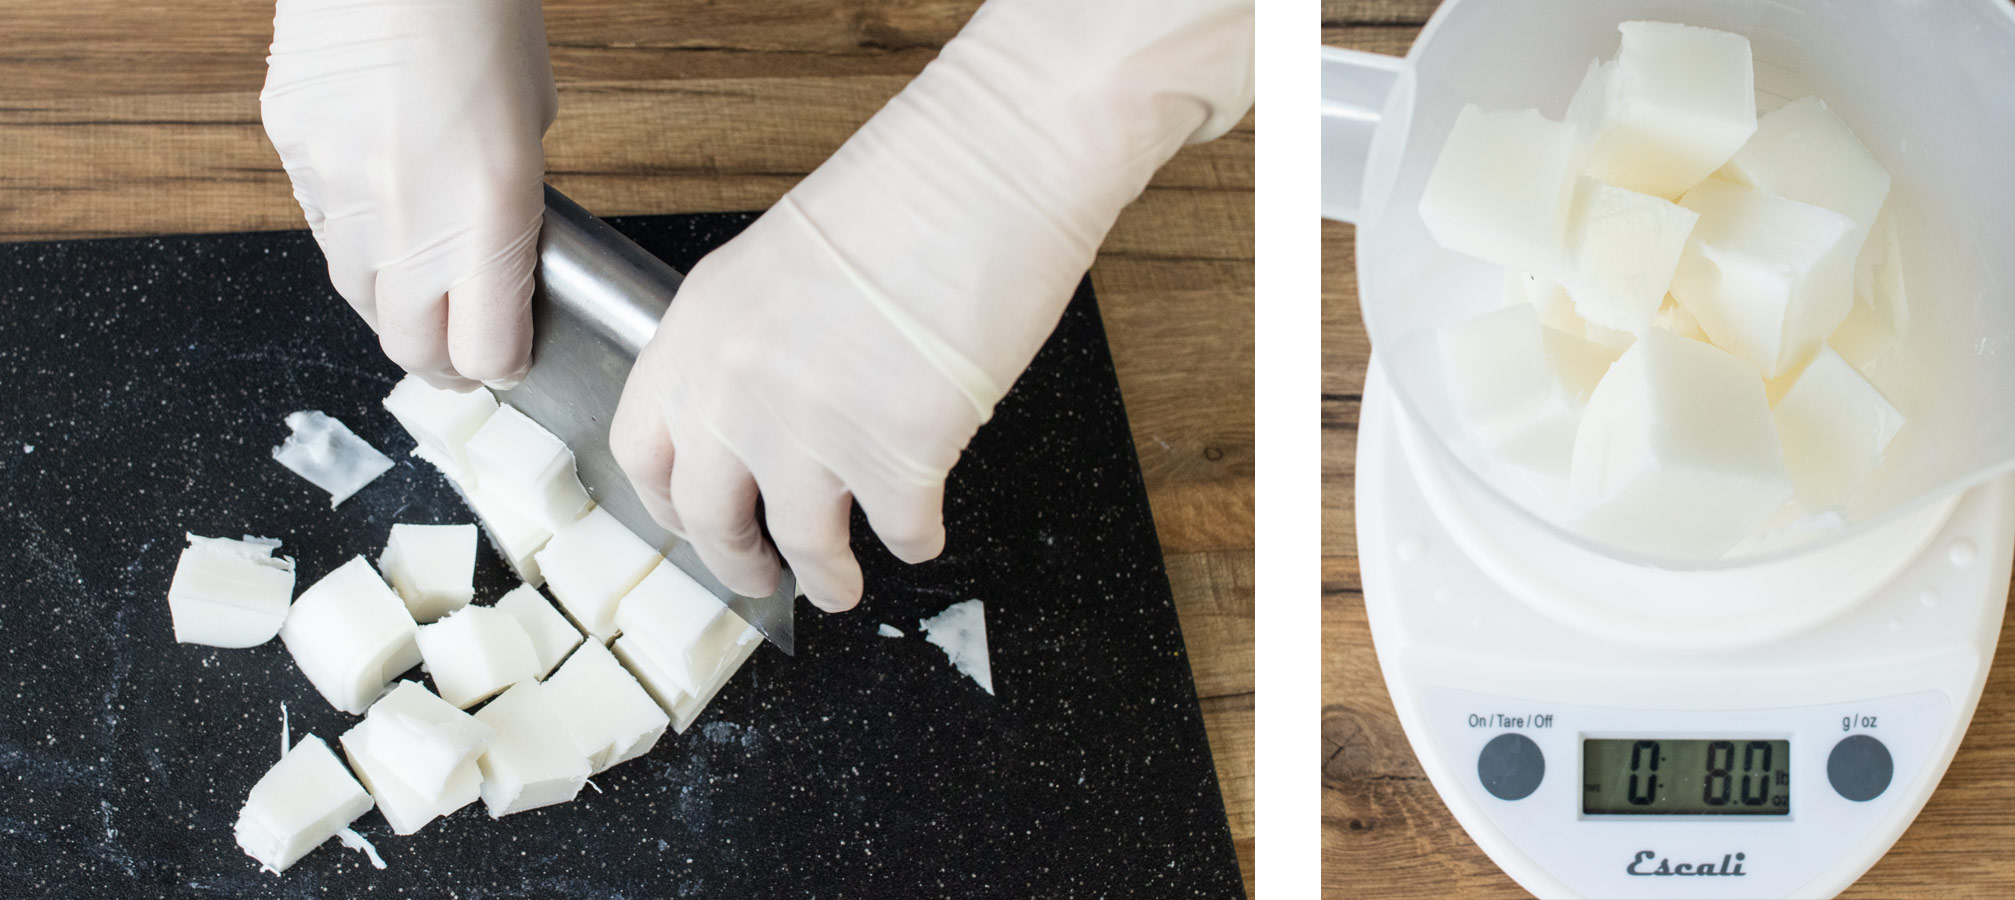
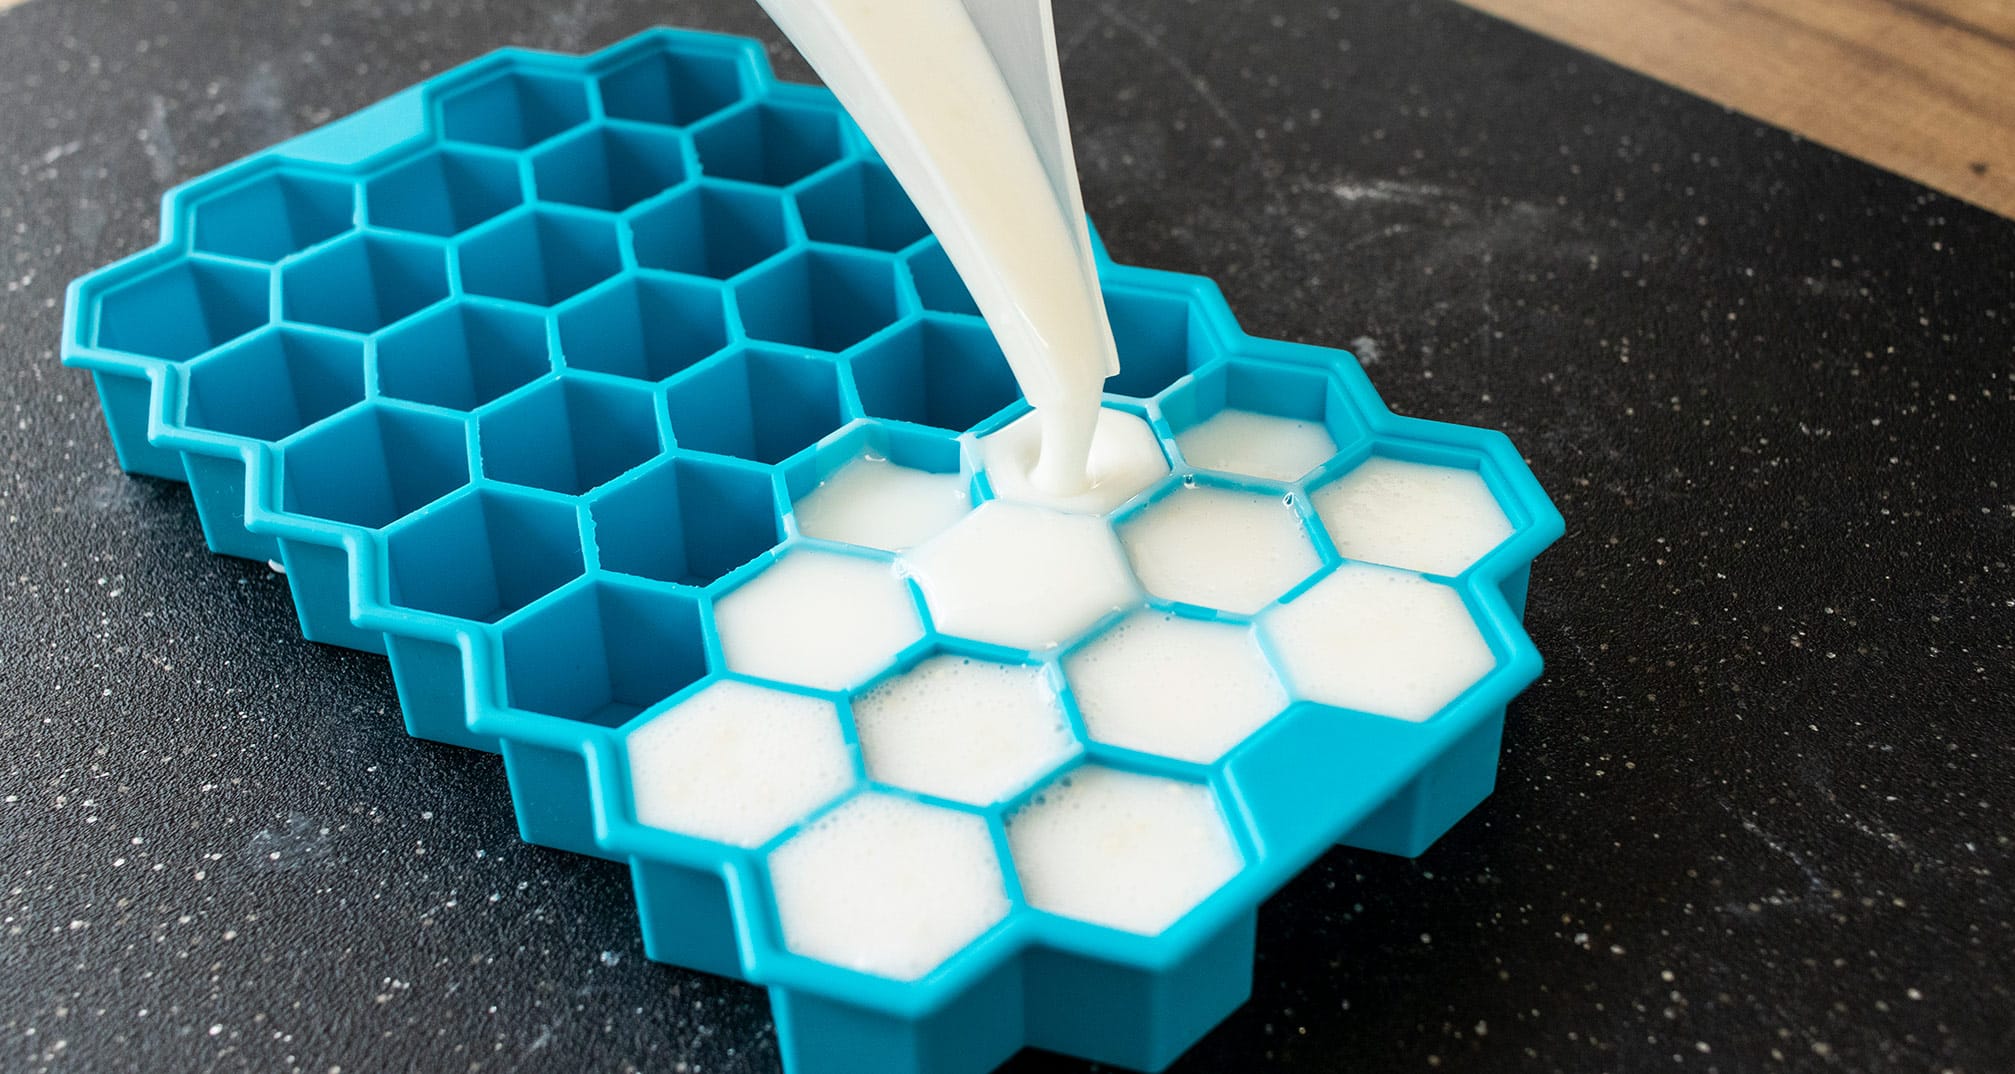
Remove the Triple Butter Base from the container and cut off about ½ of the soap block. Cut this piece down into 1” (2.5 cm) cubes.
Weigh out 8 oz (227 g) of the cubed soap base. Using the Funnel Pouring Pitcher or another microwave-safe container, melt the soap cubes in the microwave for 30 seconds. Stir and melt for an additional 10 seconds if necessary.
OPTIONAL STEP: Add ½ tsp (2.5 mL) of white kaolin clay to the white base and stir gently to combine.
Weigh out and add 0.1 oz (2.8 g) of White Sage and Lavender fragrance oil and stir into the melted soap base. Be careful not to stir up too many bubbles.
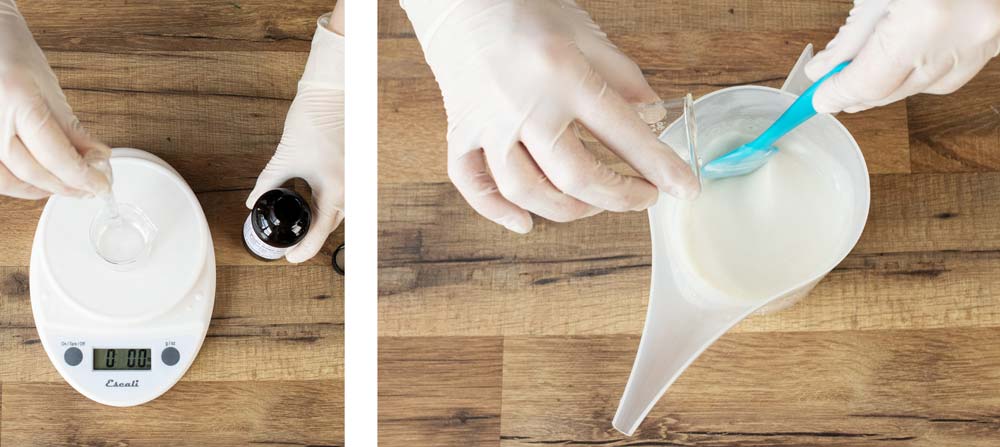
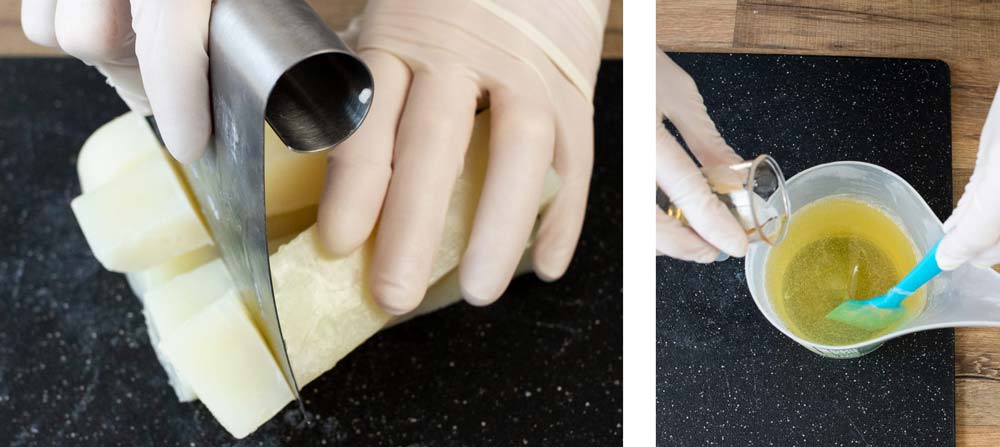
Pour soap into the hexagon mold and spray the surface with alcohol to remove any bubbles. They should be cooled completely after about an hour.
Once the hexagon pieces have cooled, remove them from mold and set aside.
STEP 3: Prepare the overpour
Remove the Natural NF Soap Base from the container and cut into small 1” cubes. Weigh out 1 lb (454 g) of the base. Melt the soap in the microwave for 30 seconds, then stir again and continue melting in 20-second bursts until the soap is completely melted.
Using a scale, weigh out 0.2 oz (5.7 g) of White Sage and Lavender fragrance oil. Add the fragrance to the melted soap base and stir gently but thoroughly.
OPTIONAL STEP: If you’re using a liquid extract, add it at this stage. We’re adding 0.5 oz (14 g) of calendula extract.
STEP 4: Embed the 'honeycomb'
Spray the honeycomb embeds liberally with rubbing alcohol, then place them into the round soap mold cavities. Three whole pieces will fit in each cavity. Leave just a little bit of space between the pieces so the Natural NF Base will fill in those gaps and give it the appearance of a honeycomb.
*Advanced technique: make extra embeds and cut them to fit more pieces into the mold to really fill the surface and create an even more realistic honeycomb look.
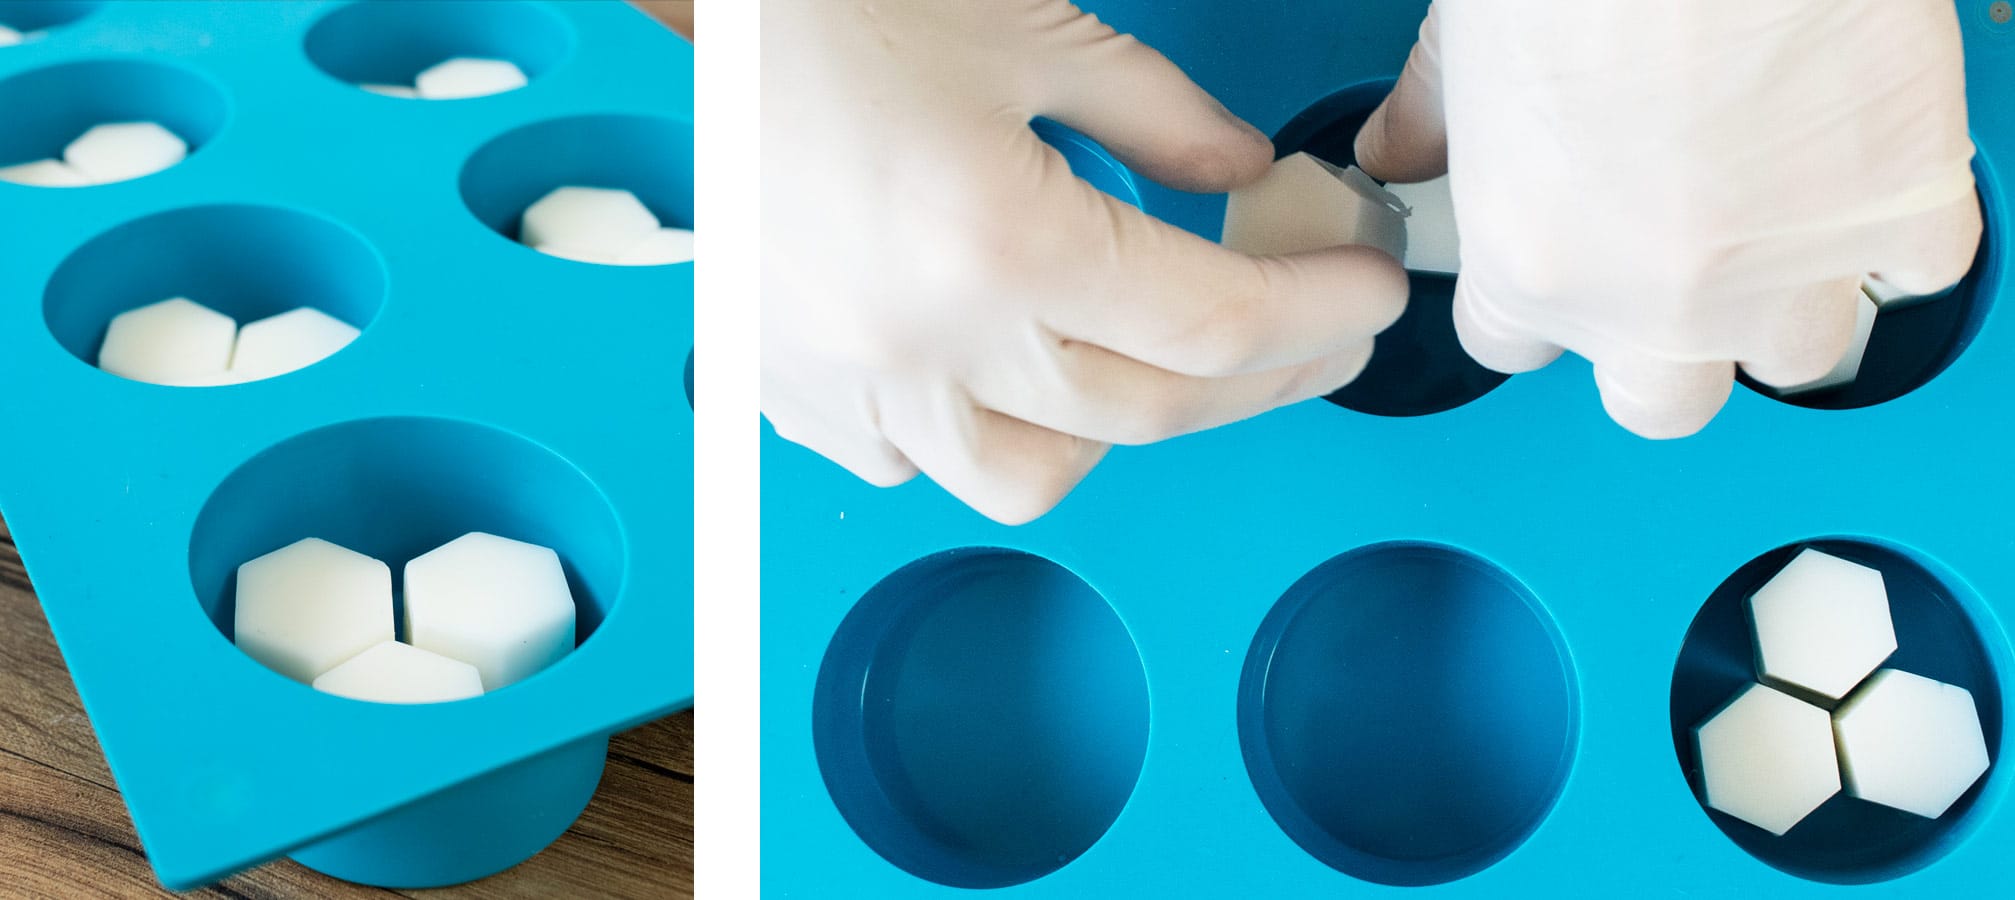
Once your embeds are in place, very slowly pour the Natural NF Base over the embeds. You can fill the cavity just enough to cover the embeds, or you can fill them up to the top. It’s up to you! We liked the look of the bars filled to the top because it looks like a piece of honeycomb floating on honey.
Spray the surface with alcohol to remove any bubbles. Allow the soap to settle and it will become fairly clear.
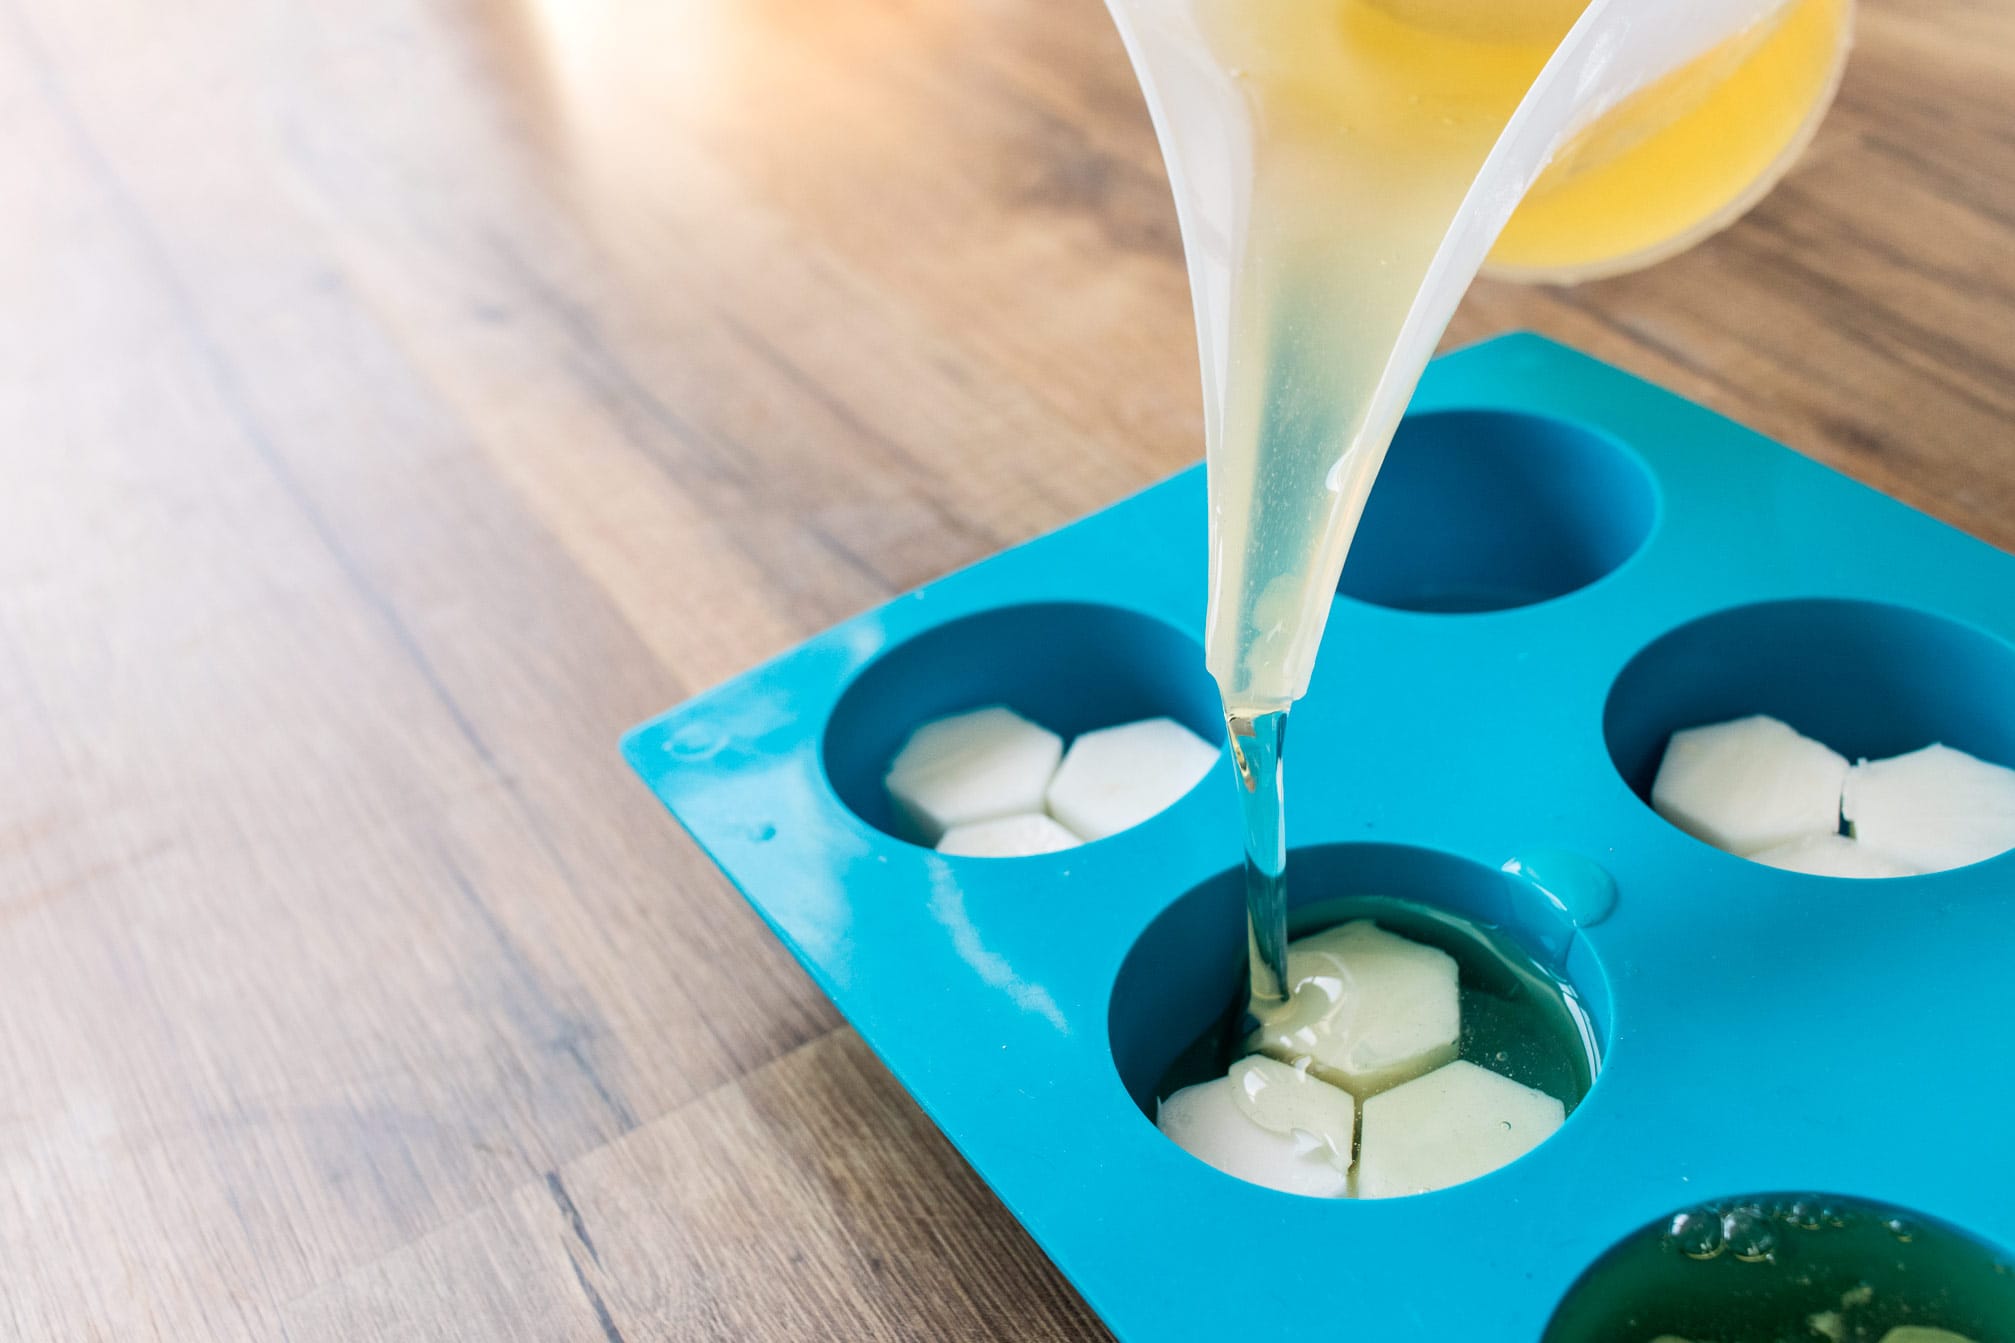
Allow to cool completely for around 2 hours before unmolding your honeycomb soap bars.
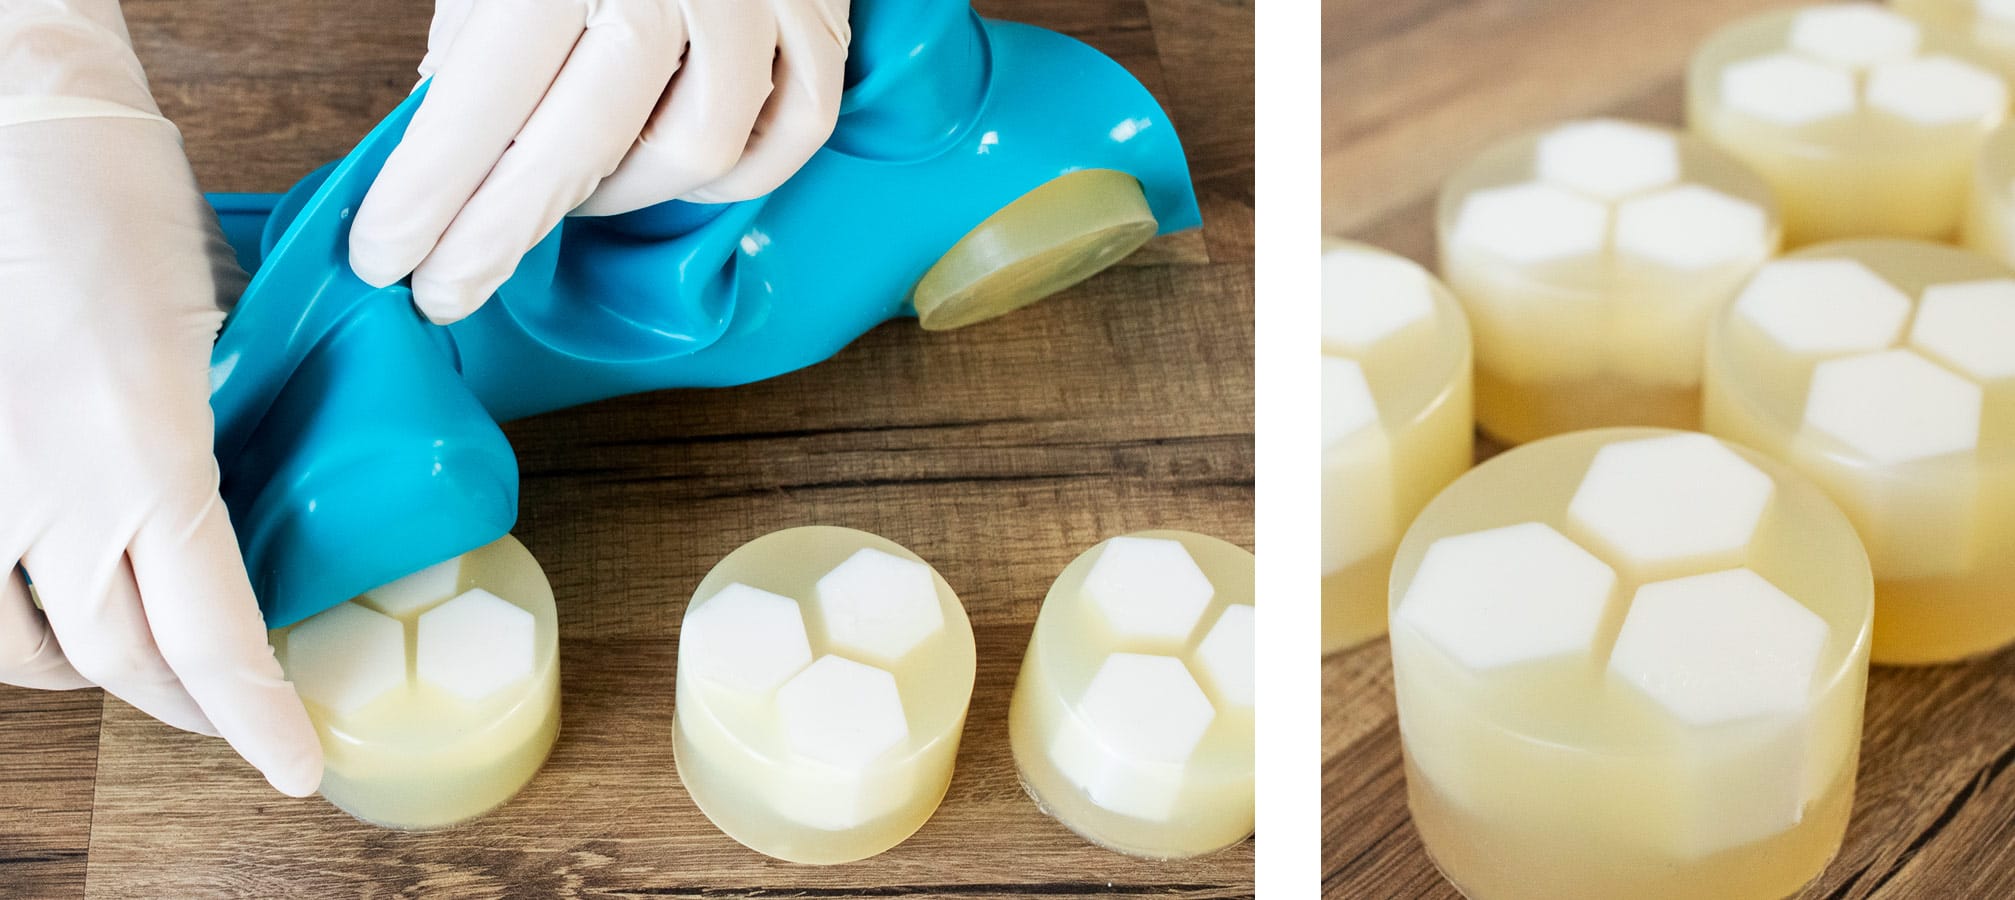
STEP 5: Package and ENJOY!
Your handmade honeycomb facial soaps will look beautiful no matter how you display them, even if that display is simply a soap dish! But if you have guests to impress, gifts to give, or just enjoy feeling fancy, steal this elegant packaging and labeling idea—or use it as inspiration for your own signature design.
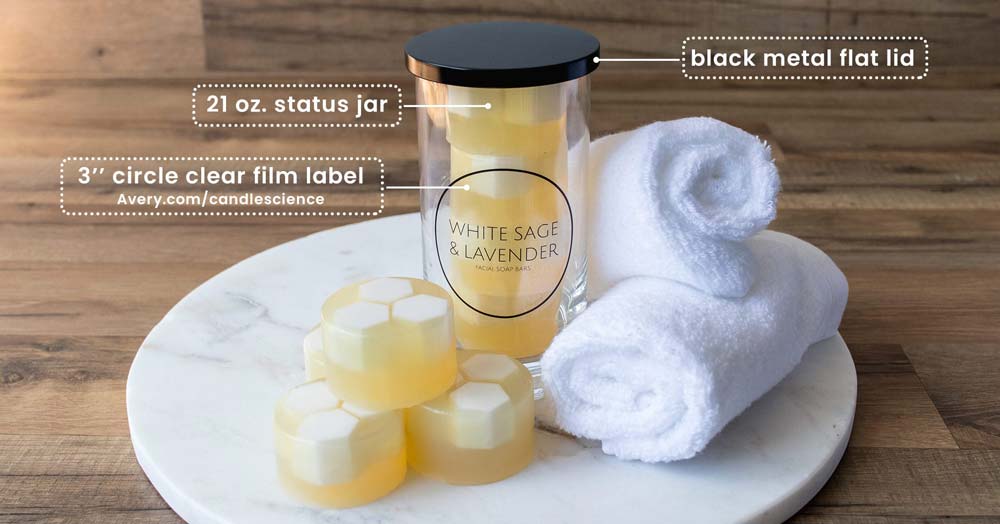
Packaging Options:
