How to make a pillar candle
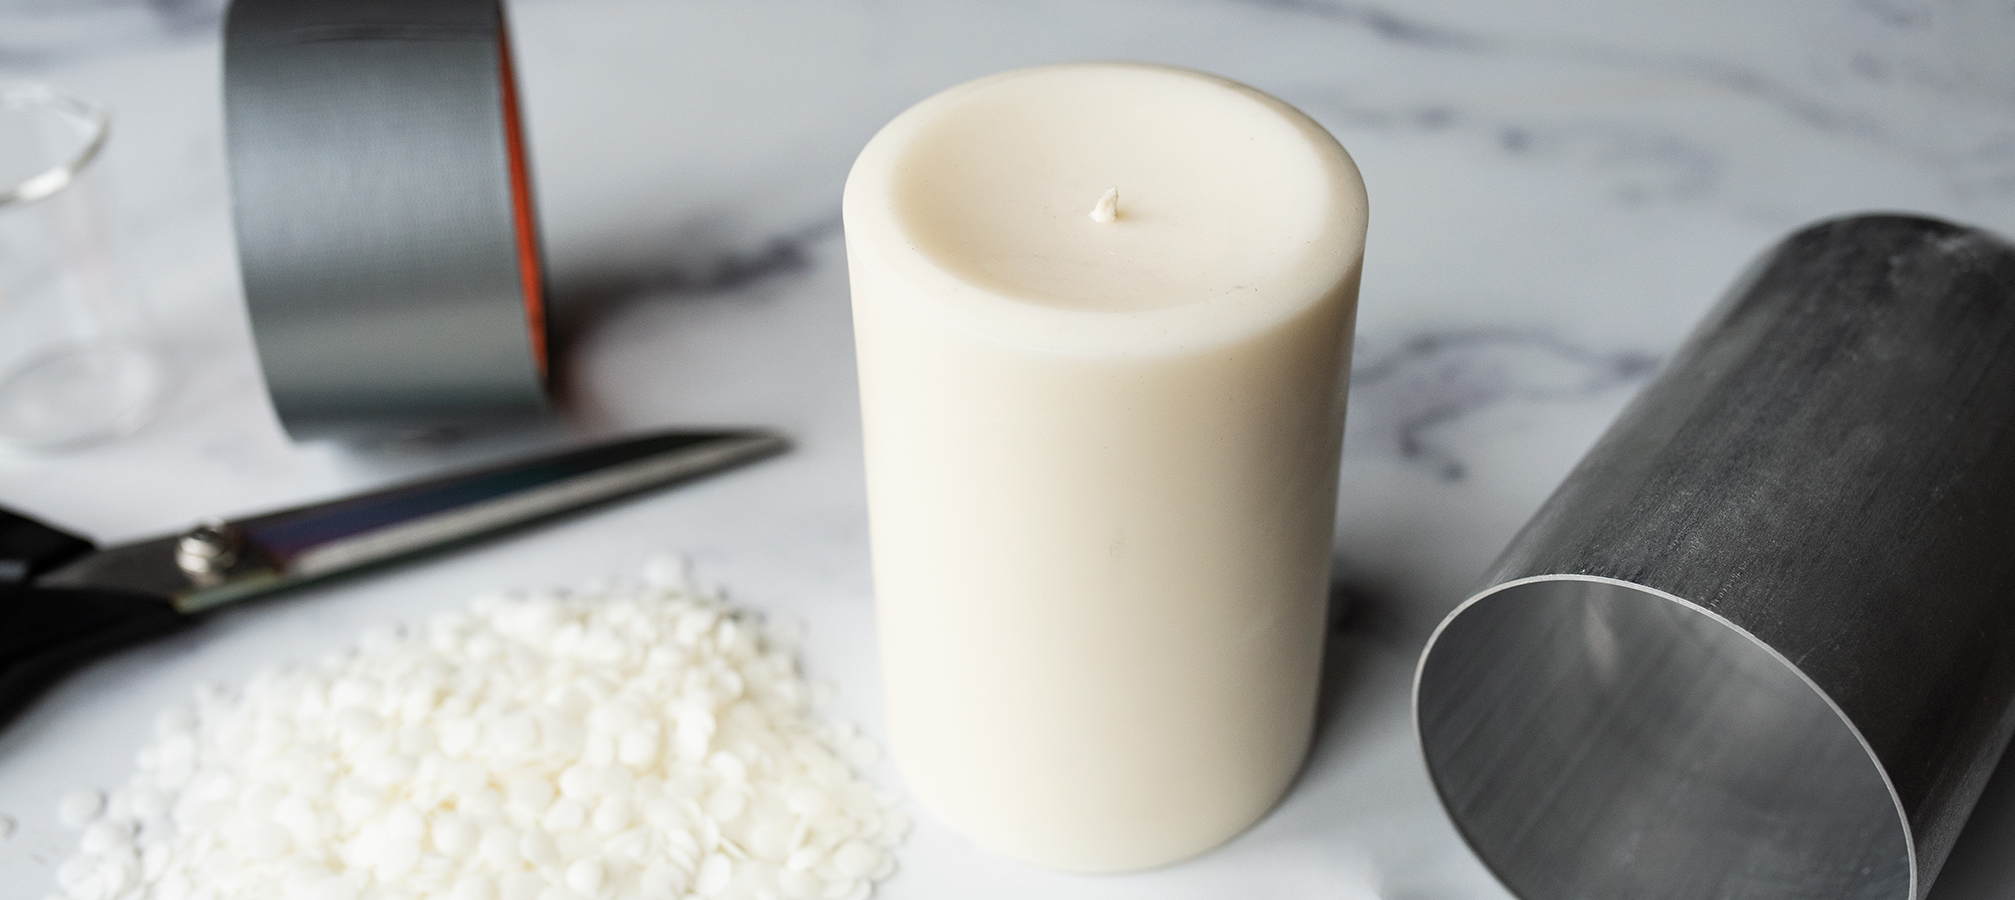
Making your first pillar candle can be a bit tricky, but we have you covered! Learn how to make a basic pillar candle, plus we share a few tips and tricks to make the process go a little smoother.
EO Notes: You can also use candle-approved essential oils for this project. Check the recommended usage percentage on the essential oil product page and start with low percentages. How to Make Soy Candles with Essential Oils
Additional items needed:
- Stirring spatula
- Paper towels
- Isopropyl Rubbing Alcohol
Directions:
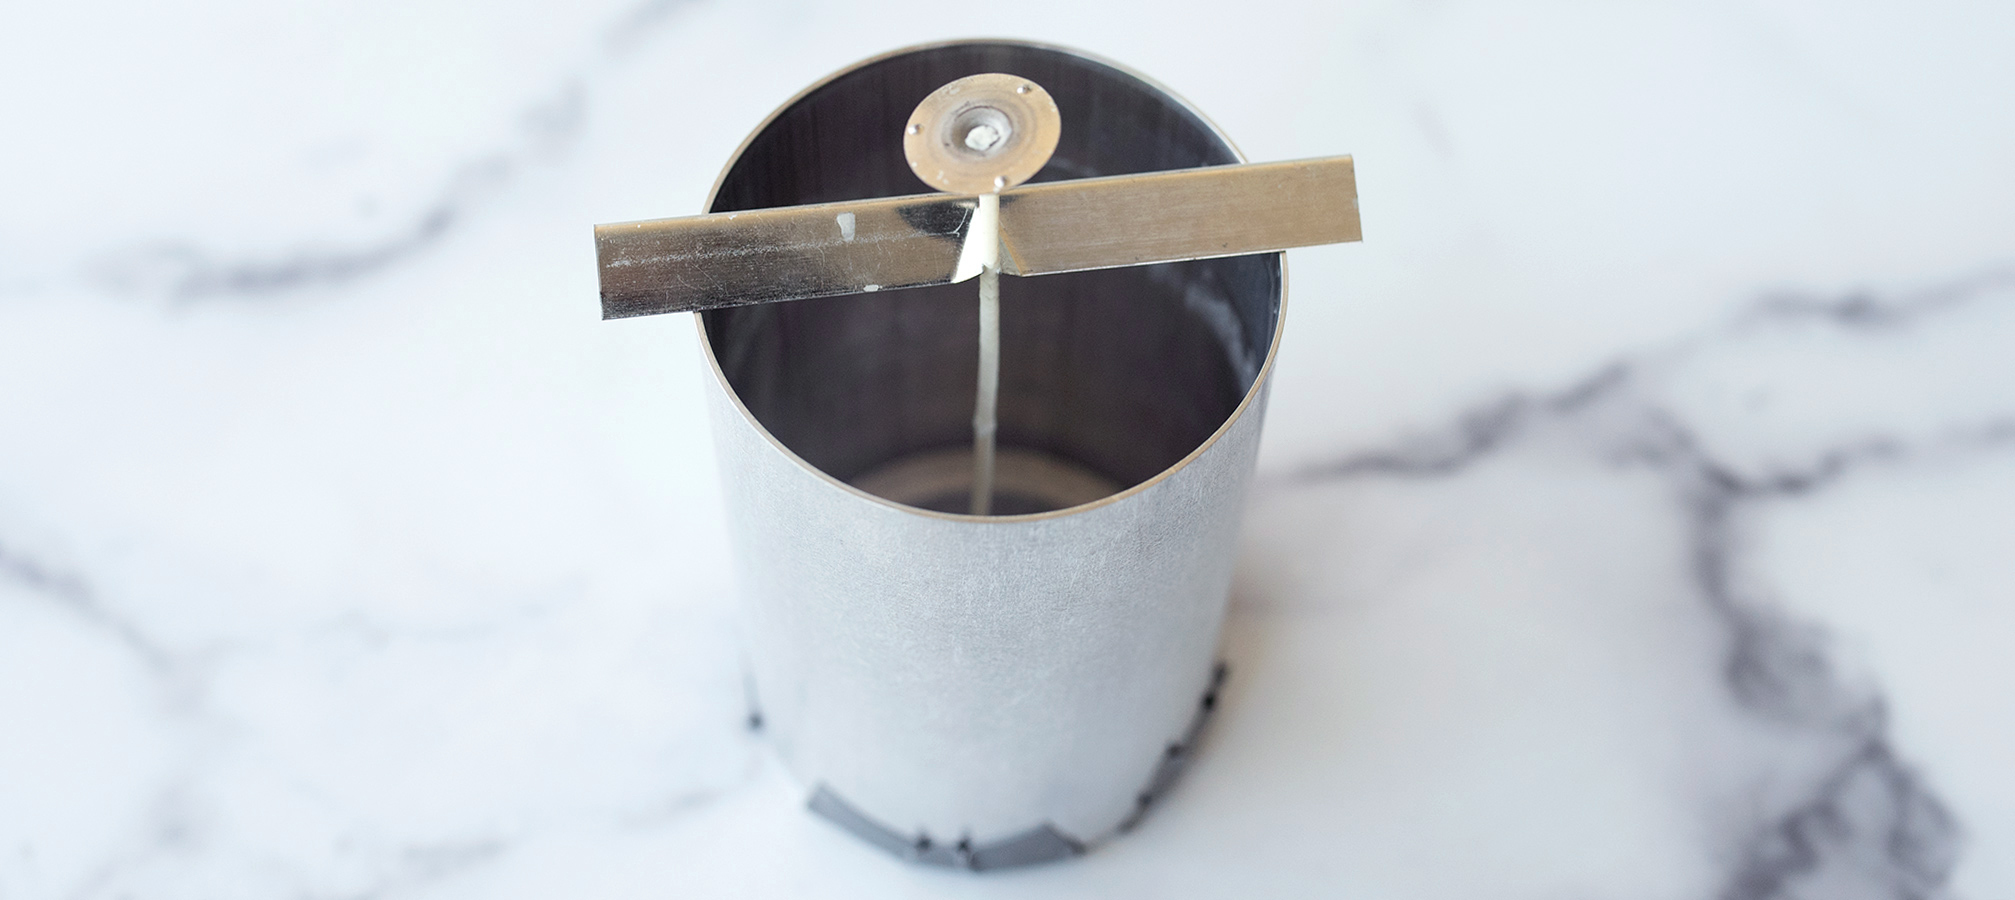
Step 1: Prepare your mold
We've put together a tutorial for preparing your mold. Visit: How to wick your pillar mold for step-by-step instructions!
Step 2: Weigh and melt your wax
Note: For this tutorial we’re using a 3x4.5 pillar mold. If you’re using a different mold size, read: How much wax will my mold hold.
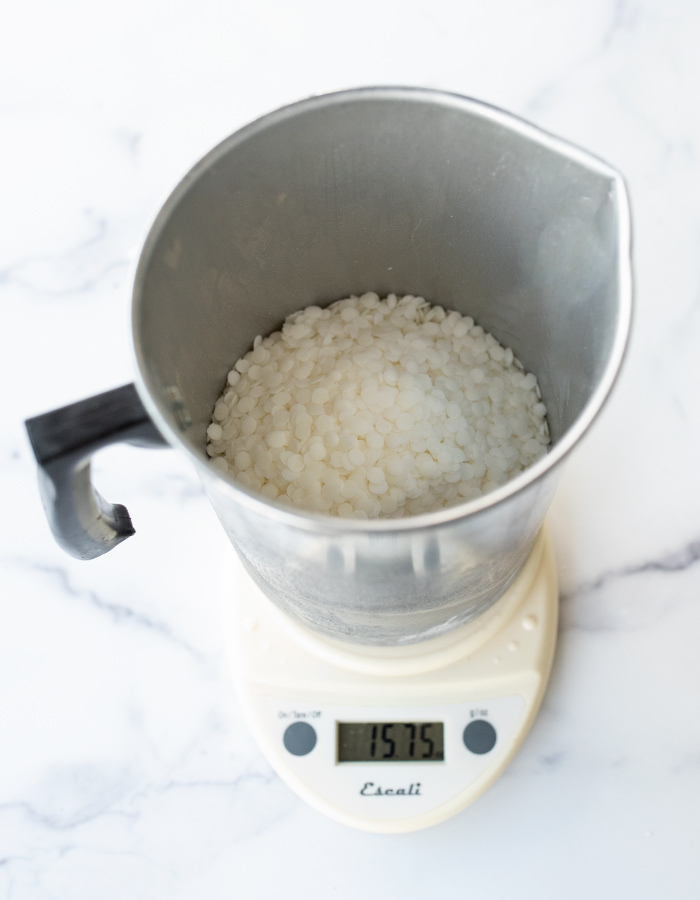
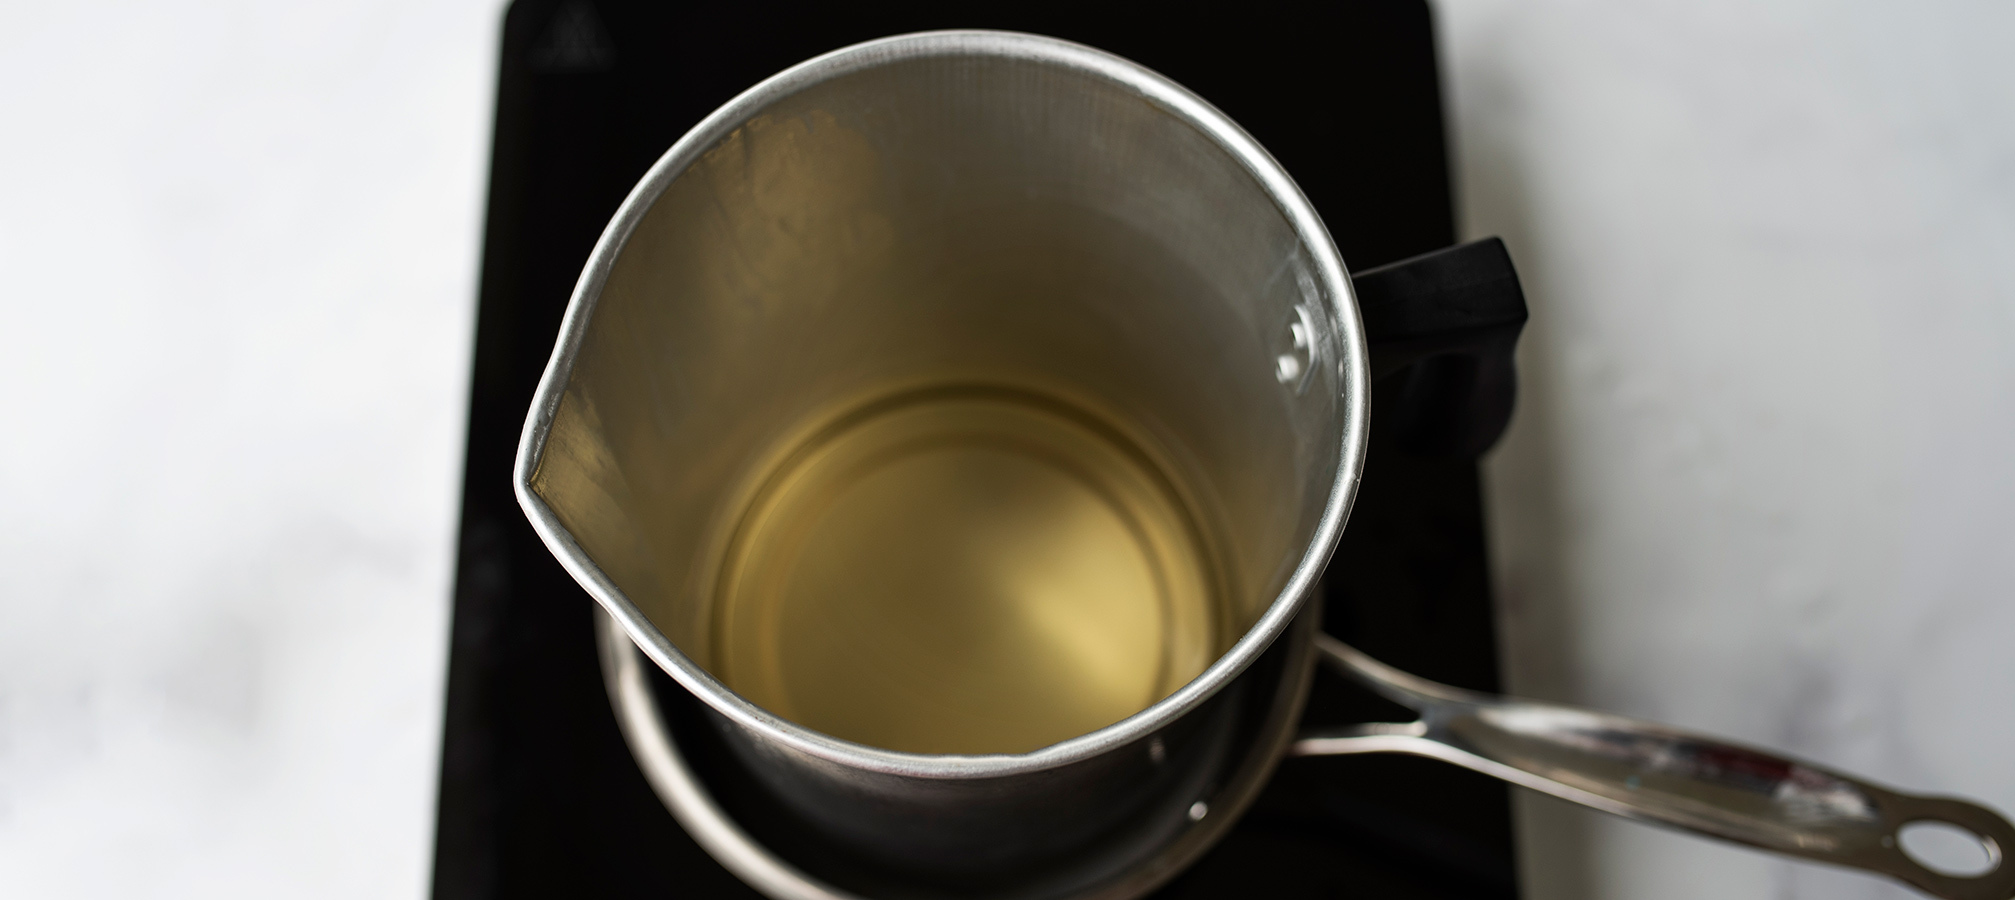
Place the pouring pitcher on your digital scale and tare the weight. Weigh 15.75 oz. (447 g) of BW-921 wax. Melt the wax with a double boiler.
Step 3: Add fragrance oil
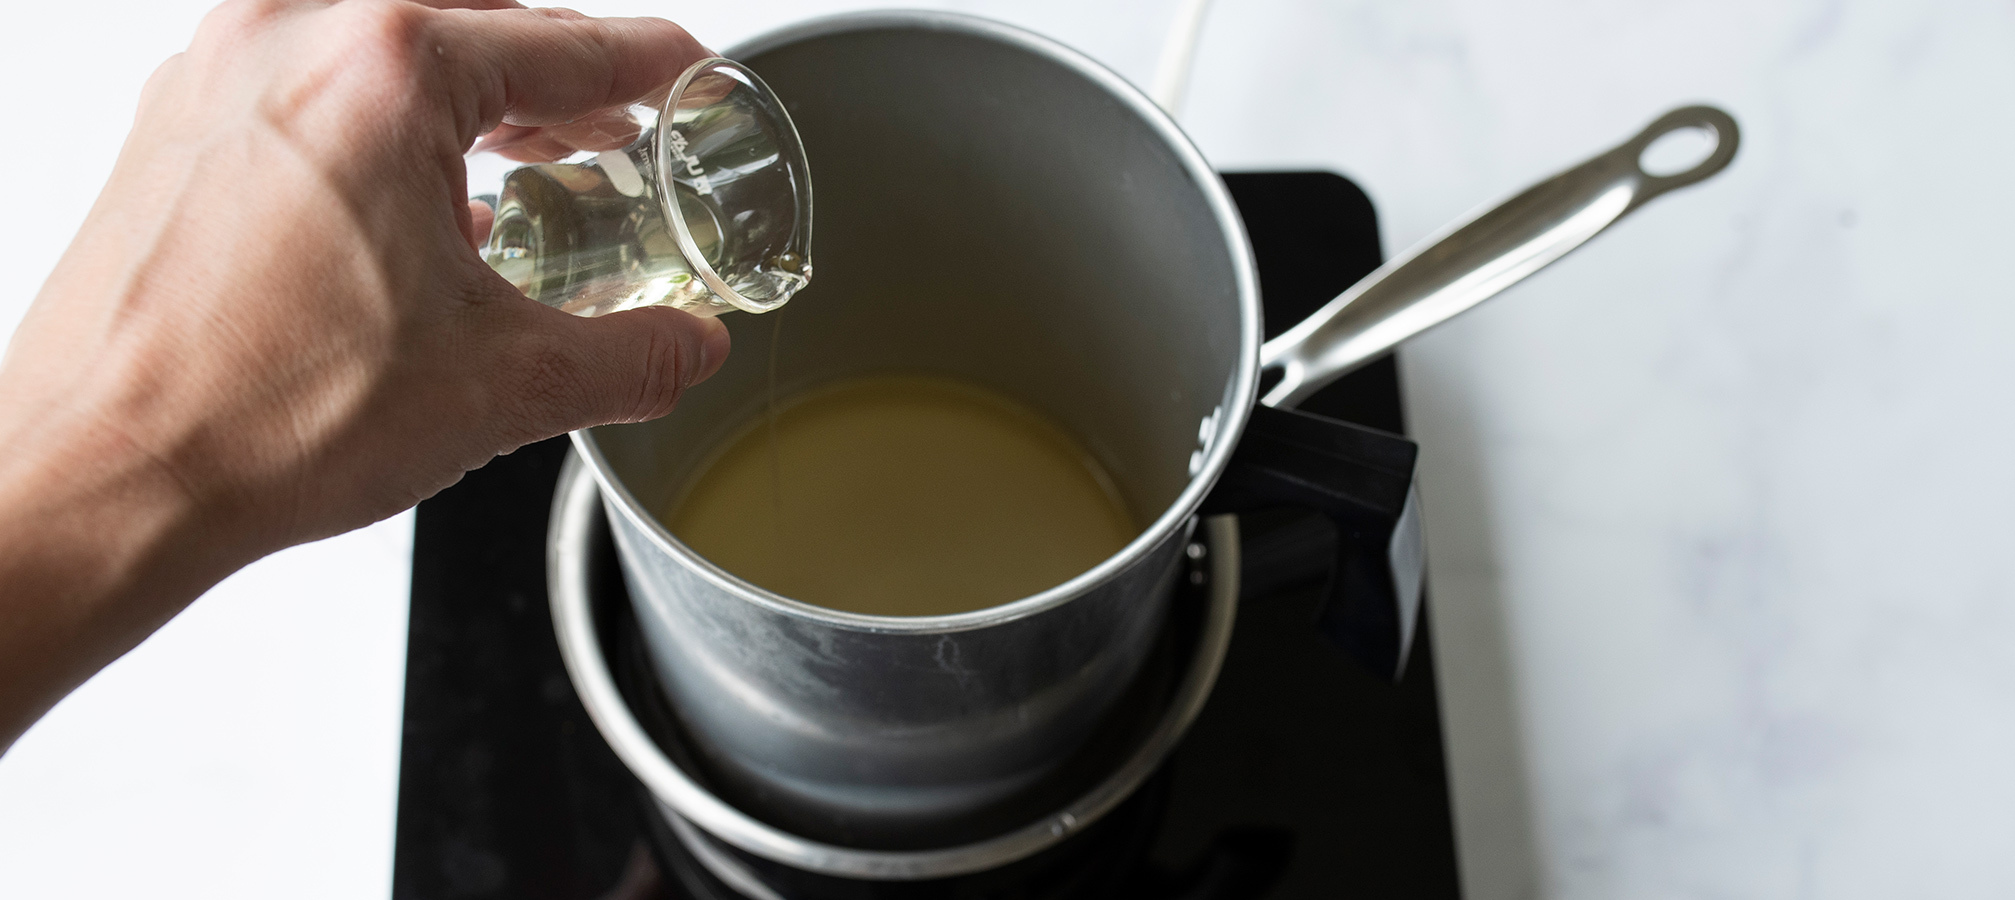
While the wax is melting, weigh out 1 oz. (28 g) of Black Amber and Plum fragrance oil (or your fragrance of choice), a little more than a 6% fragrance load.
When the wax temperature reaches 185°F (85°C), add fragrance oil and stir thoroughly for 2 minutes.
Allow the wax to cool to 170°F (76.7°C) and carefully pour into the mold near the wick.
Try not to hit the side of the mold with wax while pouring; drips will set very fast and sometimes can't melt enough from the heat of the mold. This can cause the candle to stick to the mold and make releasing it difficult.
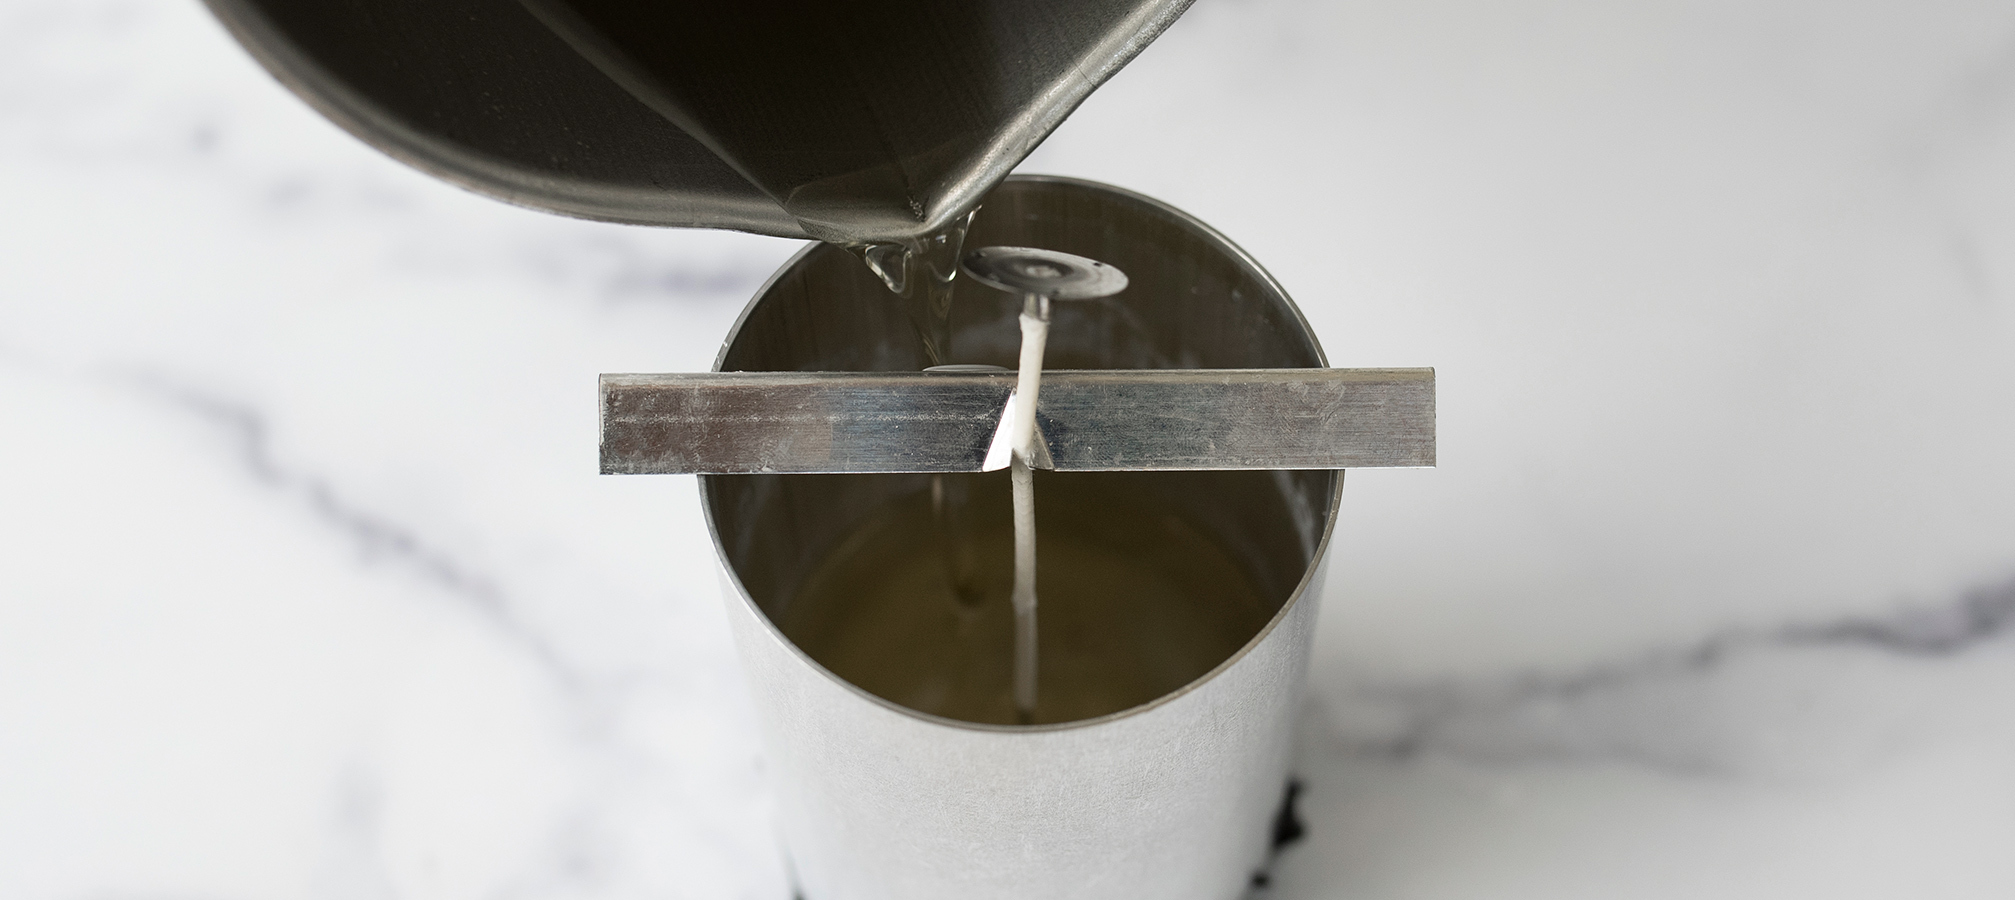
Once the mold is filled, pull the wick taut and use a wick bar to secure the wick. As the wax cools the wick can be pulled off center if it is not secured properly.
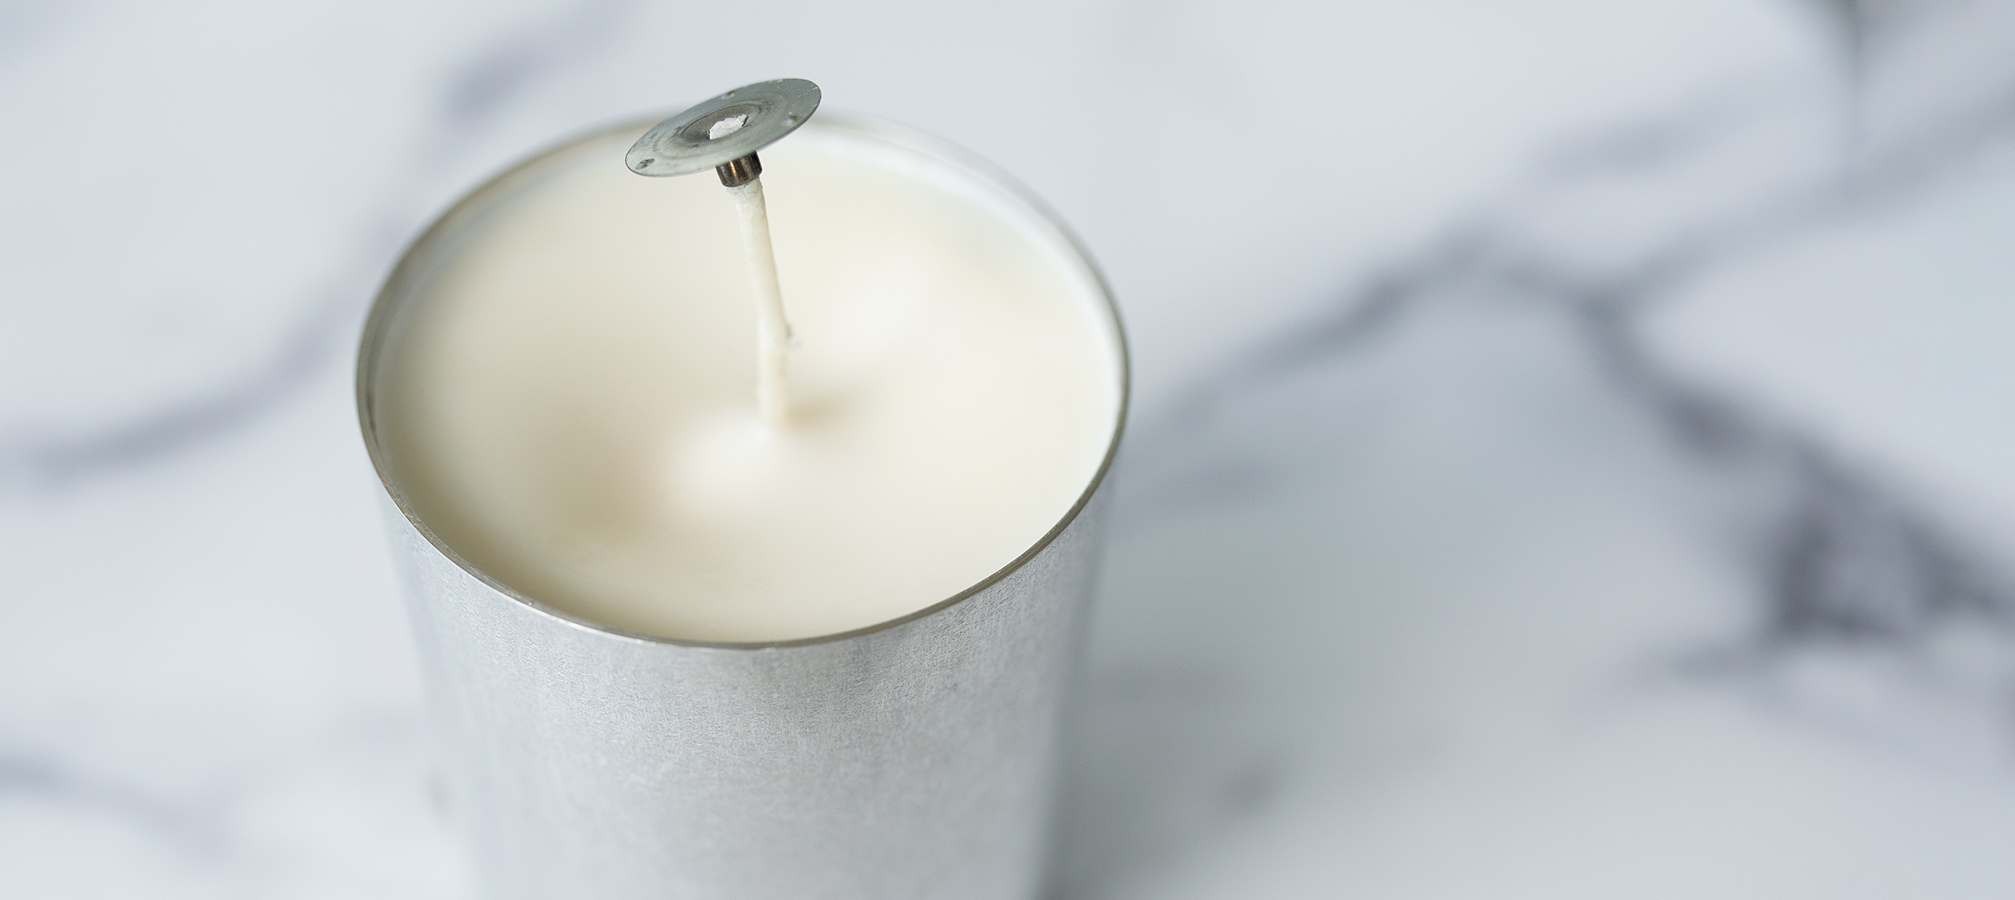
Allow candle to fully cool. Remove wick bar.
Step 4: Optional second pour
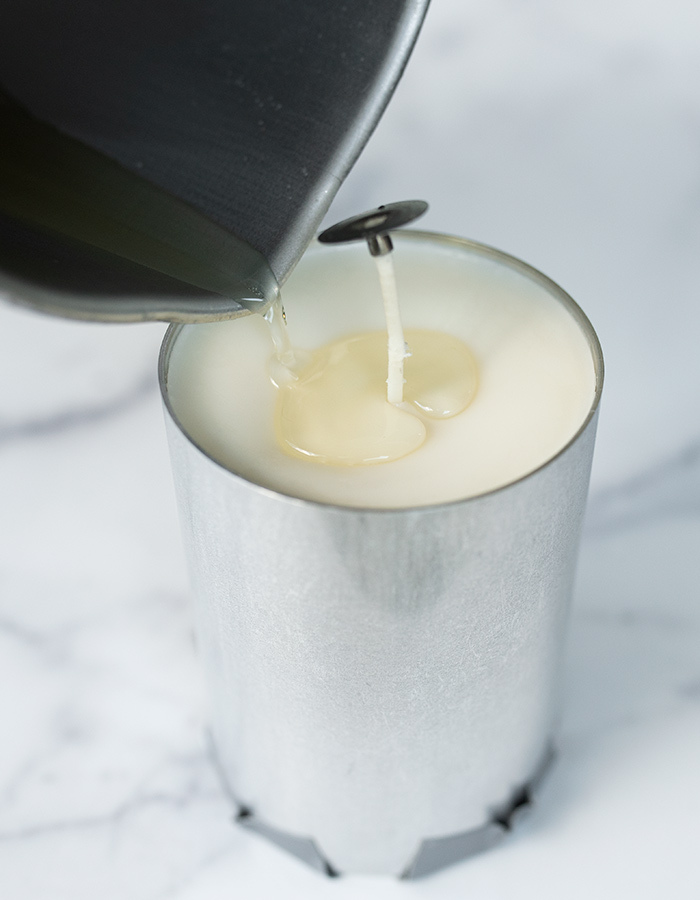
Reheat your left over wax and melt to 5ºF (2.8°C) hotter than your original pour temperature. For this tutorial we poured at 170ºF (76.7°C) so we’ll reheat to 175ºF (79.4°C).
Slowly pour a layer to fill in the cracks or holes and stop when the liquid wax reaches the height of the cooled wax. Try not to over fill the mold, this may allow wax to drip down the side of the candle where it has pulled away from the mold. This can marr the candle or cause streaking.
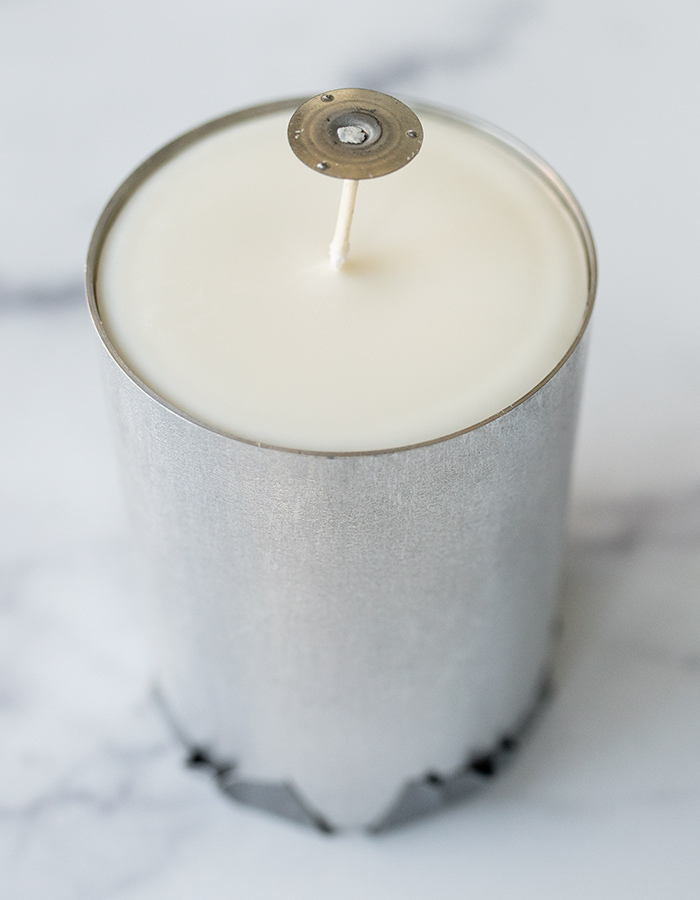
Step 5: Unmold your pillar
Allow the wax to completely cool completely before you unmold your candle.
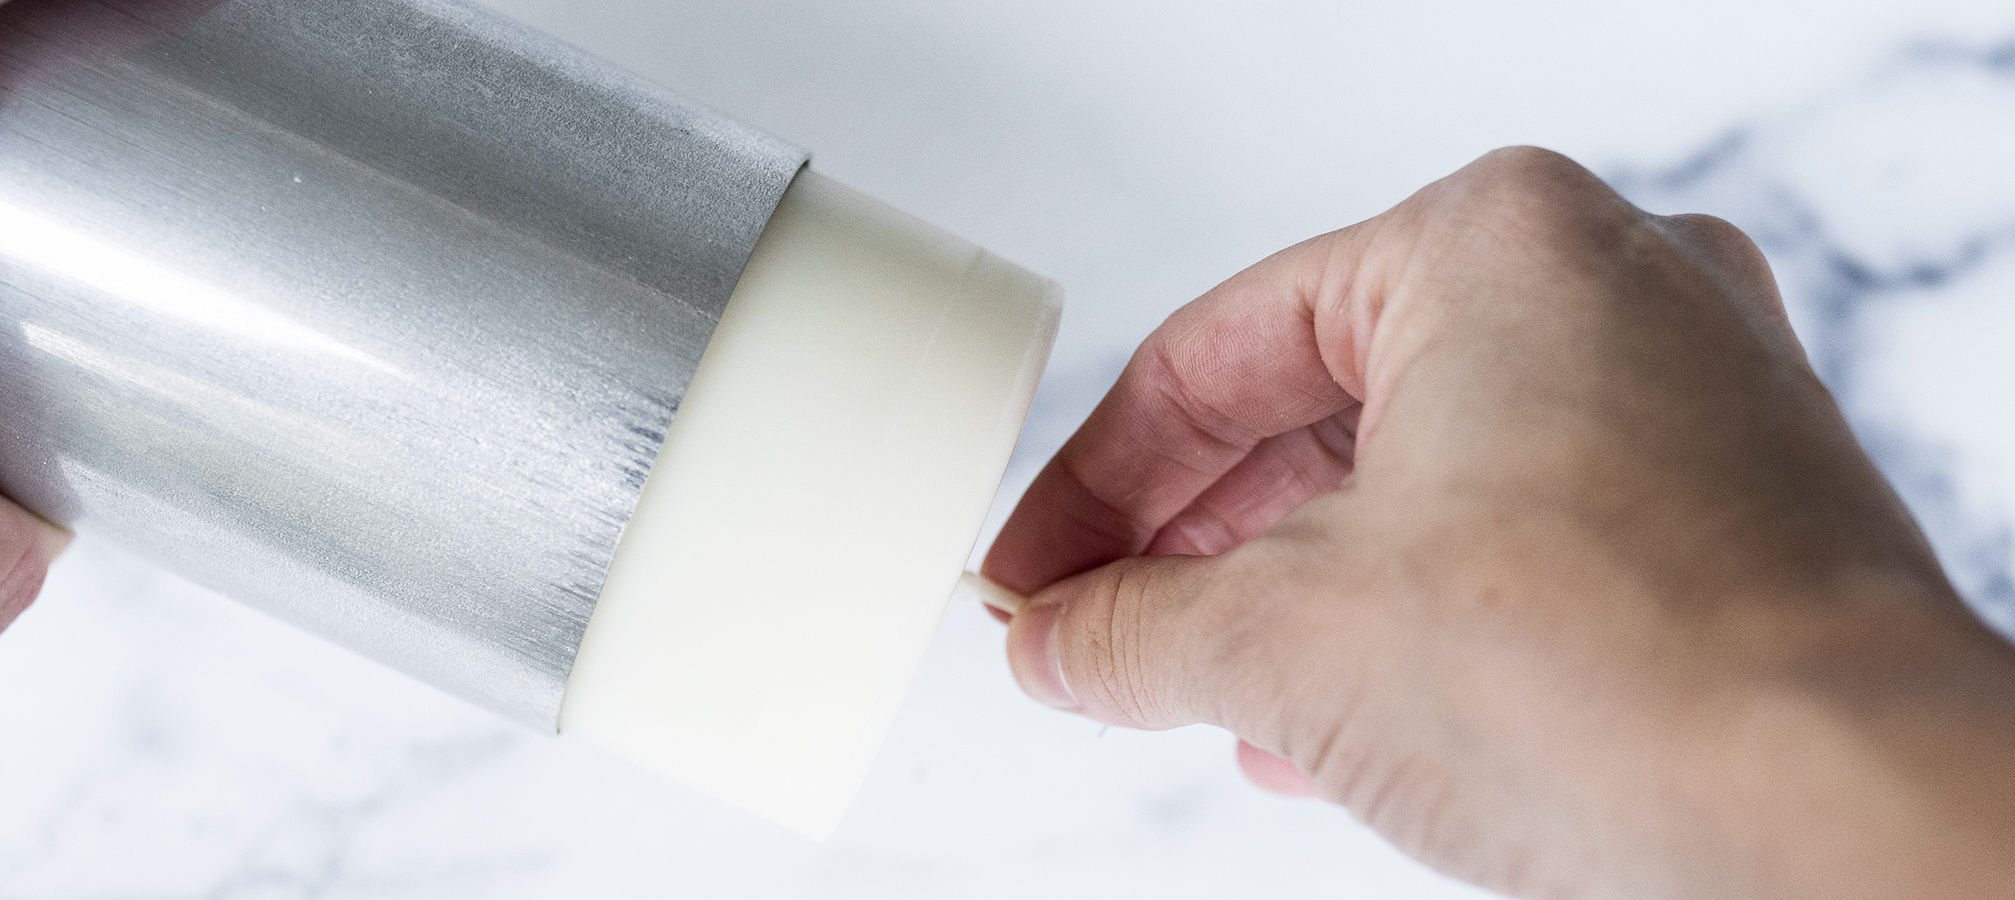
Gently pull on the wick to release the candle from the mold while angling it downward. Do not pull on the wick too hard or the wick might pull out of the candle, leaving your candle behind in the mold.
If the candle is stuck, gently squeeze the sides of the mold or roll it on a flat surface using gentle pressure to help it release.
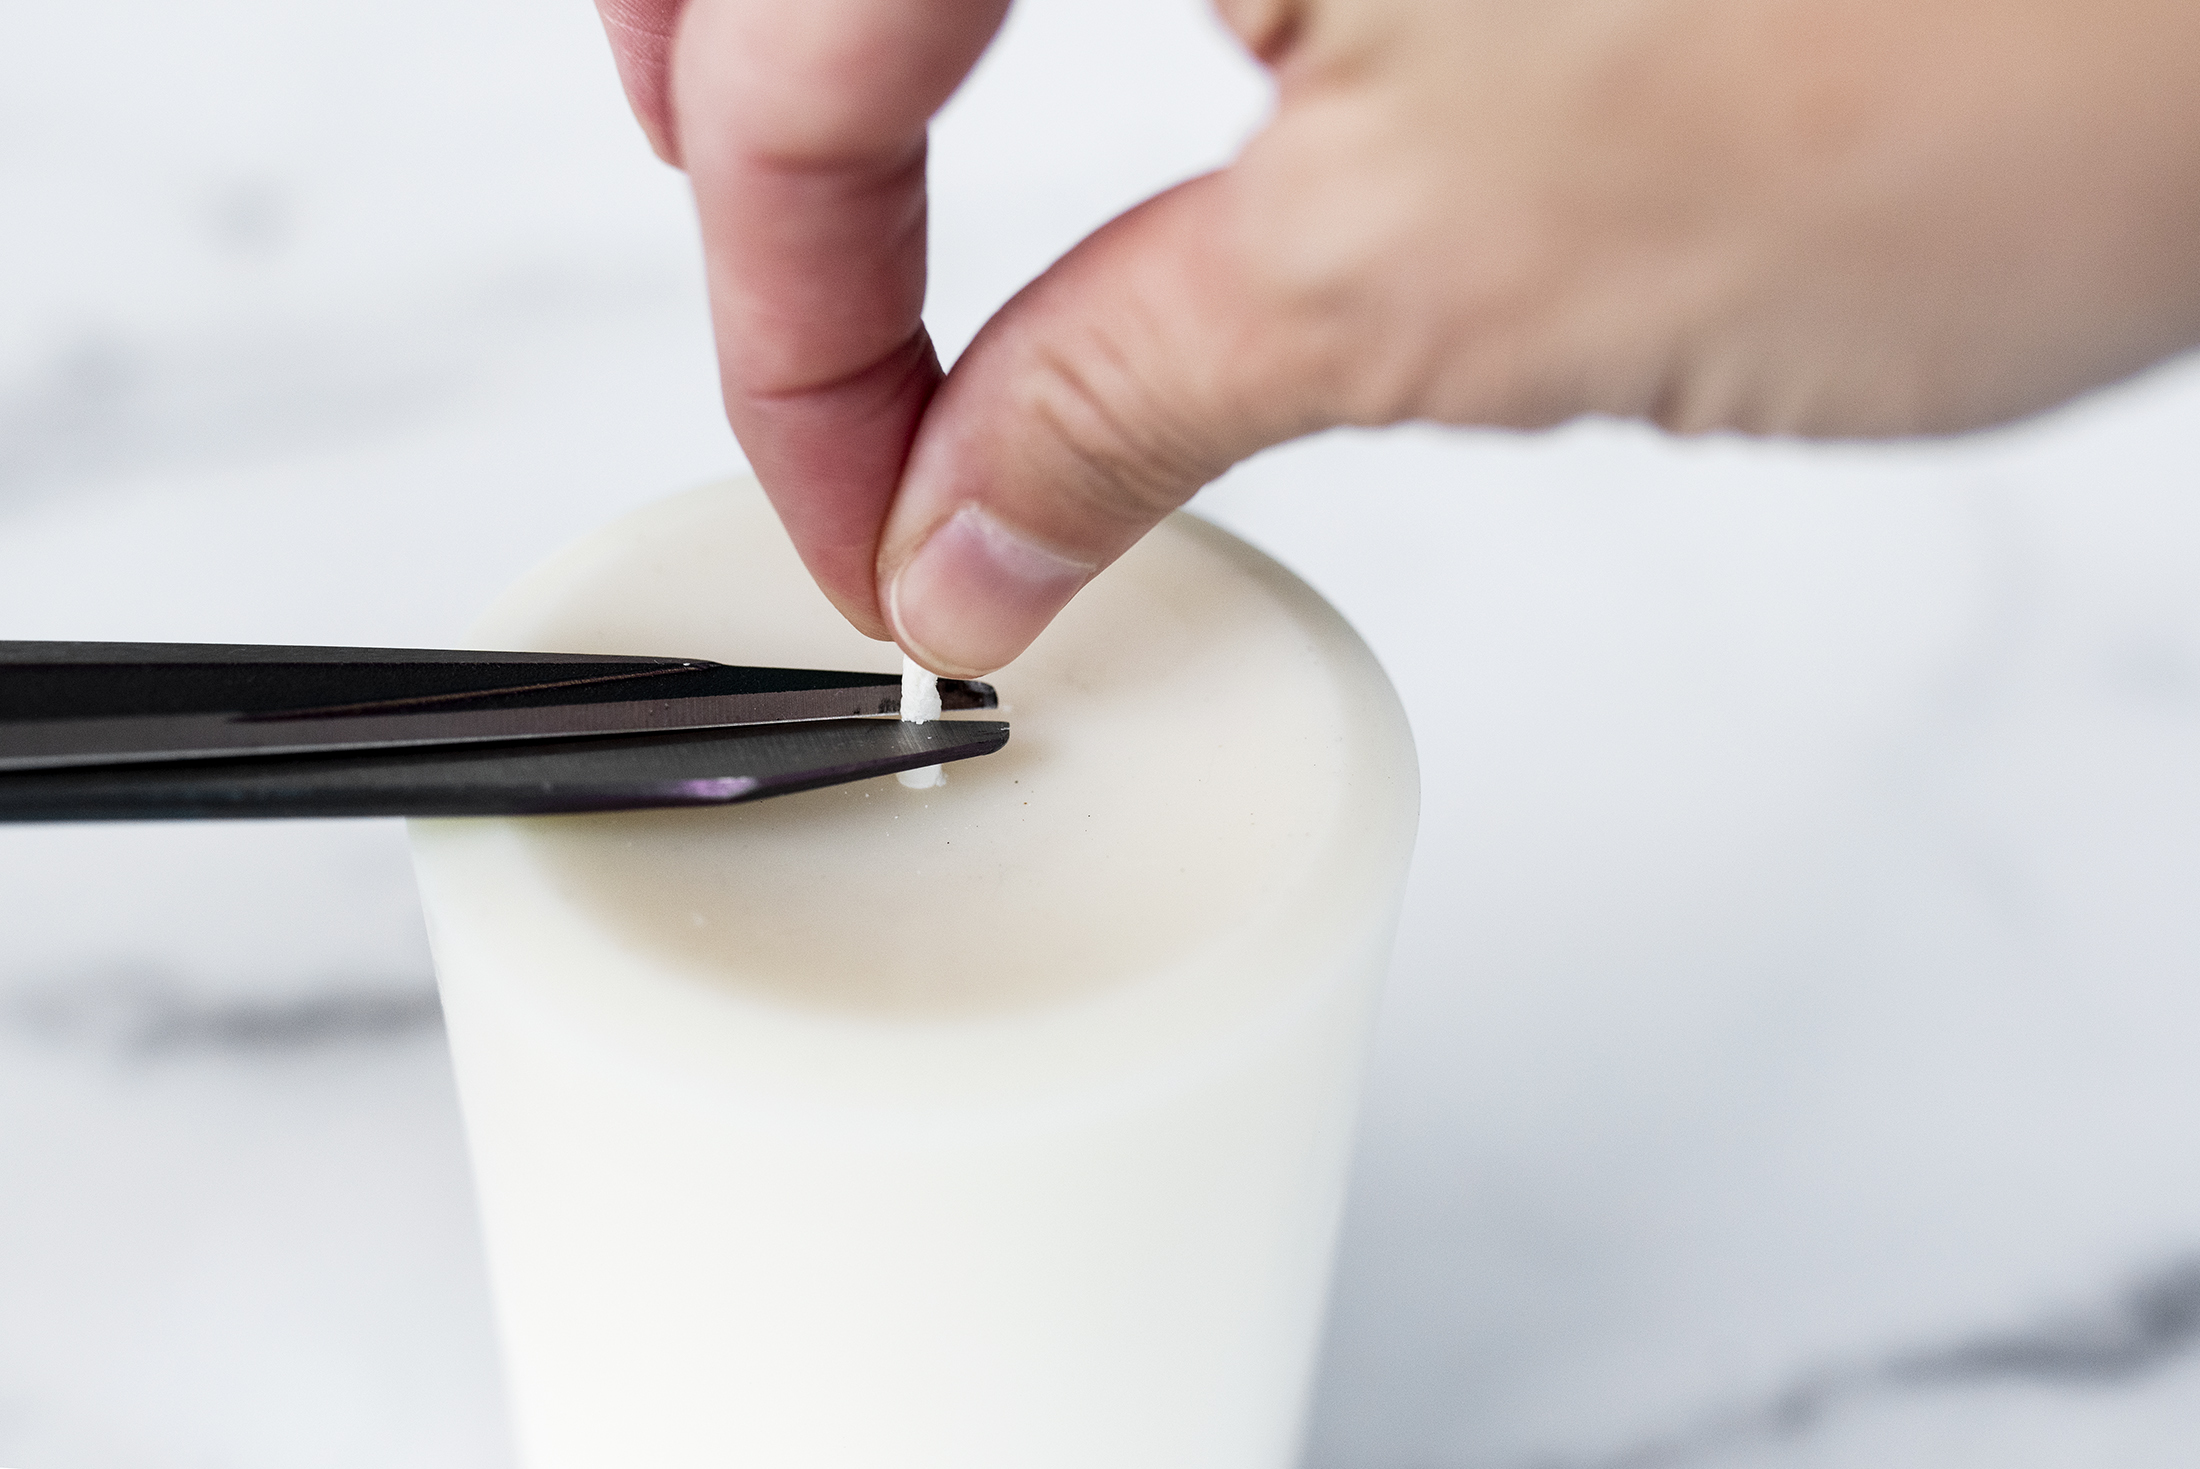
Trim your wick to ¼ in. (6 mm).
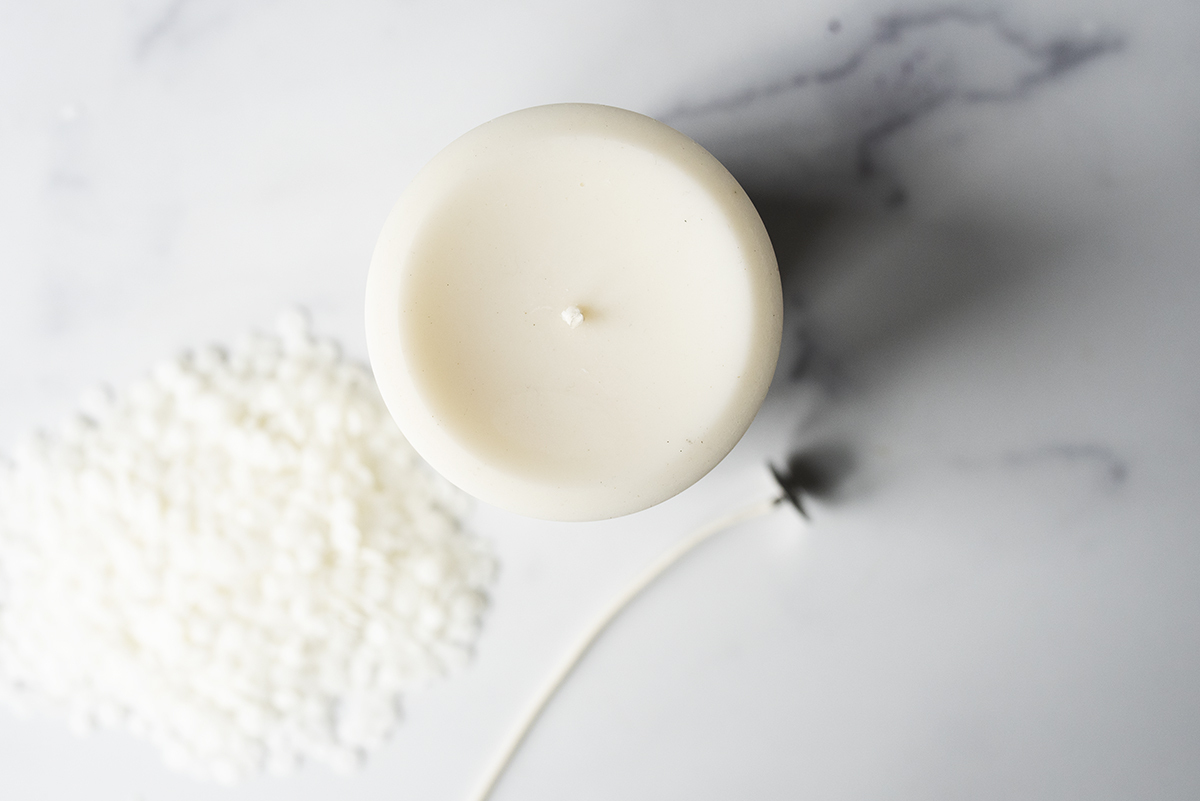
Your pillar candle is complete!

Show off your pillar candles and all your handmade creations with the CandleScience community by tagging us @CandleScience and using the #CandleScientist hashtag on Facebook, Twitter, and Instagram. We may feature you in our Stories or on our website!