DIY peppermint mocha latte candles
Bring the coffeehouse home with this warm, inviting Peppermint Mocha Latte candle project.
EO Notes: You can also use candle-approved essential oils for this project. Check the recommended usage percentage on the essential oil product page and start with low percentages. How to Make Soy Candles with Essential Oils
Note: Our Peppermint Mocha fragrance oil was discontinued. Try Coffee Shop instead or create a blend!
Additional items needed:
- Metal stirring spatula
- Glass container for weighing fragrance oil
- Paper towels
- Isopropyl Rubbing Alcohol
- Double Boiler
- Scissors
- Piping Bag
- Piping Tip
Directions
Step 1: Make the 'Mocha'
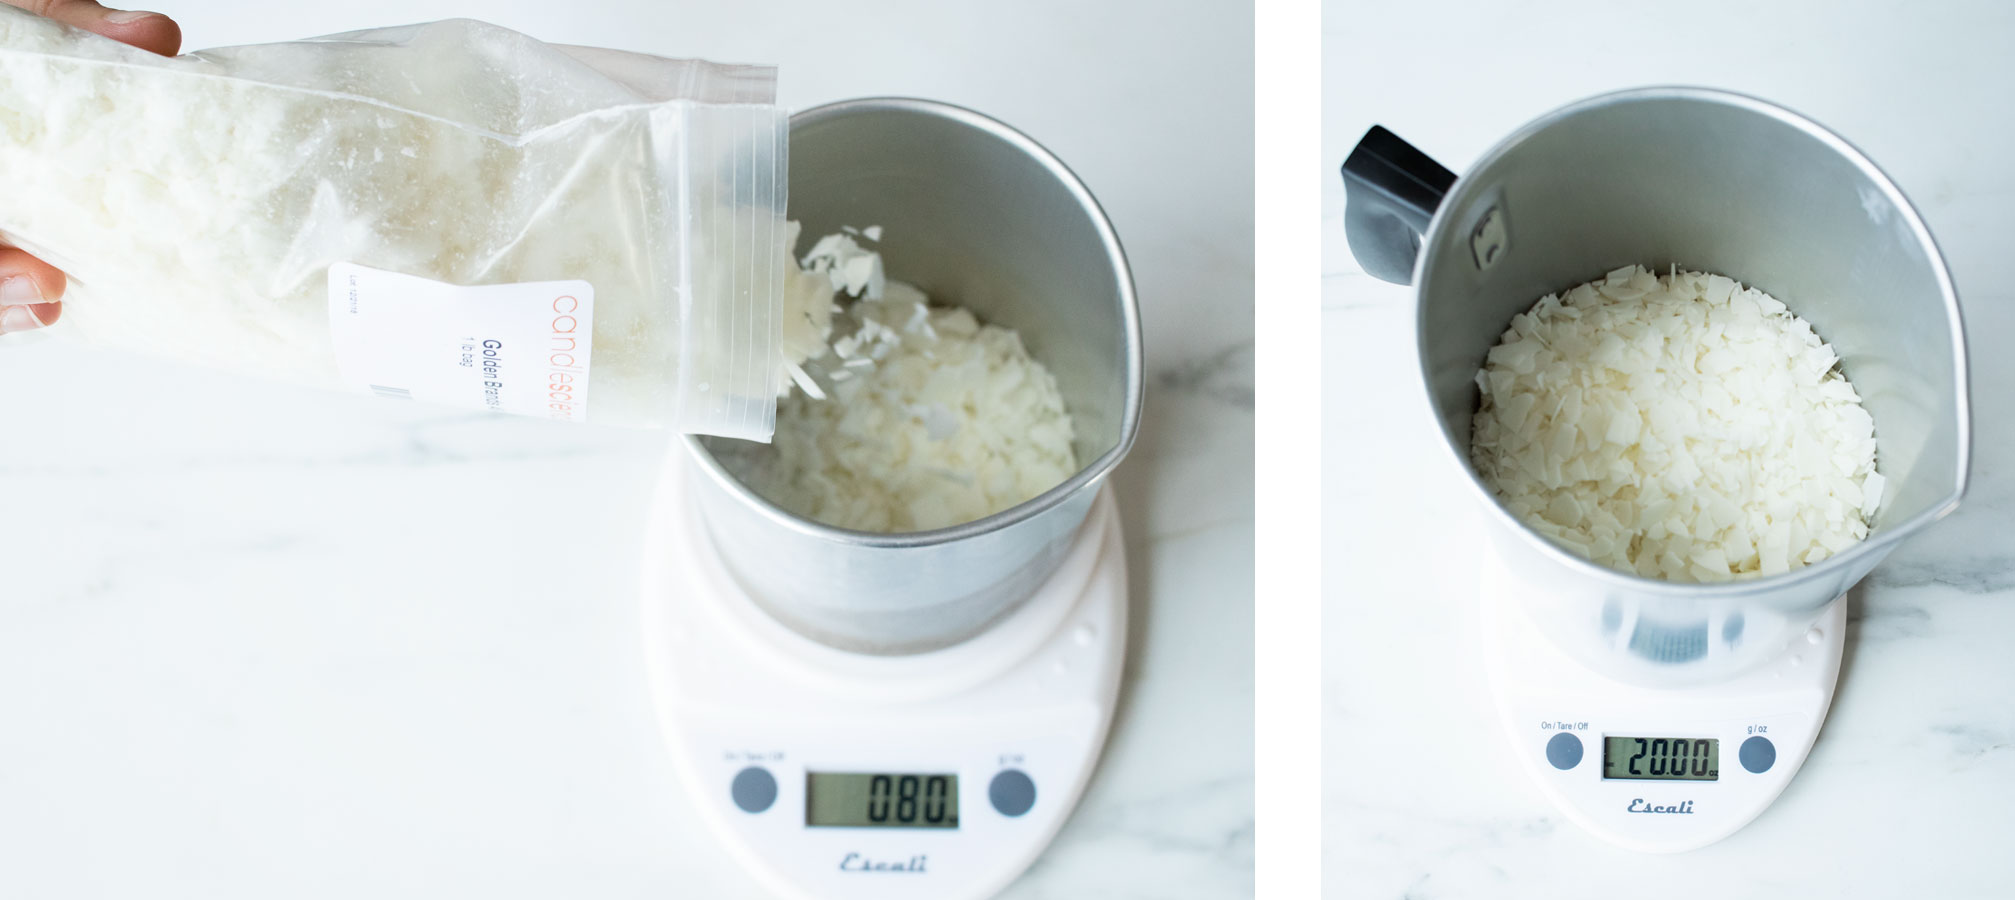
Place the small pouring pitcher on your digital scale and tare the weight. Weigh 8 oz (227 g) of 464 soy wax in the small pitcher and set aside. We’ll use this for the “whipped topping” later.
Place the empty pouring pitcher on your scale, tare the weight, and weigh out 22 oz (624 g) of wax.
Begin to melt the 22 oz (624 g) of wax with a double boiler or on a hot plate.
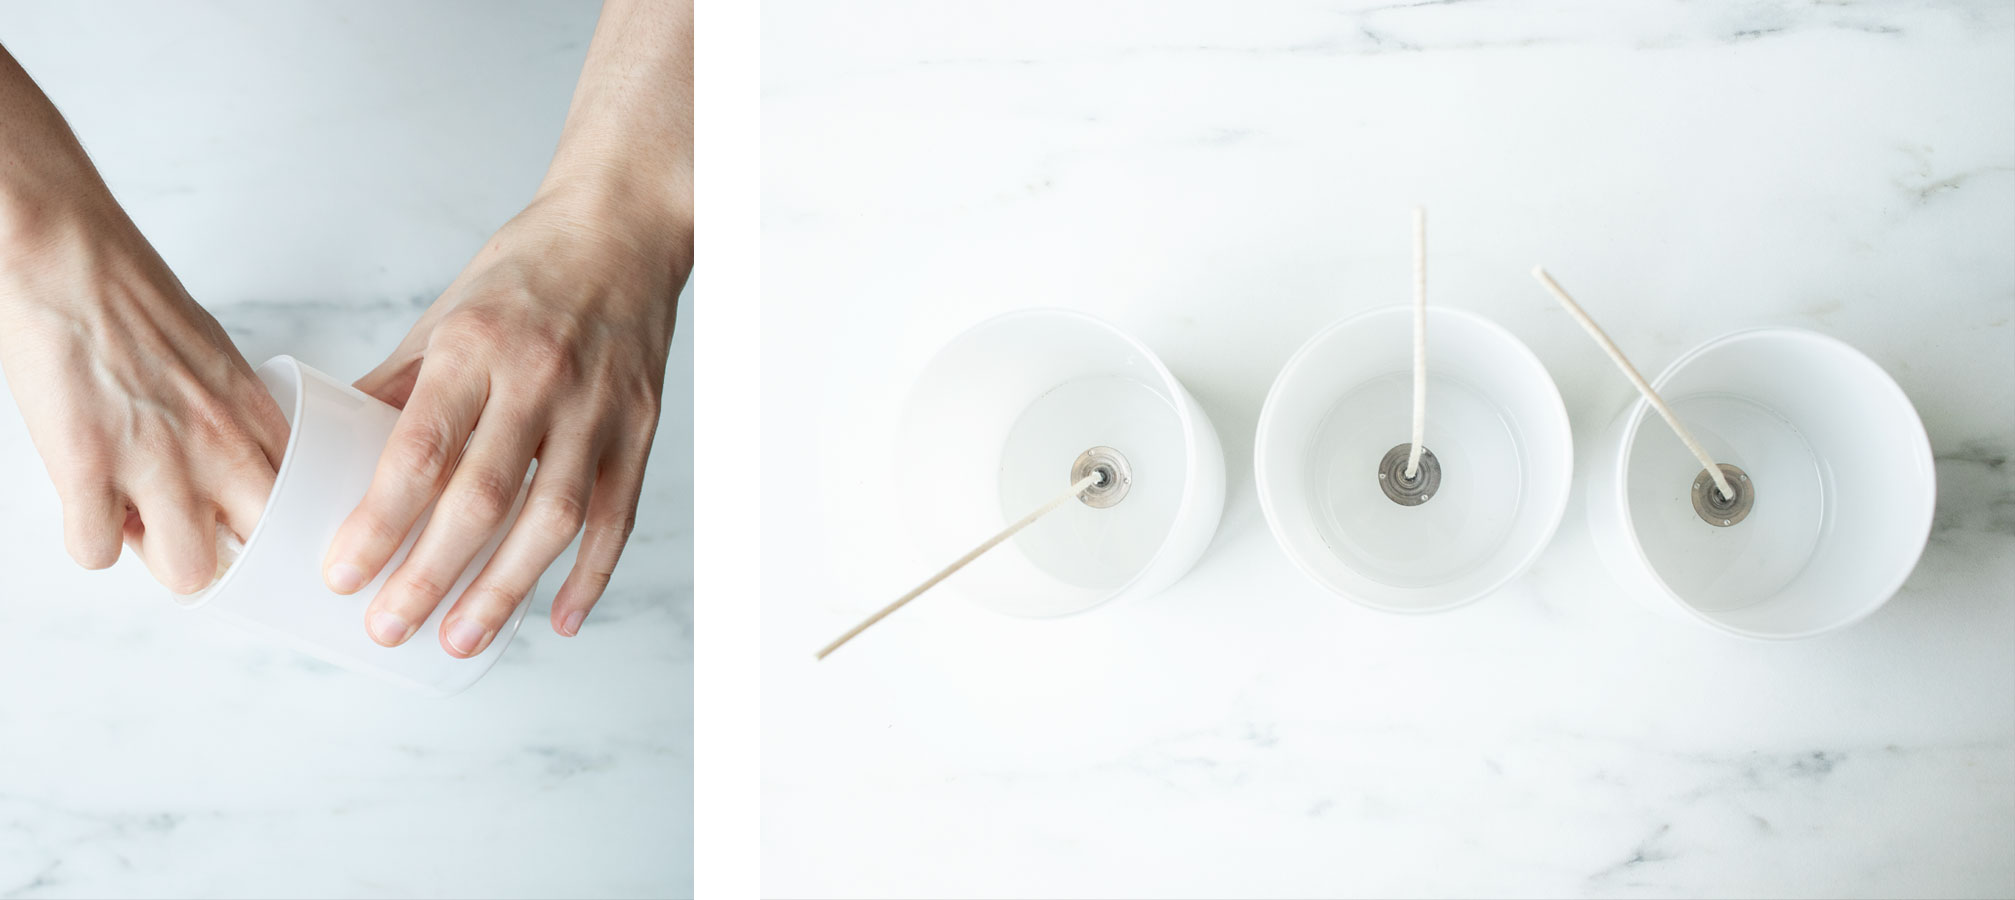
While the wax melts, prepare the jars. Wipe each jar out with a little isopropyl alcohol and a clean paper towel.
Using a wick sticker, center one CD 18 wick in the bottom of each jar.
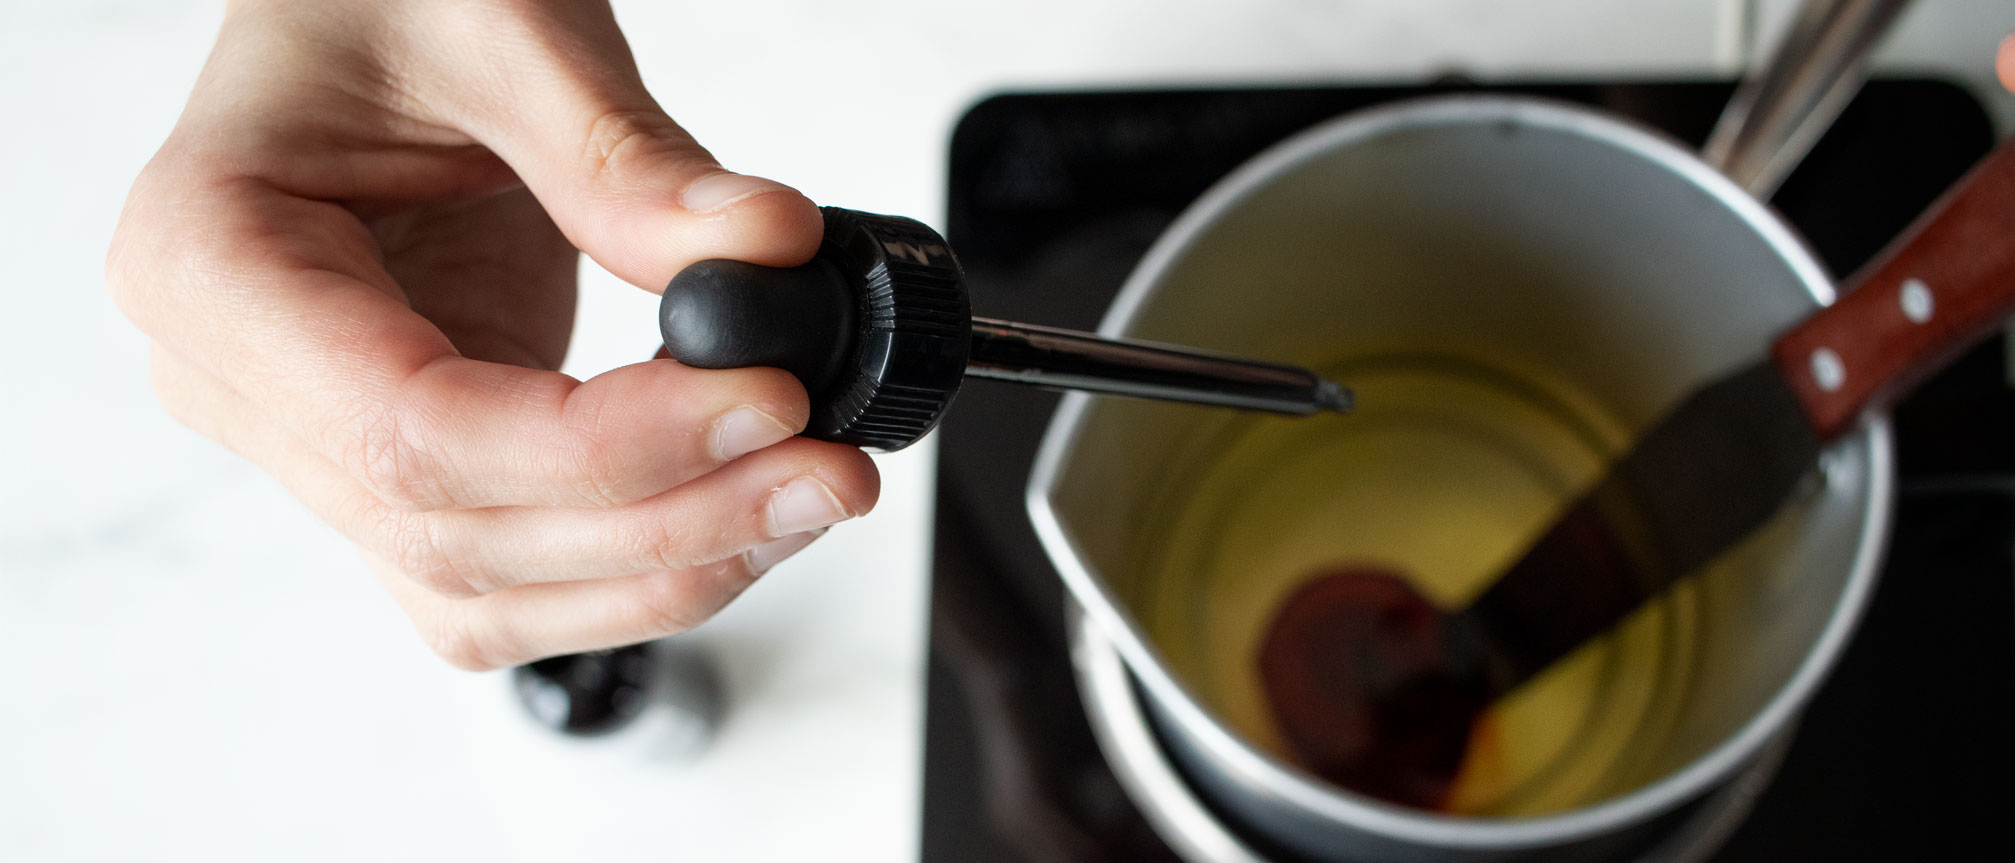
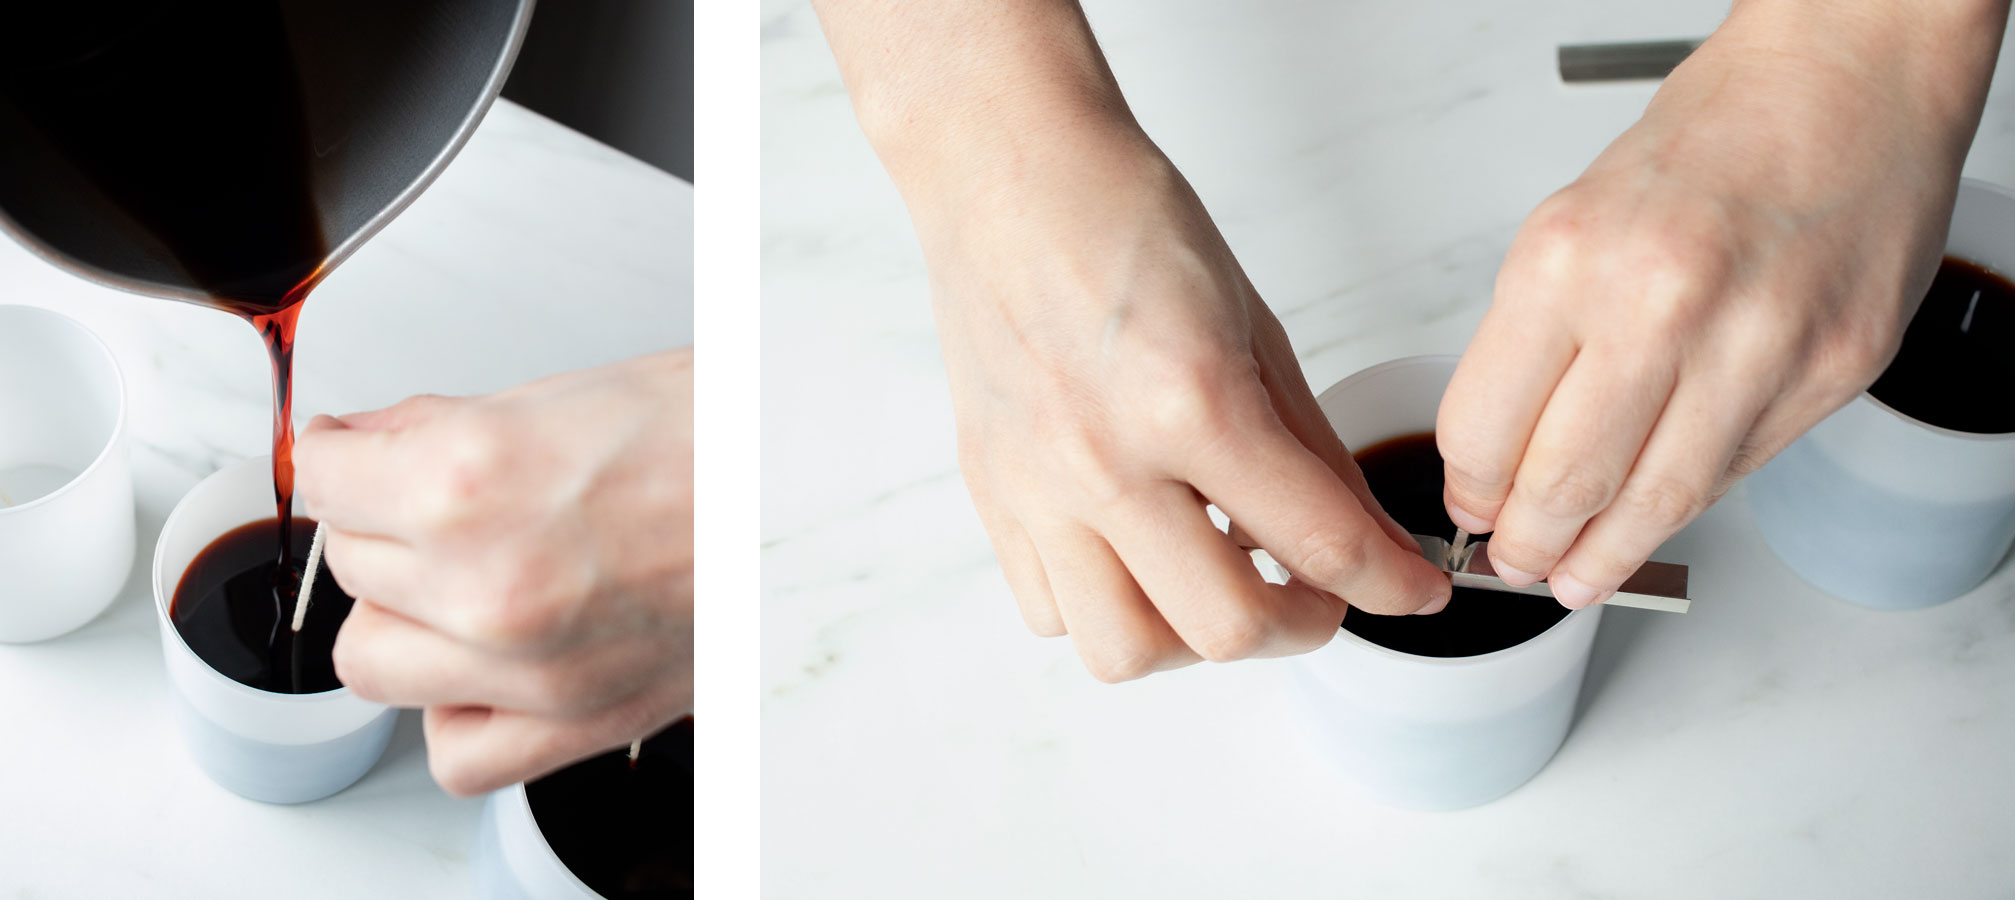
Now let’s check on our wax. It still needs a little time to reach 185ºF (85°C), but we can go ahead and add our color. Add 12-15 drops of Brown Liquid Dye depending on your desired color—we used about 15 drops to achieve the creamy mocha color. Stir gently until the color is evenly distributed throughout the wax.
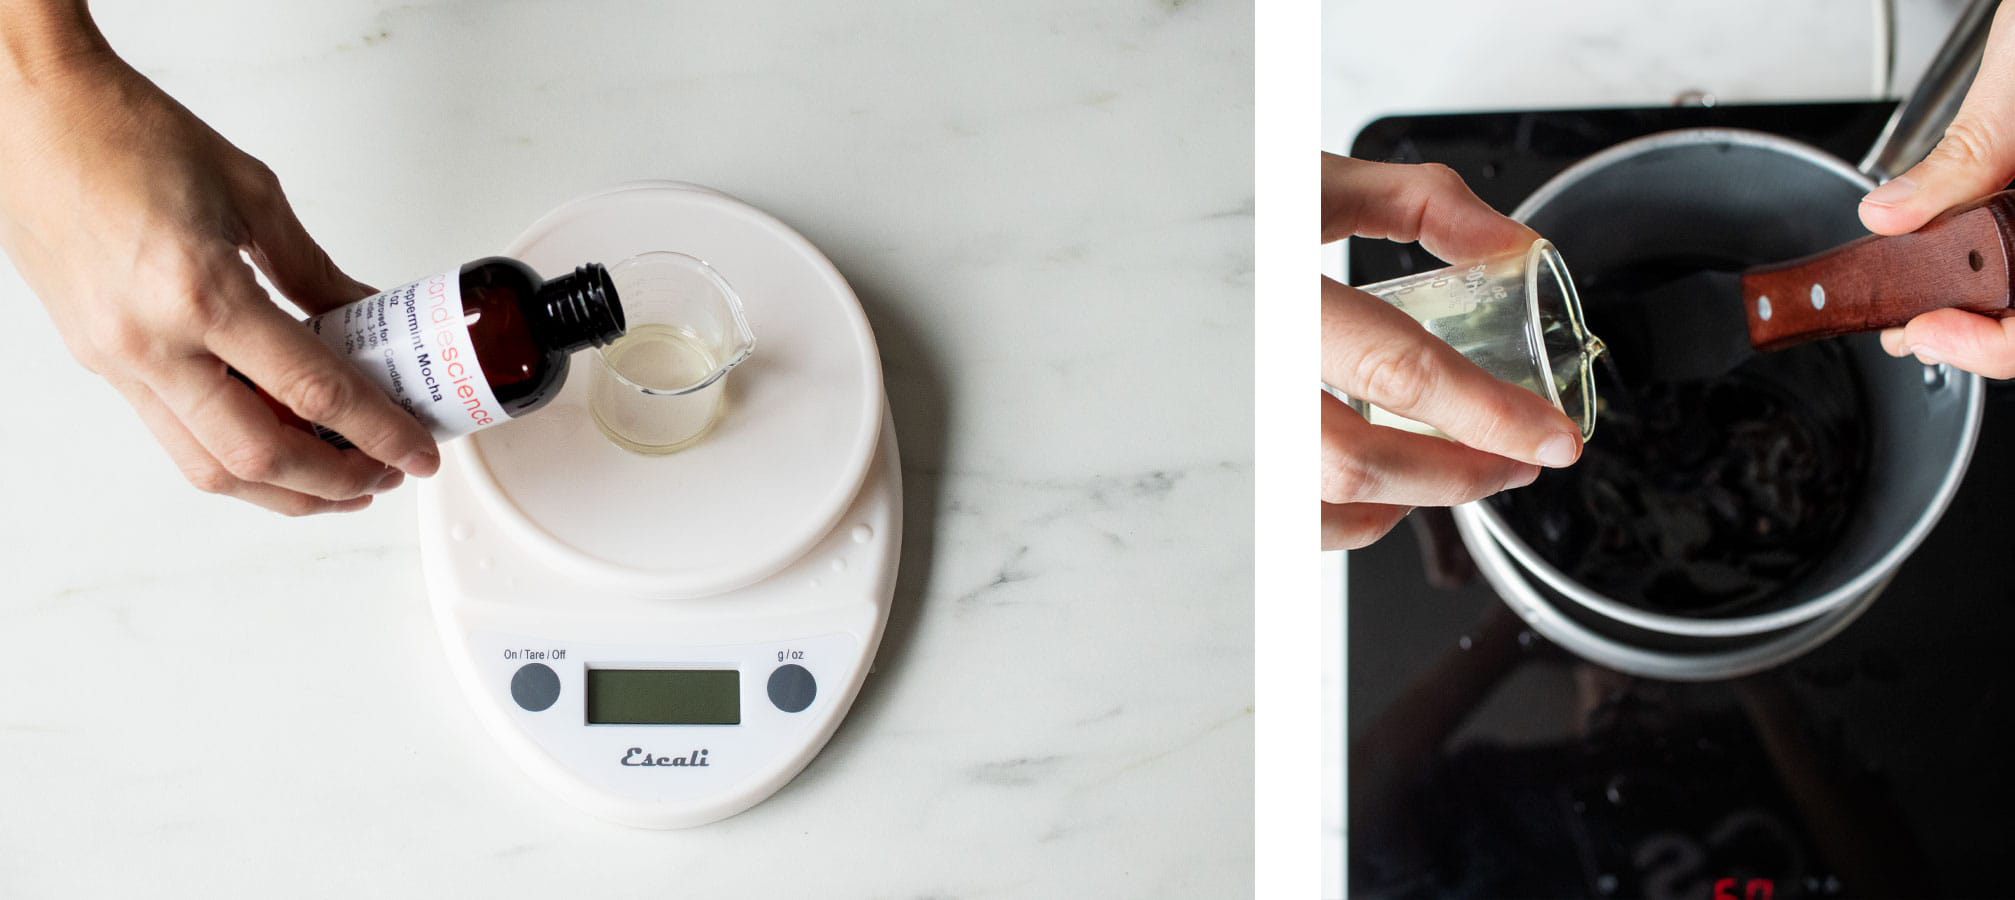
Weigh 1.5 oz (43 g) of Peppermint Mocha fragrance oil. Our fragrance load is about 6%, but you can adjust up or down according to your preference. When the wax reaches 185ºF (85°C), add the fragrance you measured and remove from the heat. Stir gently but thoroughly for 2 minutes to make sure the fragrance binds fully with the wax.
When the wax has cooled to around 135ºF (57.2°C), carefully pour it into the prepared containers. Use a wick bar to center the wick while the candles cool. Allow the candles to cool completely.
Pour the remaining wax into a paper cup and set aside—we’ll make use of it later.
Step 2: Make the whipped topping
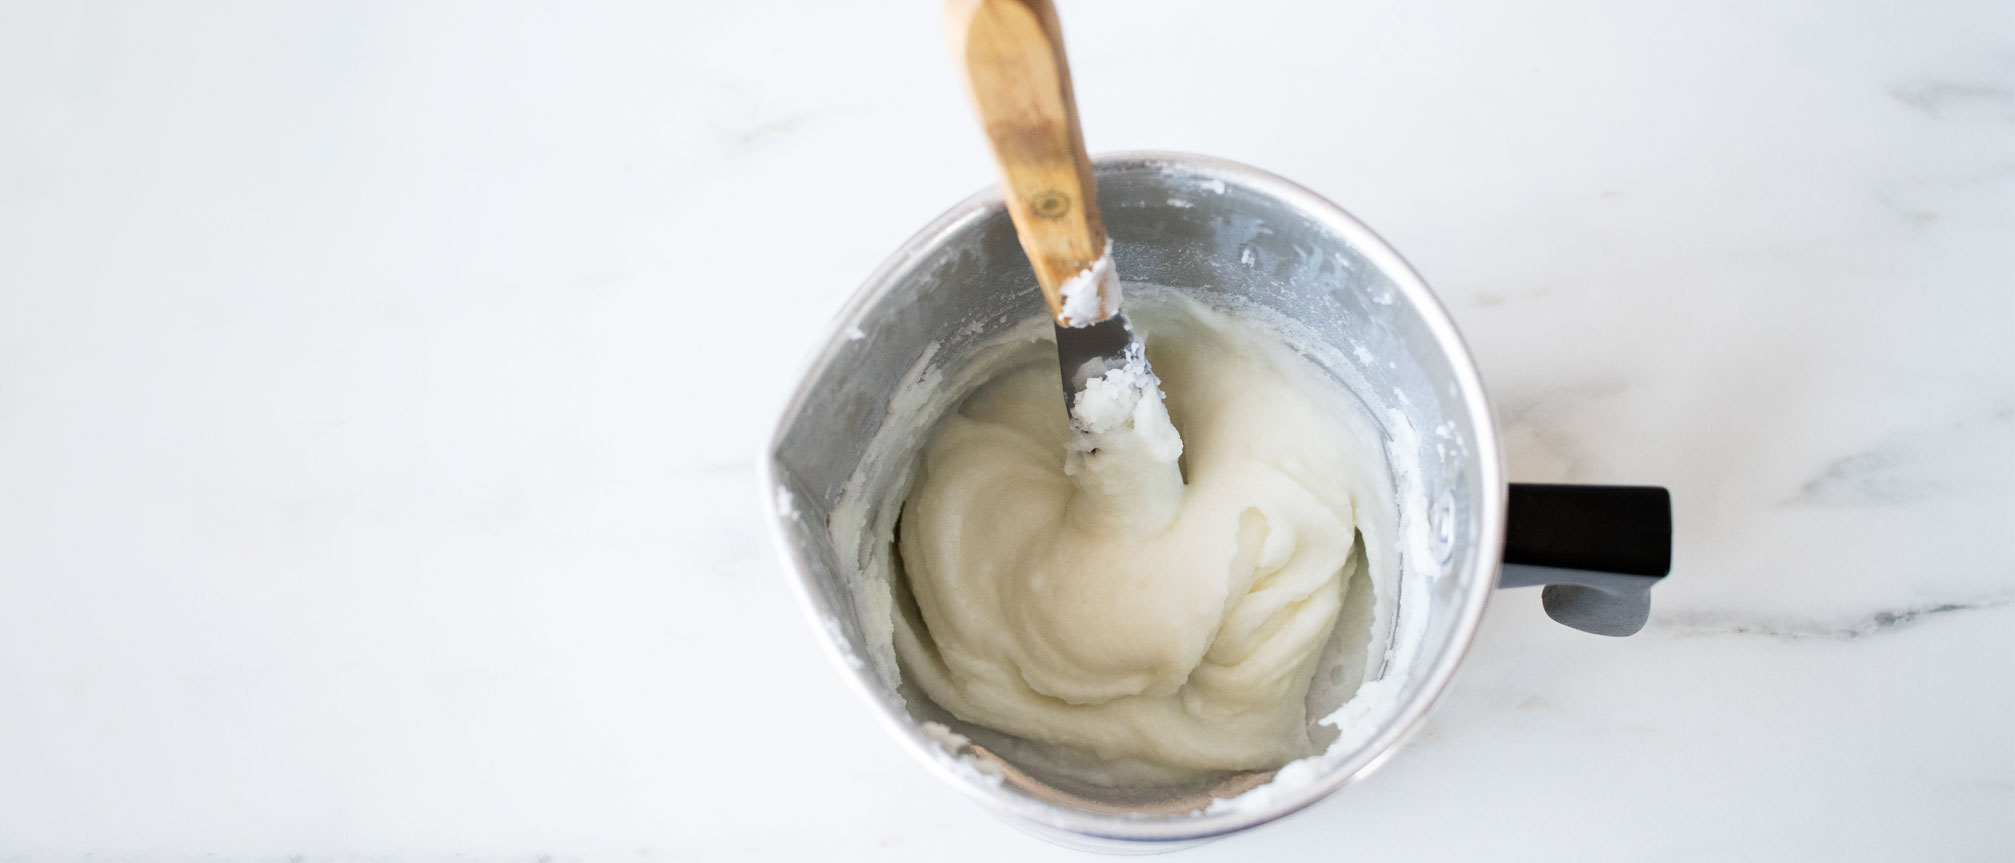
Melt the 8 oz (227 g) of wax you set aside in the small pouring pitcher until it reaches 120ºF (48.9°C) and remove it from the heat. Allow it to cool until the wax around the edges of the pitcher begins to solidify.
With a whisk or other utensil, stir the wax briskly until it begins to thicken and hold its shape.
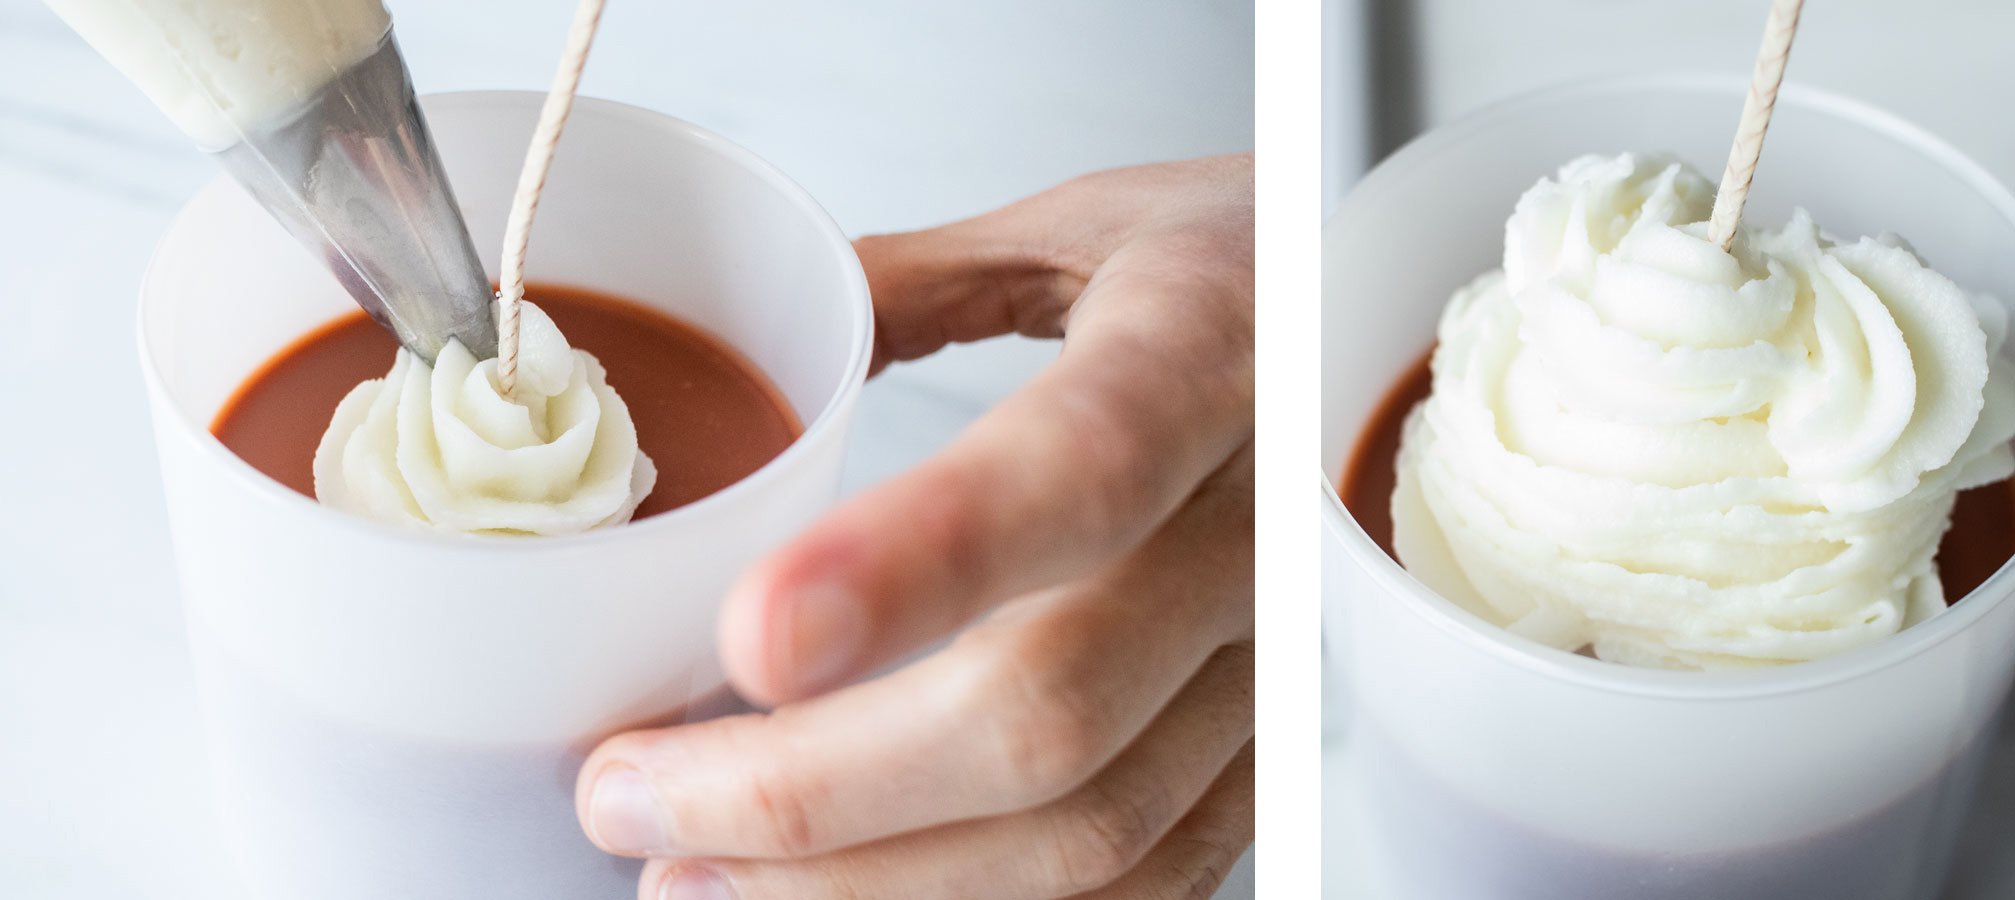
Spoon the soft wax into the piping bag and cut off the tip.
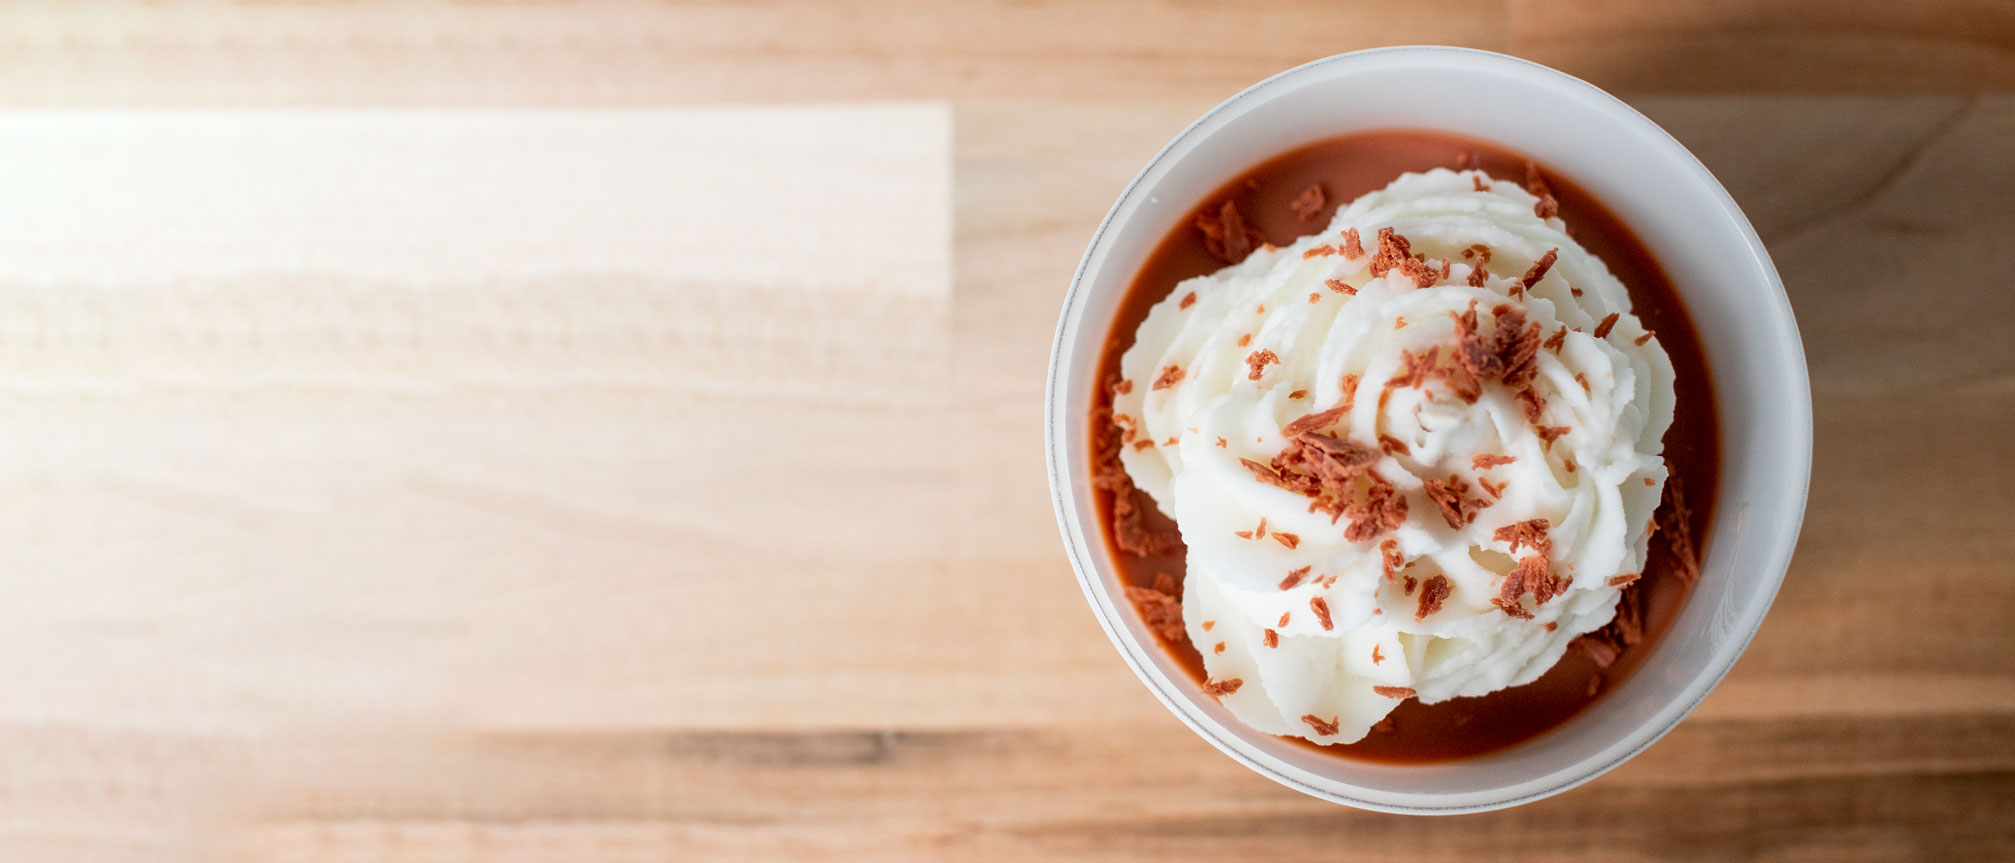
Pipe the soft, whipped wax into a “whipped cream” formation around the wick on top of the Mocha and allow it to cool before further handling.
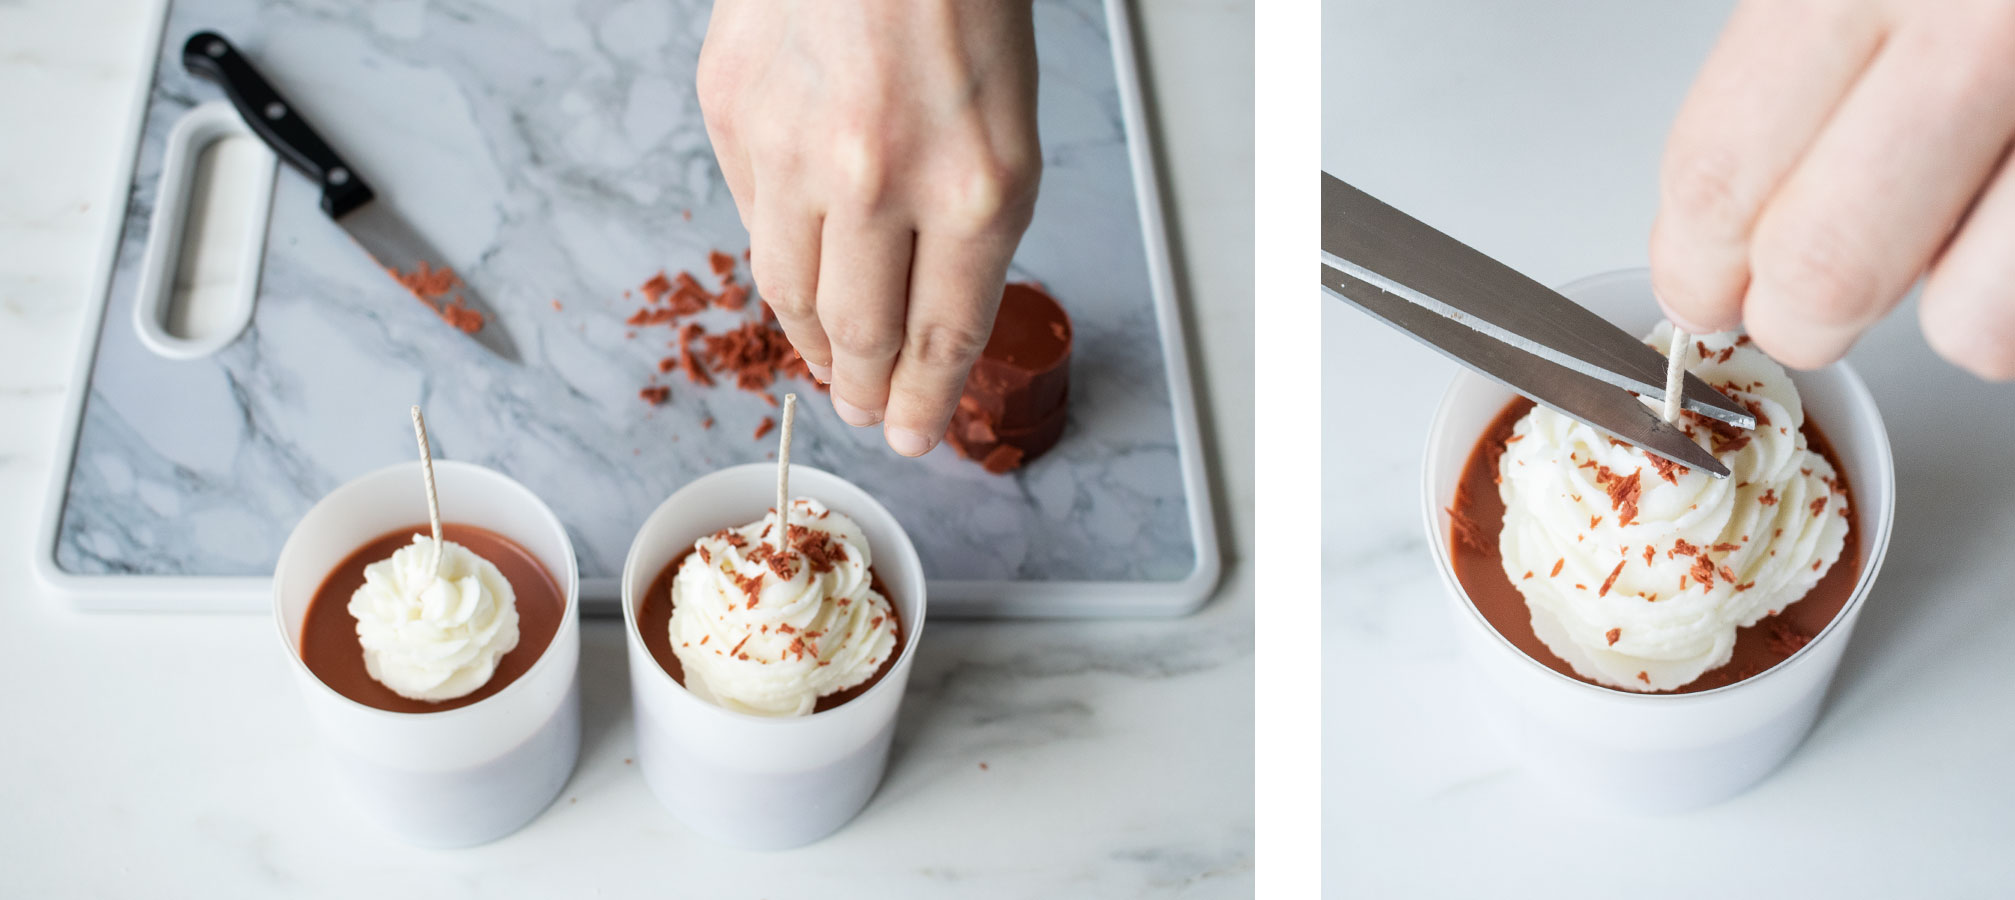
Grab the paper cup of leftover Peppermint Mocha-scented wax you set aside earlier. Peel away the paper so that you have a chunk of wax.
With a paring knife, carefully shave off thin pieces from the chunk of wax. Sprinkle them over the top of the “whipped cream” to create “chocolate shavings” for that perfect finishing touch for your Peppermint Mocha.

Step 3: Finish and enjoy
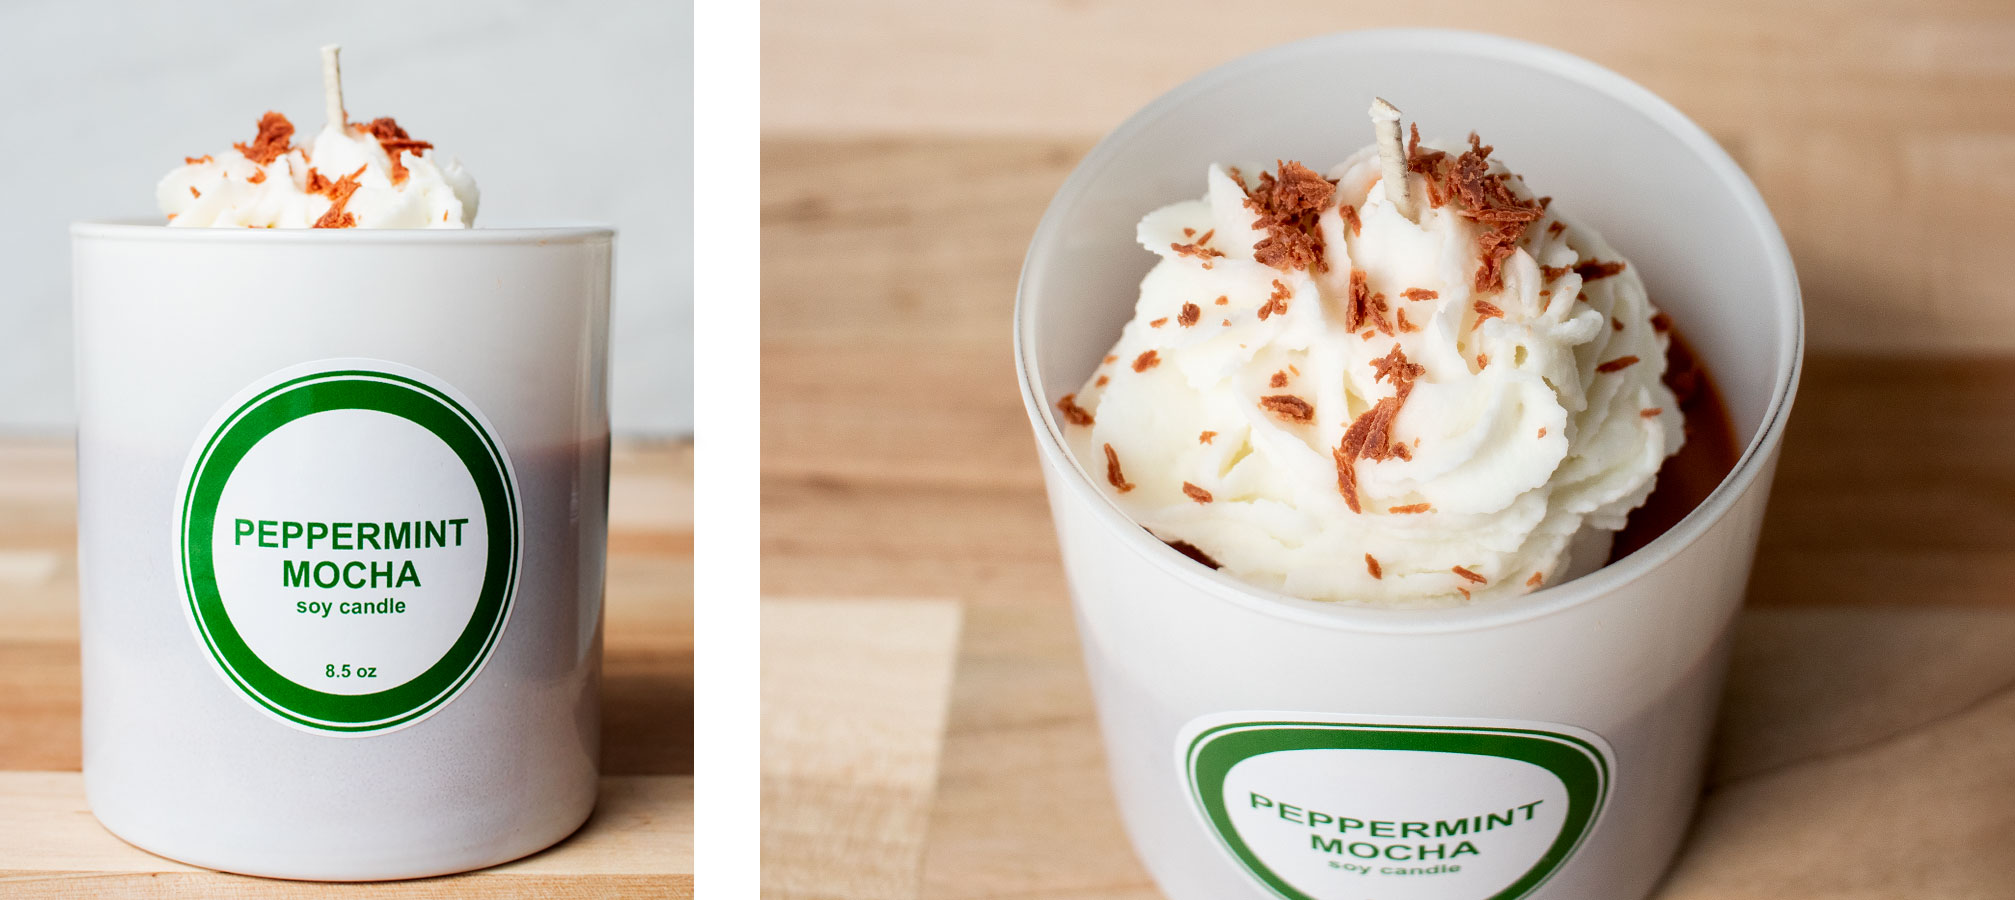
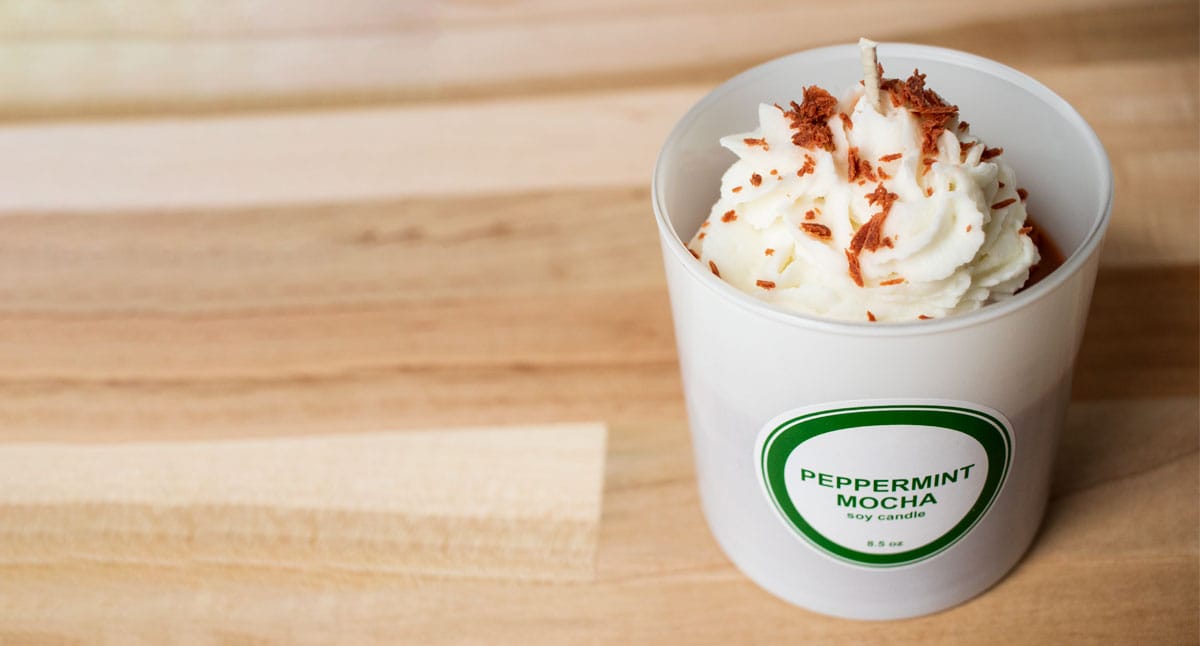
When your Peppermint Mocha candles have cooled completely, trim the wick to ¼” (6 mm) and add a warning label to the bottom.
For optimal fragrance throw, allow the candles to cure for 1-2 weeks before burning.
If you plan on displaying your Peppermint Mocha candles in your home (may we suggest at the coffee bar?) or giving them as gifts, add the special finishing touch of your own custom label. We designed this familiar-looking label in Avery WePrint using the 2" (5 cm) circle on white gloss paper—head over to avery.com/candlescience to get started designing your own and take 10% off your label order!