DIY citronella candles
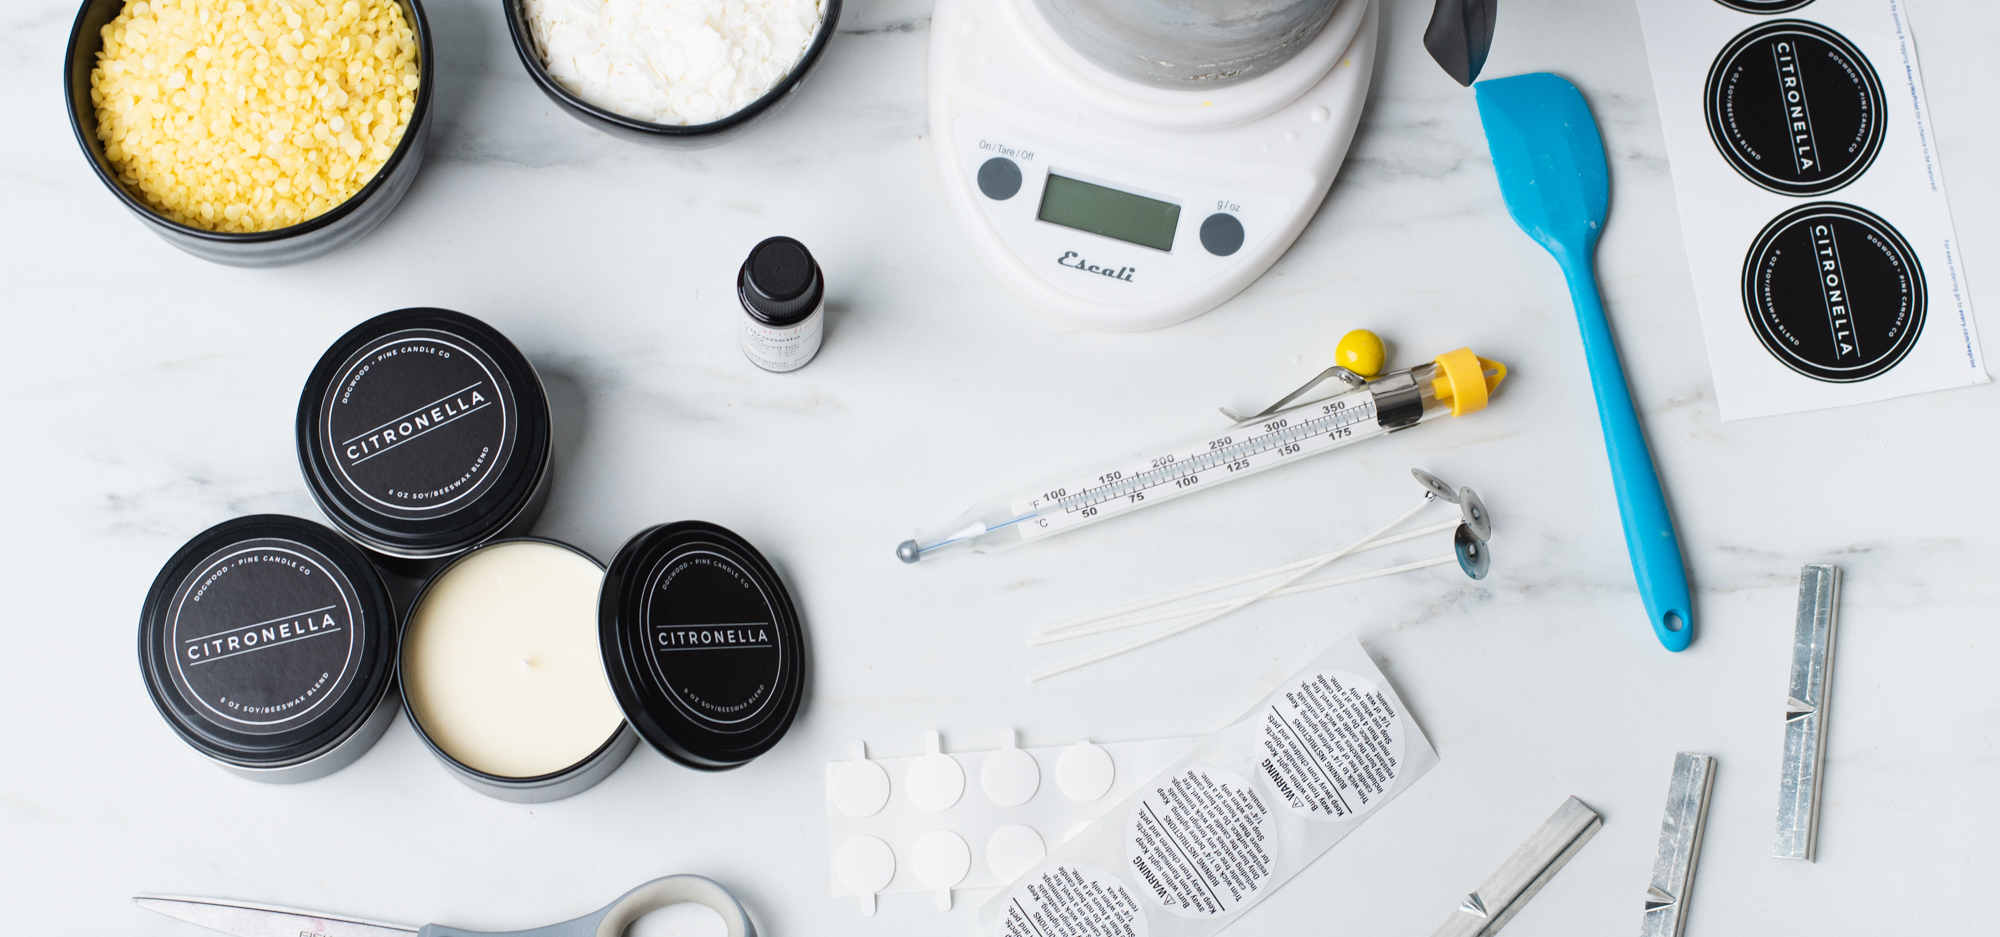
Citronella is an uplifting scent that sets the mood for cheerful summertime gatherings. Make your own Citronella candles with this beginner-friendly tutorial.
Summer is the time for enjoying the outdoors with friends and family. These DIY Citronella candles are the perfect accessory for warm weather. They're also thoughtful and practical handmade gifts, so keep some on hand for last-minute presents or backyard barbeque invites. You can never have too many Citronella candles in the summertime!
In order to keep our projects up to date and on trend, we will sometimes make adjustments or updates. This tutorial was updated on 6/12/23.
EO Notes: You can also use candle-approved essential oils for this project. Check the recommended usage percentage on the essential oil product page and start with low percentages. How to Make Soy Candles with Essential Oils
Additional Items Needed:
- Paper towels
- Isopropyl rubbing alcohol
- Stirring spatula
- Scissors or wick trimmer
Wax Blend Note: To ensure our citronella candles can withstand the summer heat, we blended Golden Brands 444 soy wax with our yellow beeswax using an 80:20 ratio of soy wax to beeswax. This blend raises the melting point of the wax to a temperature high enough to stay solid during the warm summer days.
Directions:
Step 1: Calculate wax weights
Approximately 16 oz (454 g) of wax is needed to fill three 8 oz candle tins.
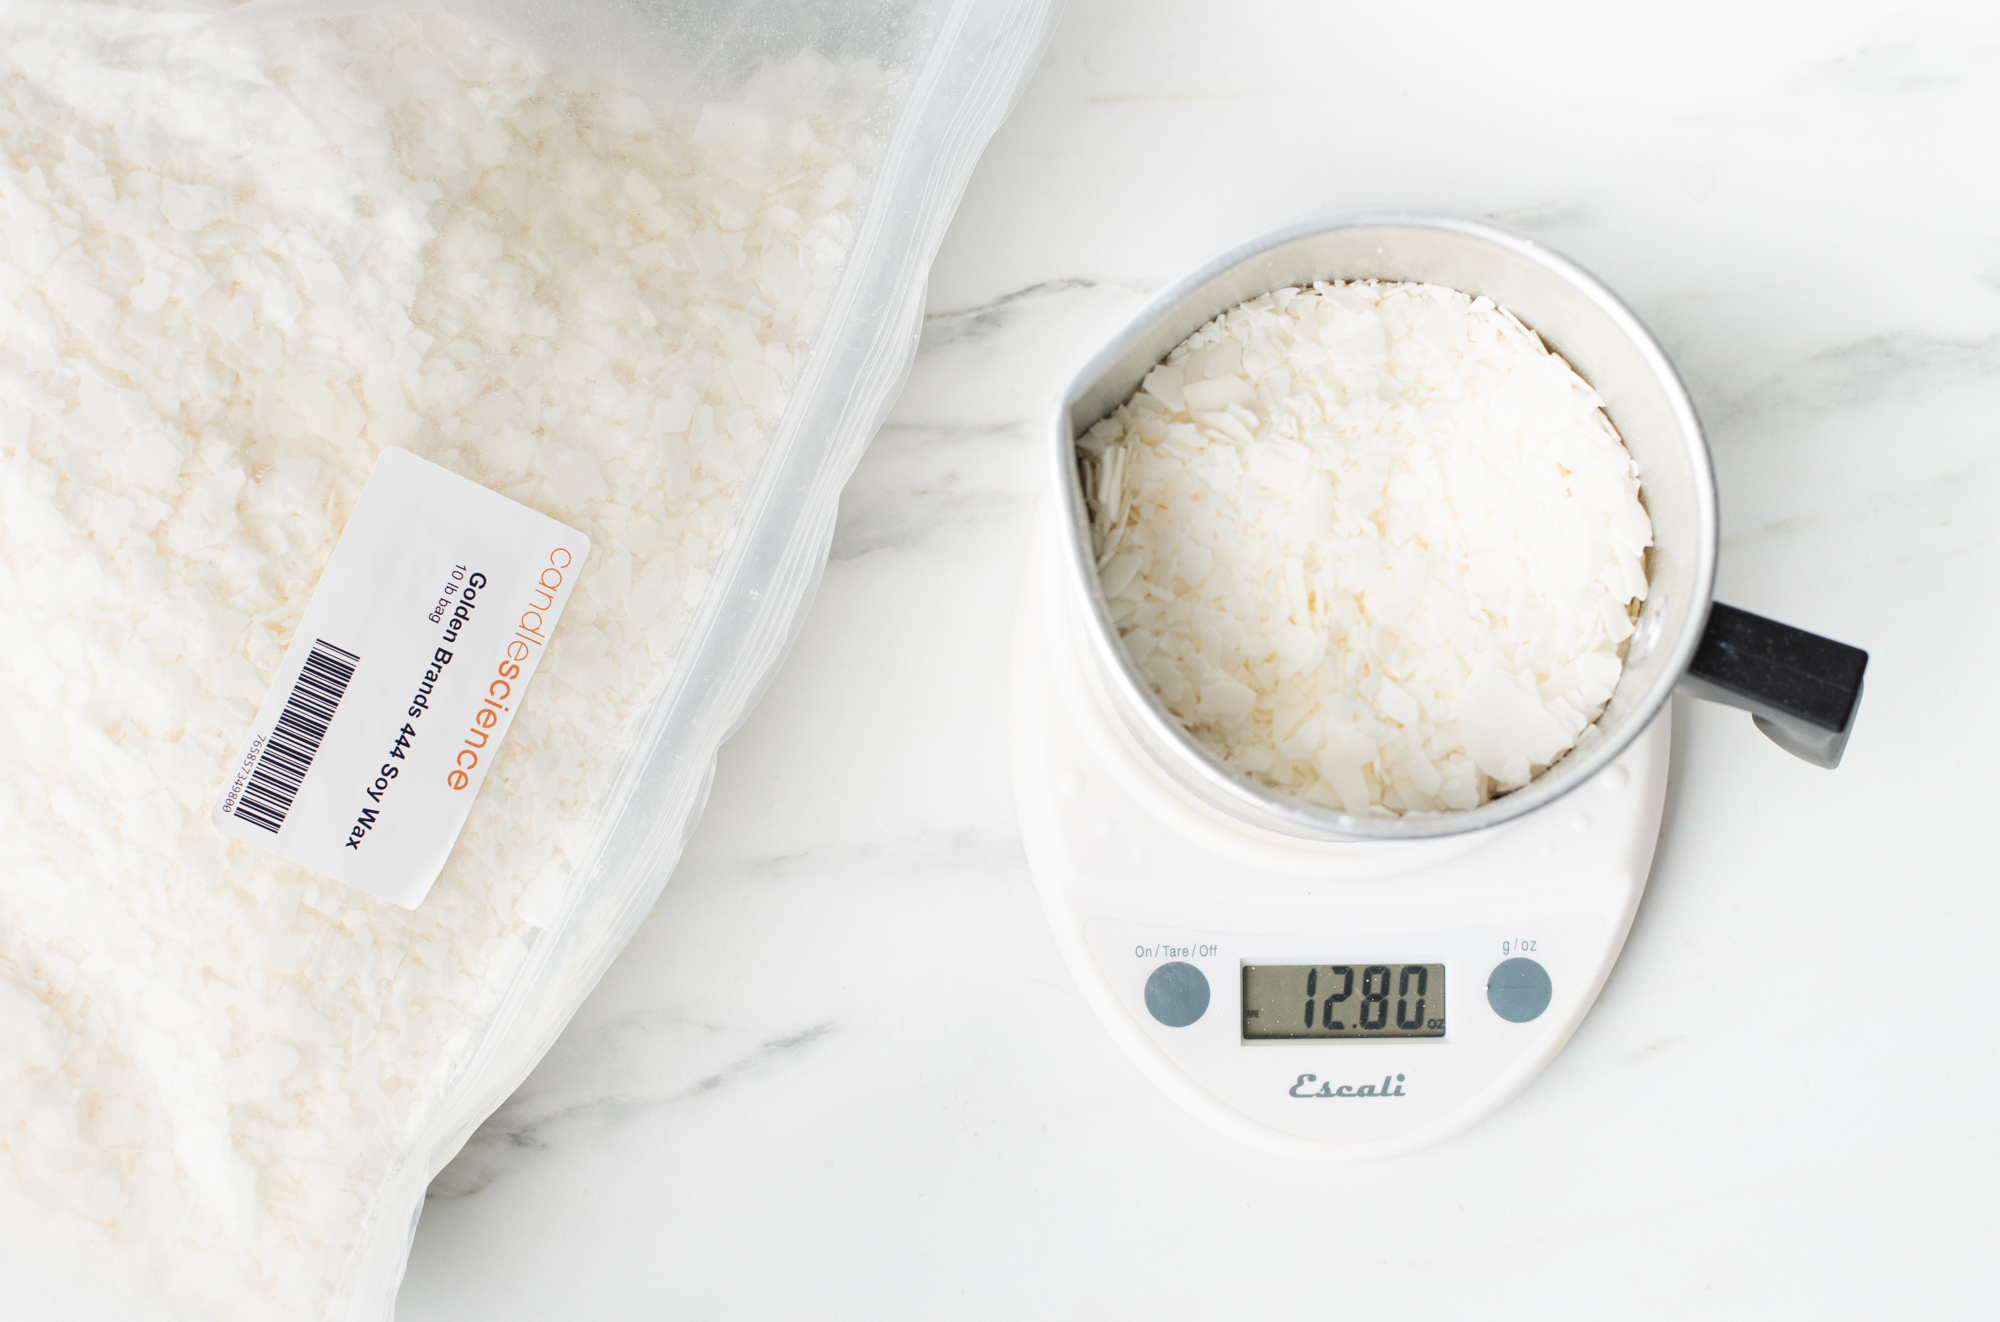
To calculate the 80% soy wax ratio, multiply 16 oz by 0.8 (80%) which equals 12.8 oz (363 g).
16 x .8 = 12.8
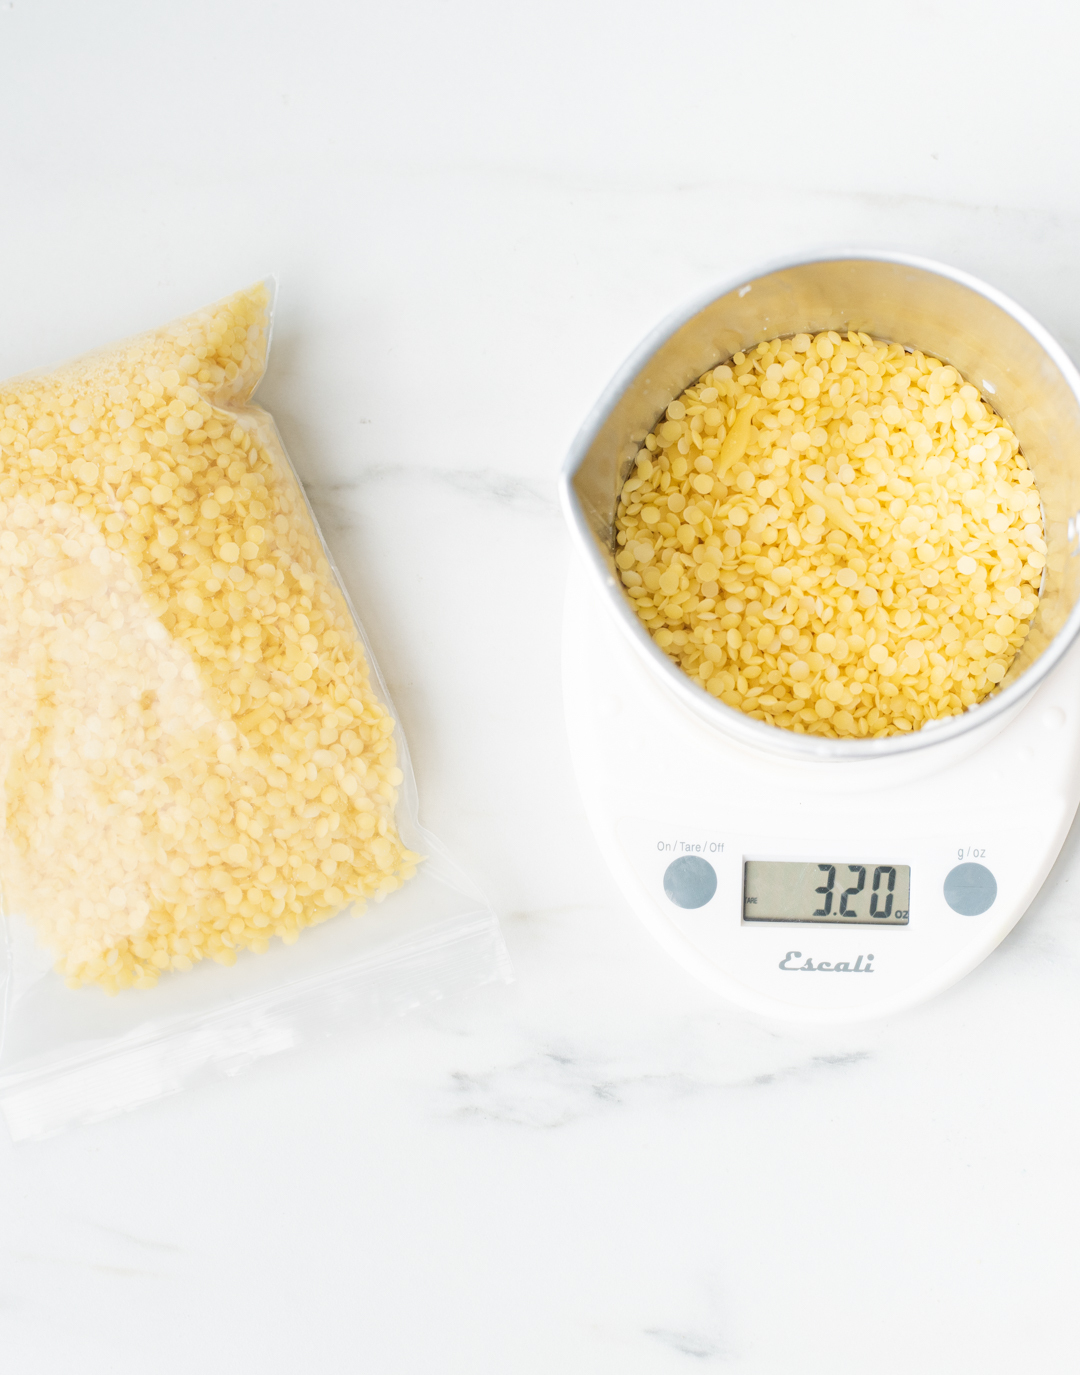
To calculate the 20% beeswax ratio, multiply 16 oz by 0.2 (20%) which equals 3.2 oz (91 g).
Step 2: Weigh waxes
We weighed each wax separately to ensure accuracy.
Place the pouring pitcher on your digital scale and tare the weight. Weigh 12.8 oz (363 g) of the Golden Brands 444 Wax in the pouring pitcher. Set aside.
Place a second pouring pitcher, or a plastic container, on the scale and tare the weight. Weigh 3.2 oz (91 g) of the Yellow Beeswax.
Step 3: Melt wax
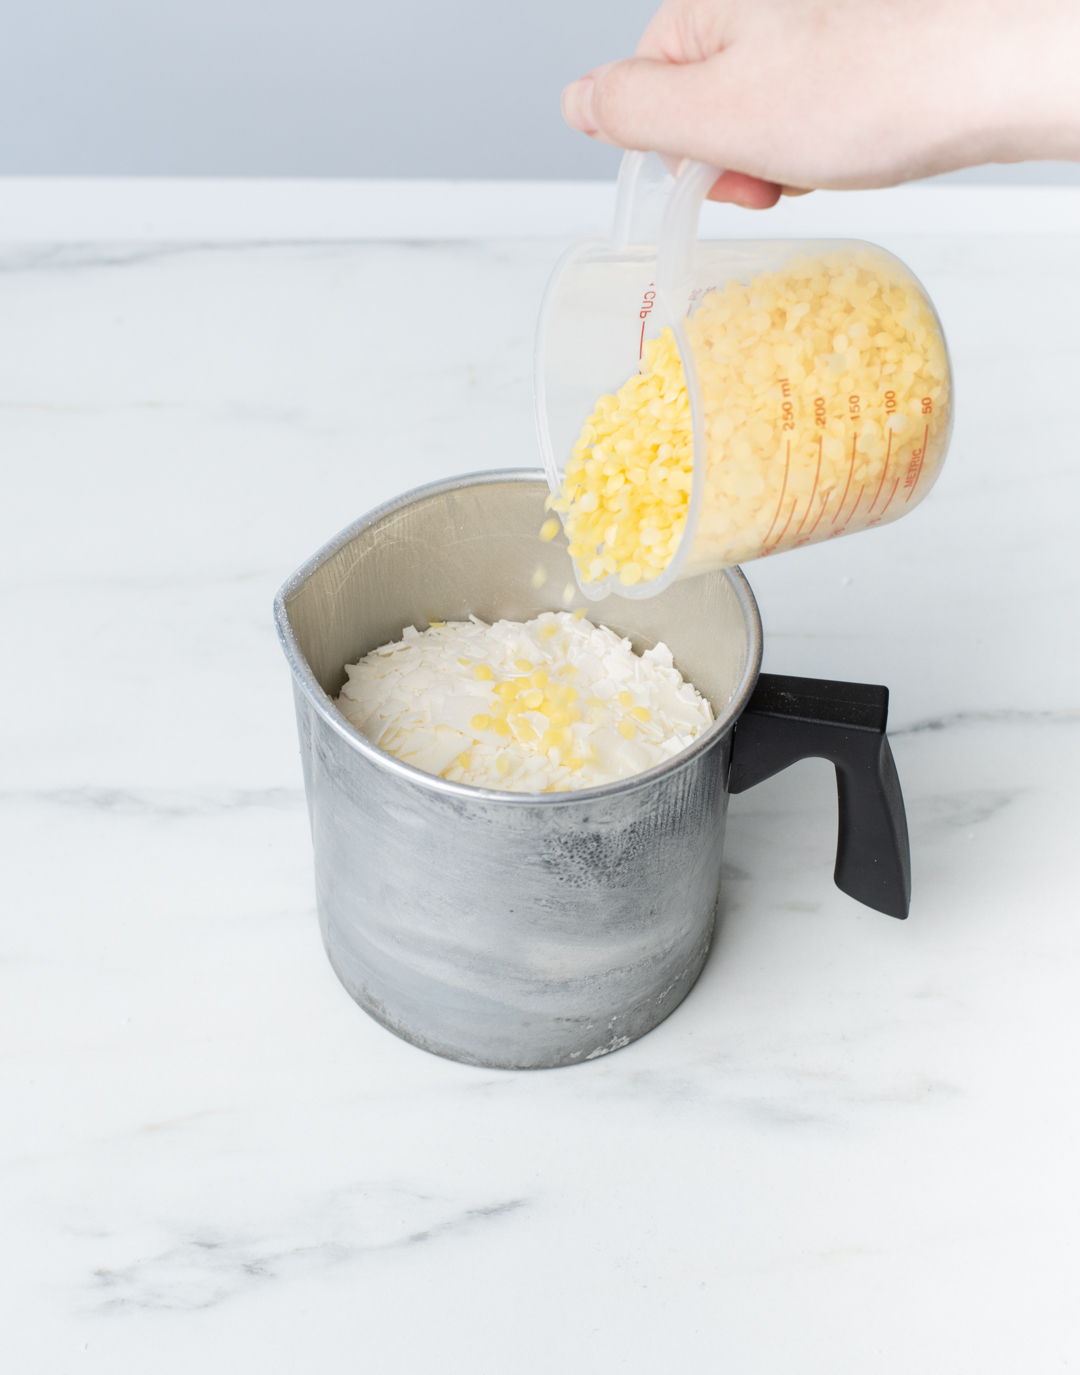
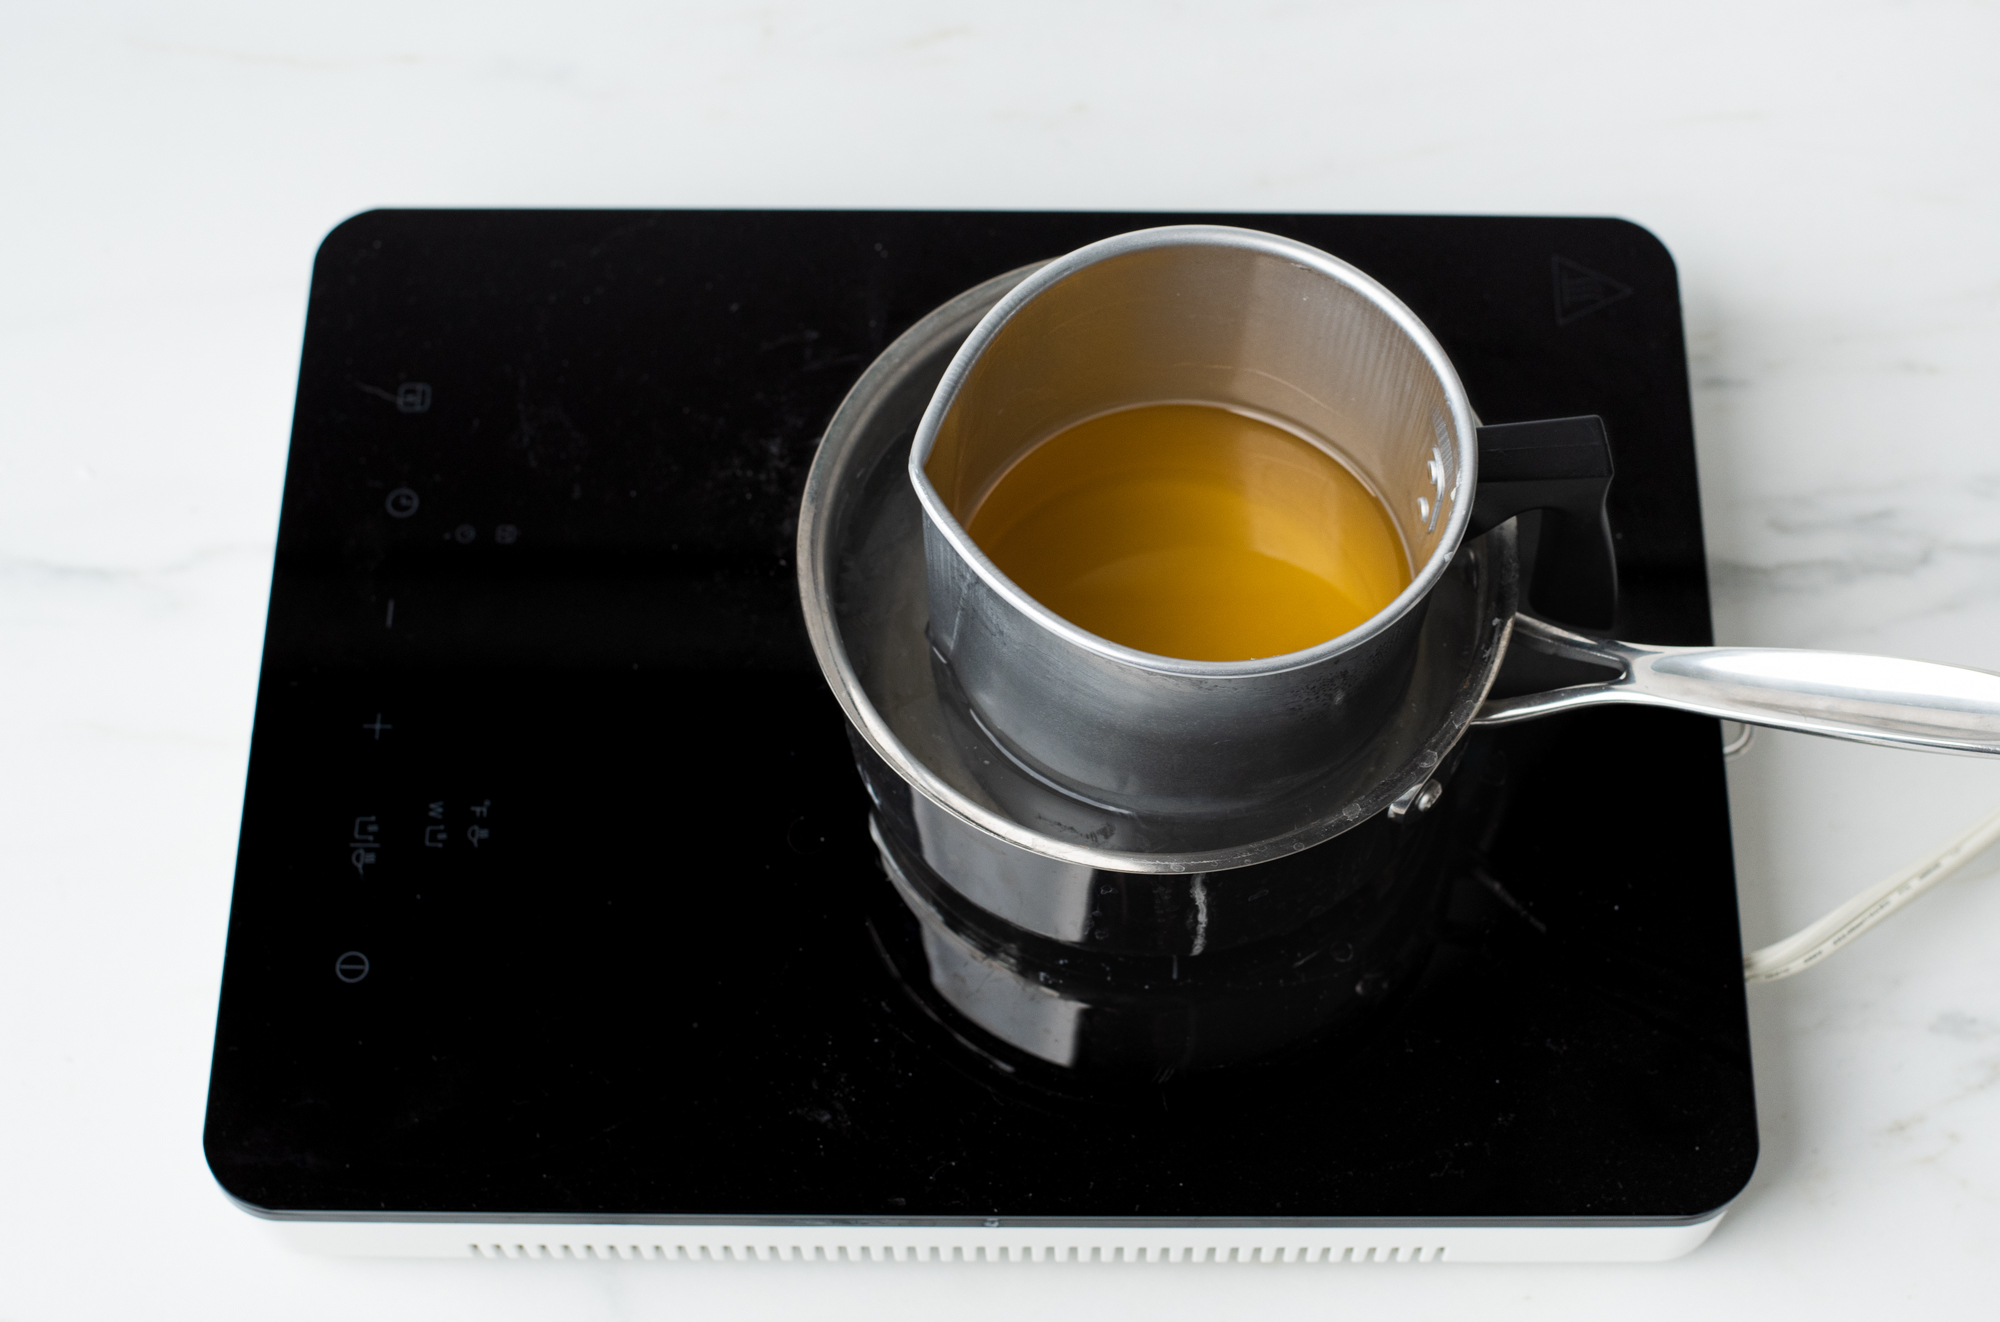
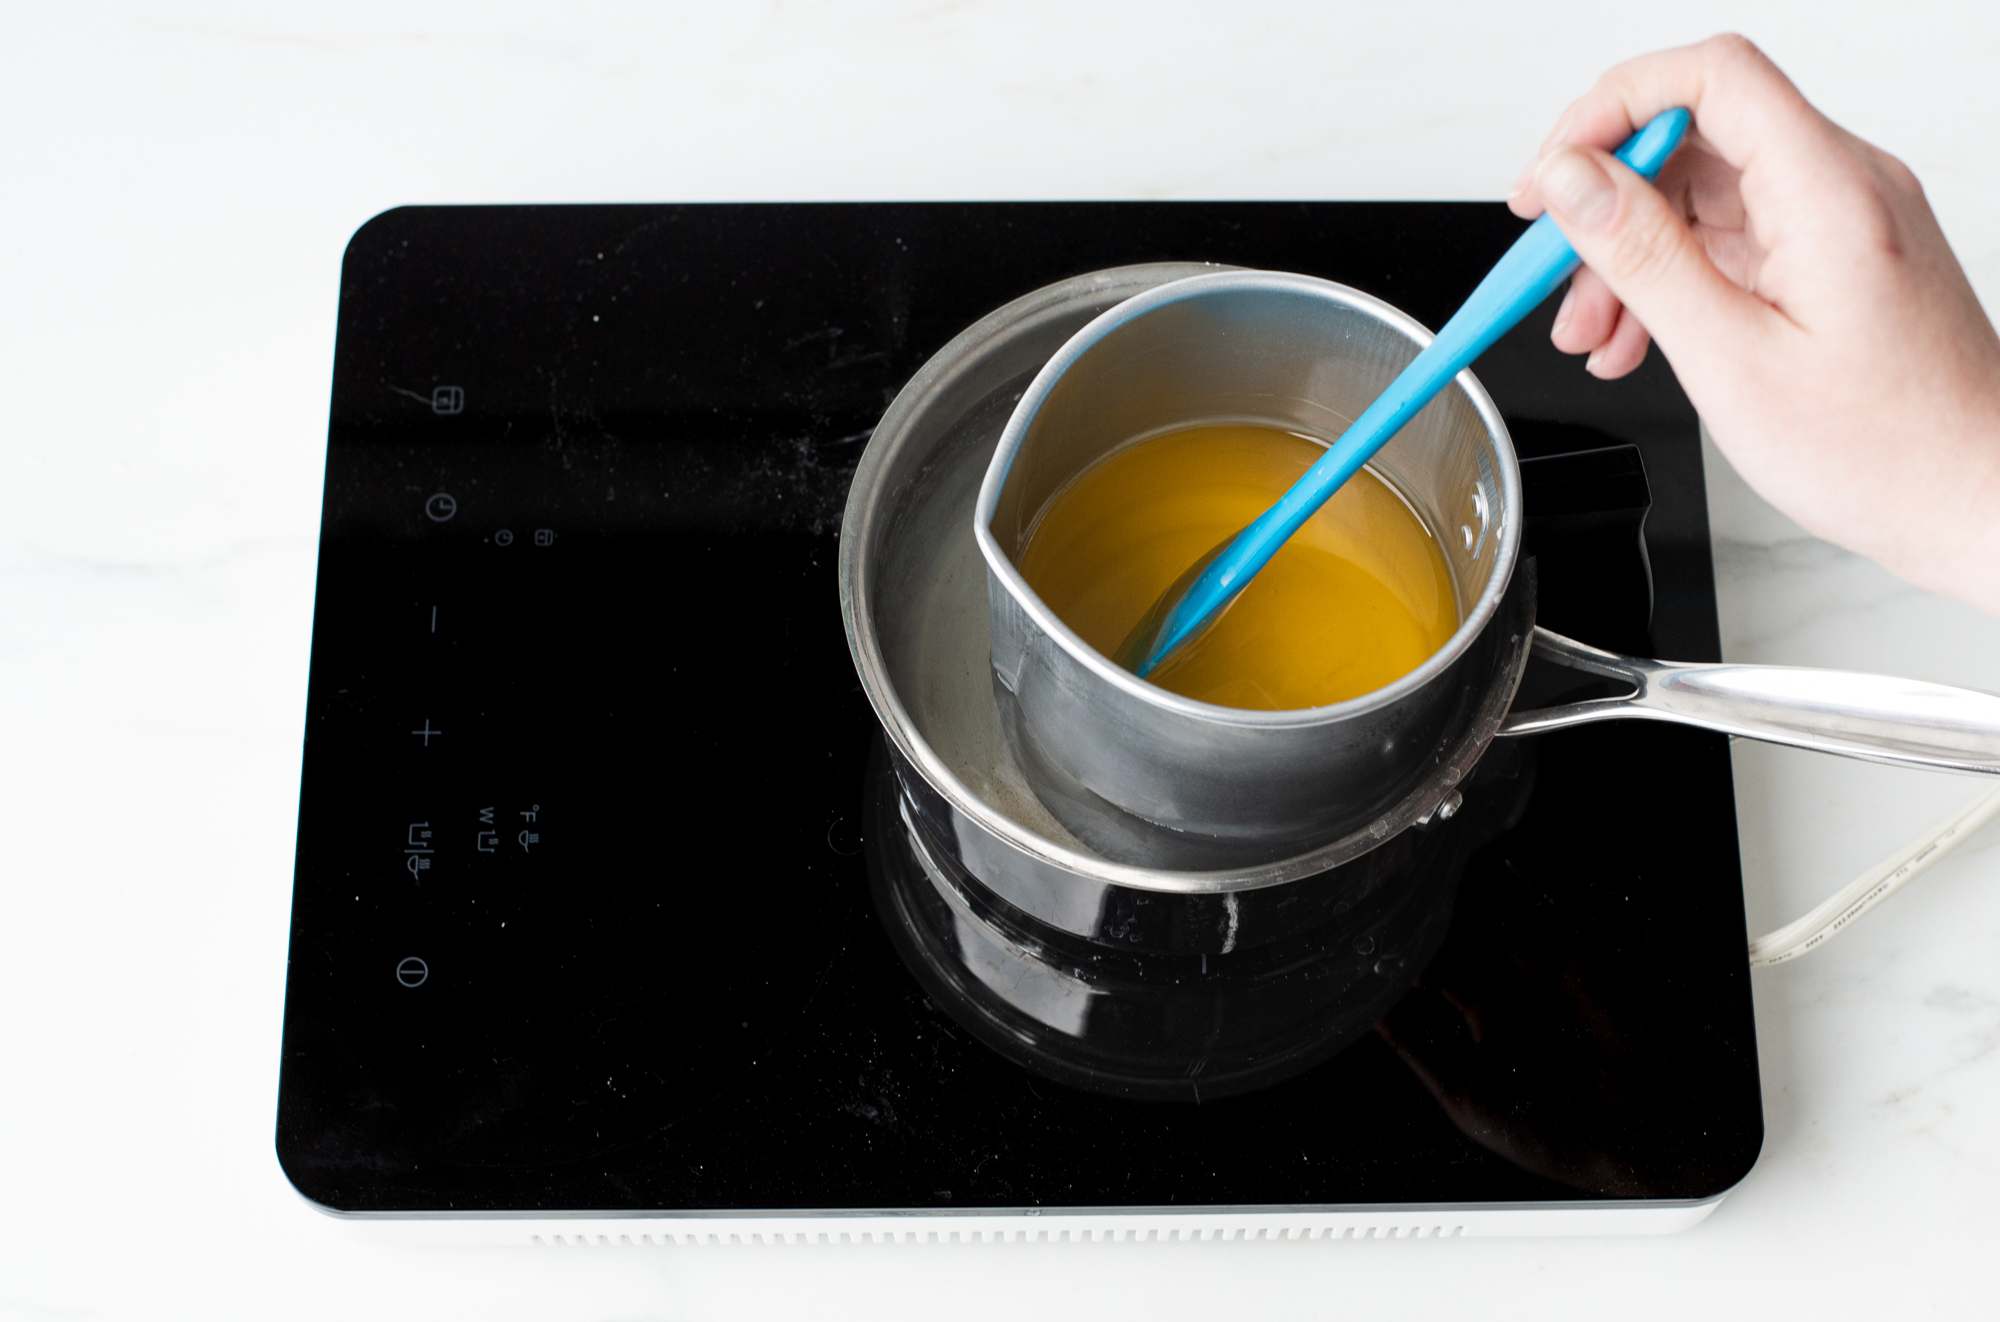
Combine your weighed waxes into one pouring pitcher. Melt the wax with a double boiler or on a hot plate.
Step 4: Prepare candle tins
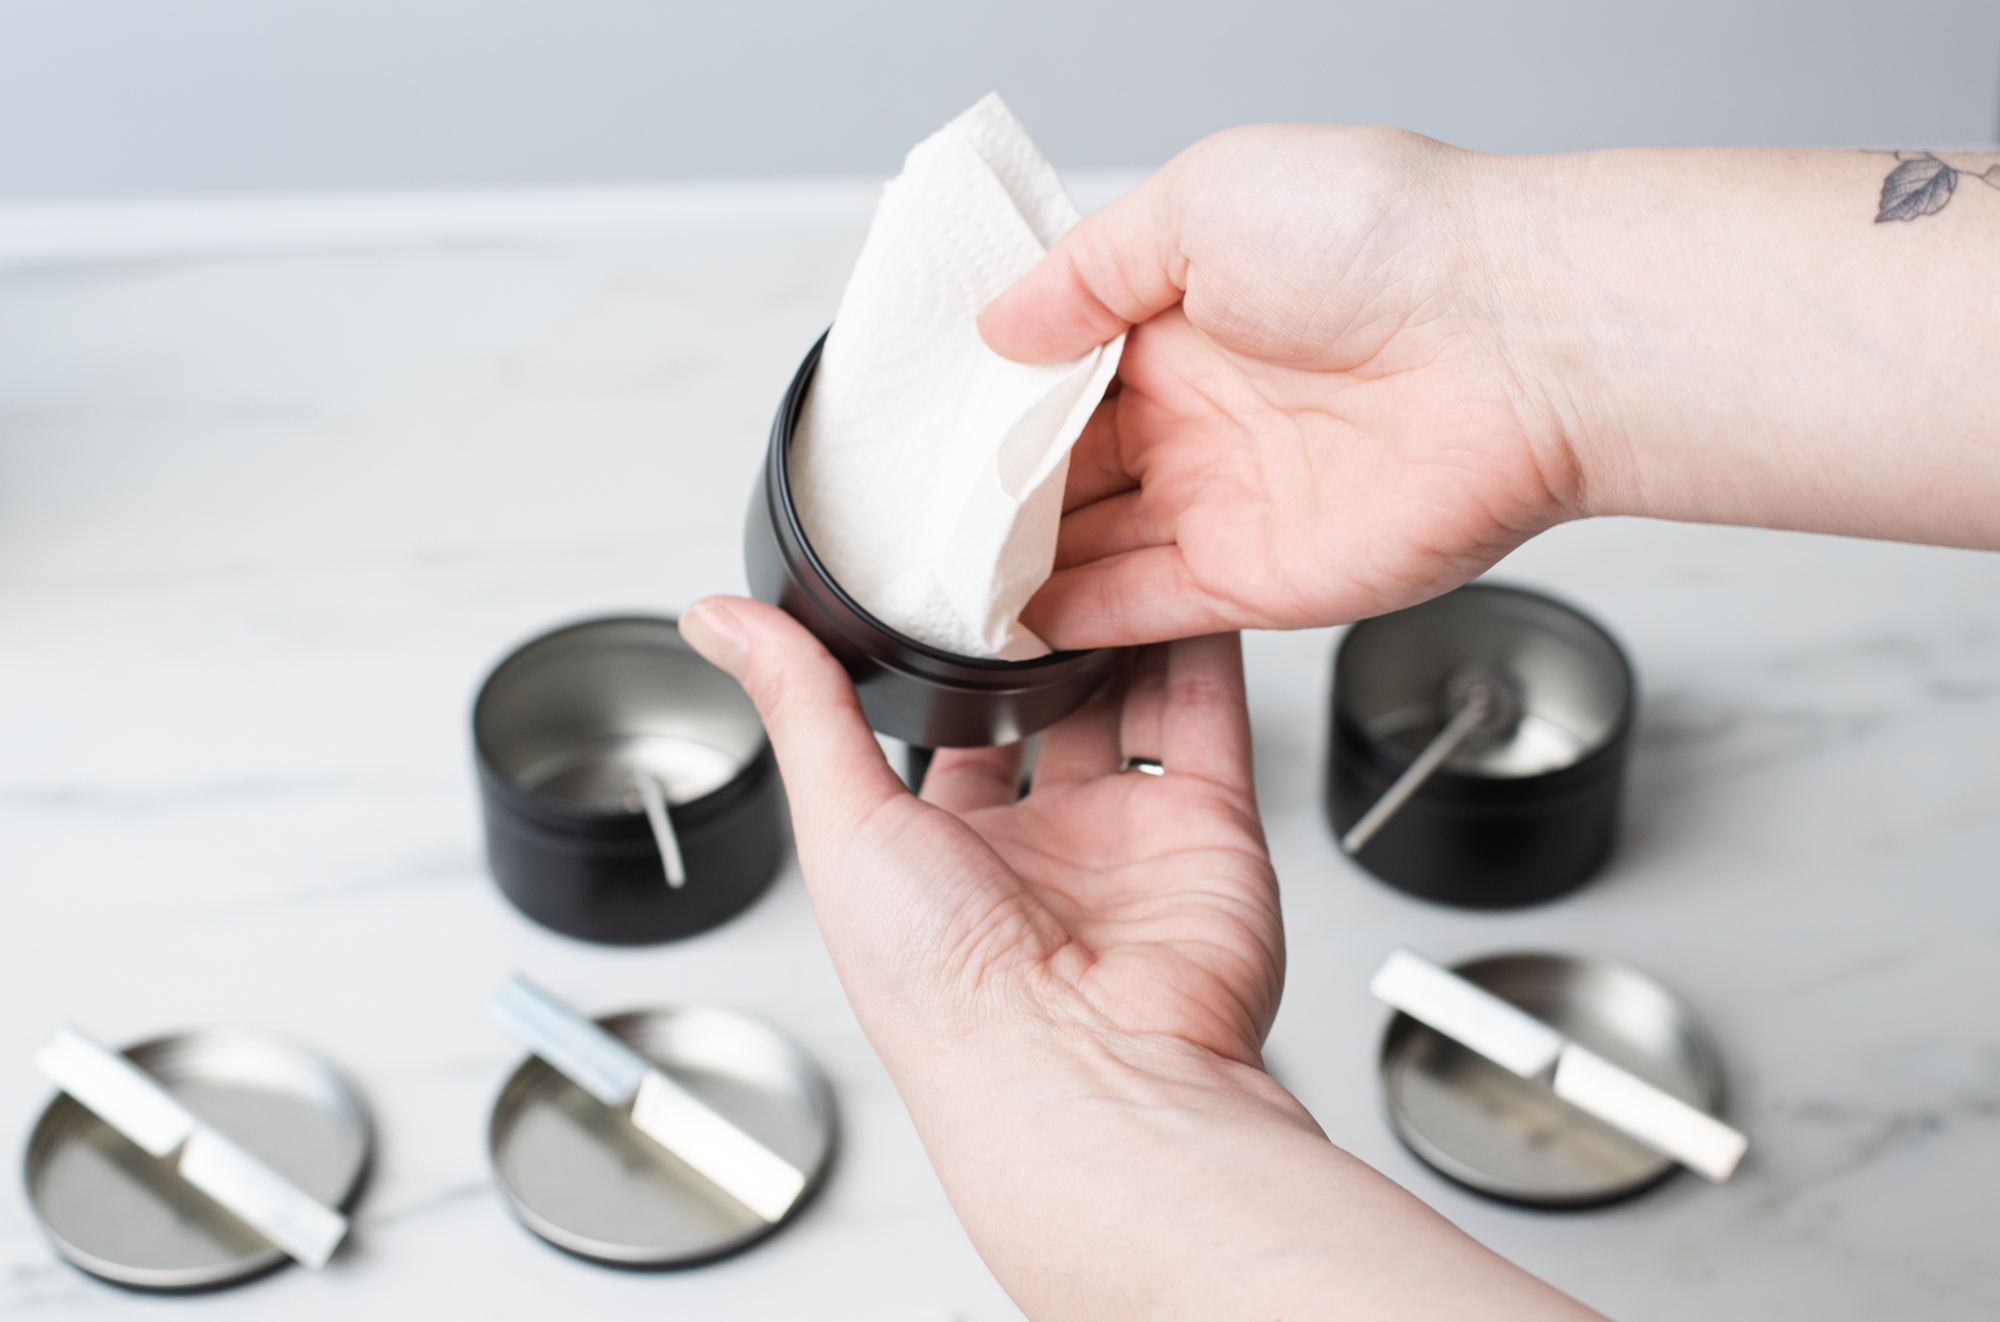
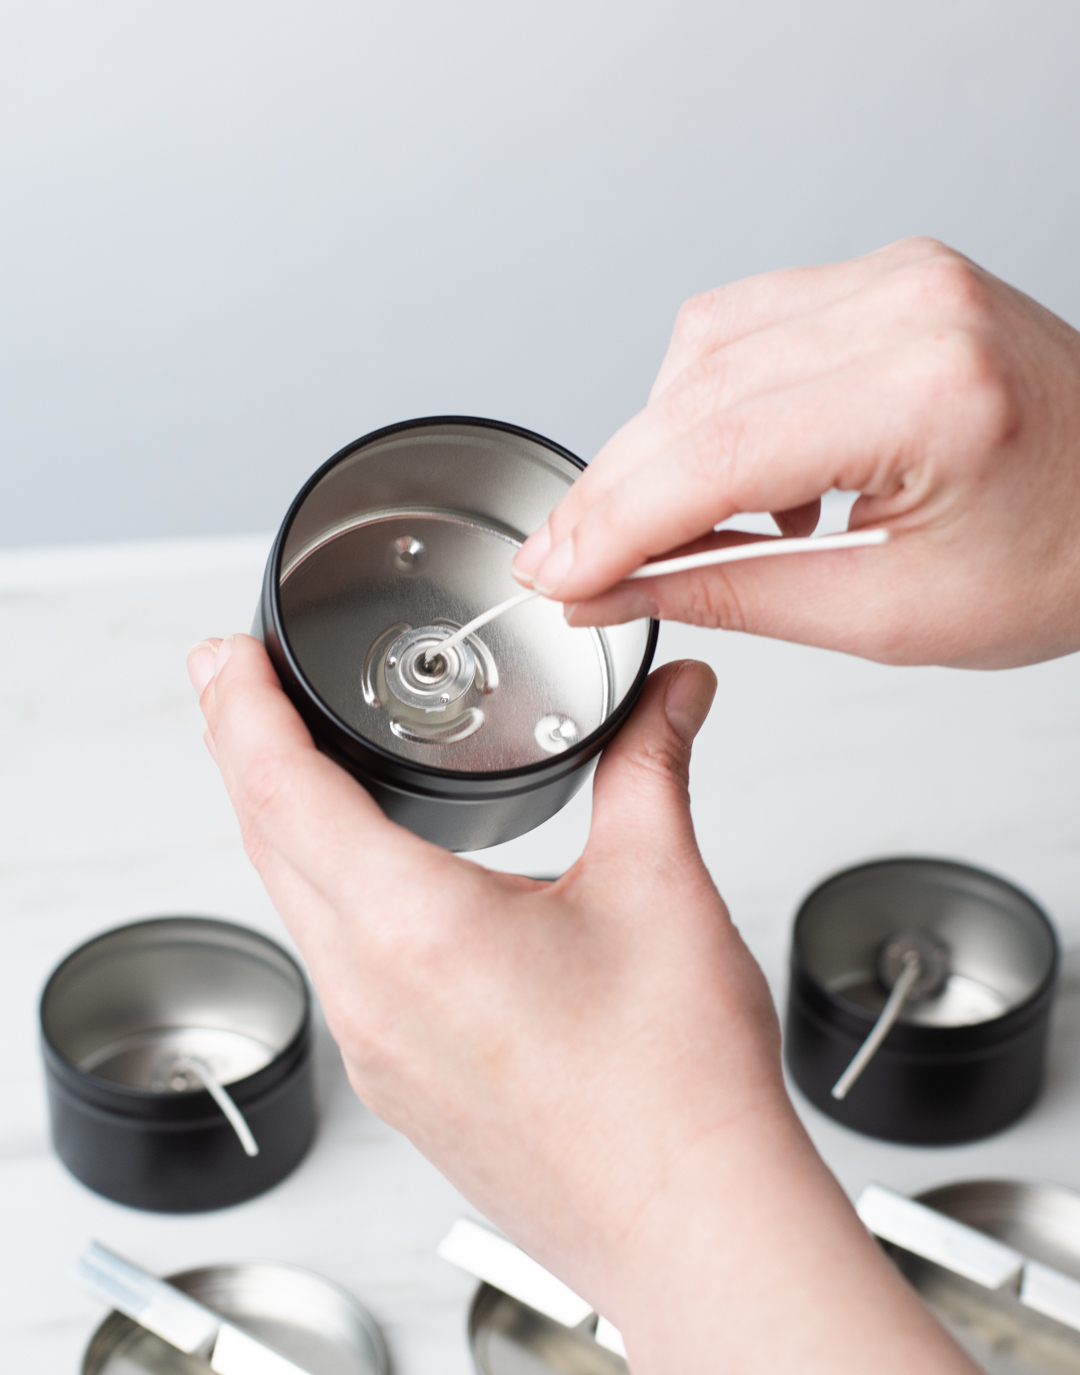
While your wax melts, wipe out your 8 oz candle tins with a small amount of isopropyl alcohol and a clean paper towel. Using a wick sticker, center one ECO 14 wick in each jar.
Step 5: Add your fragrance oil
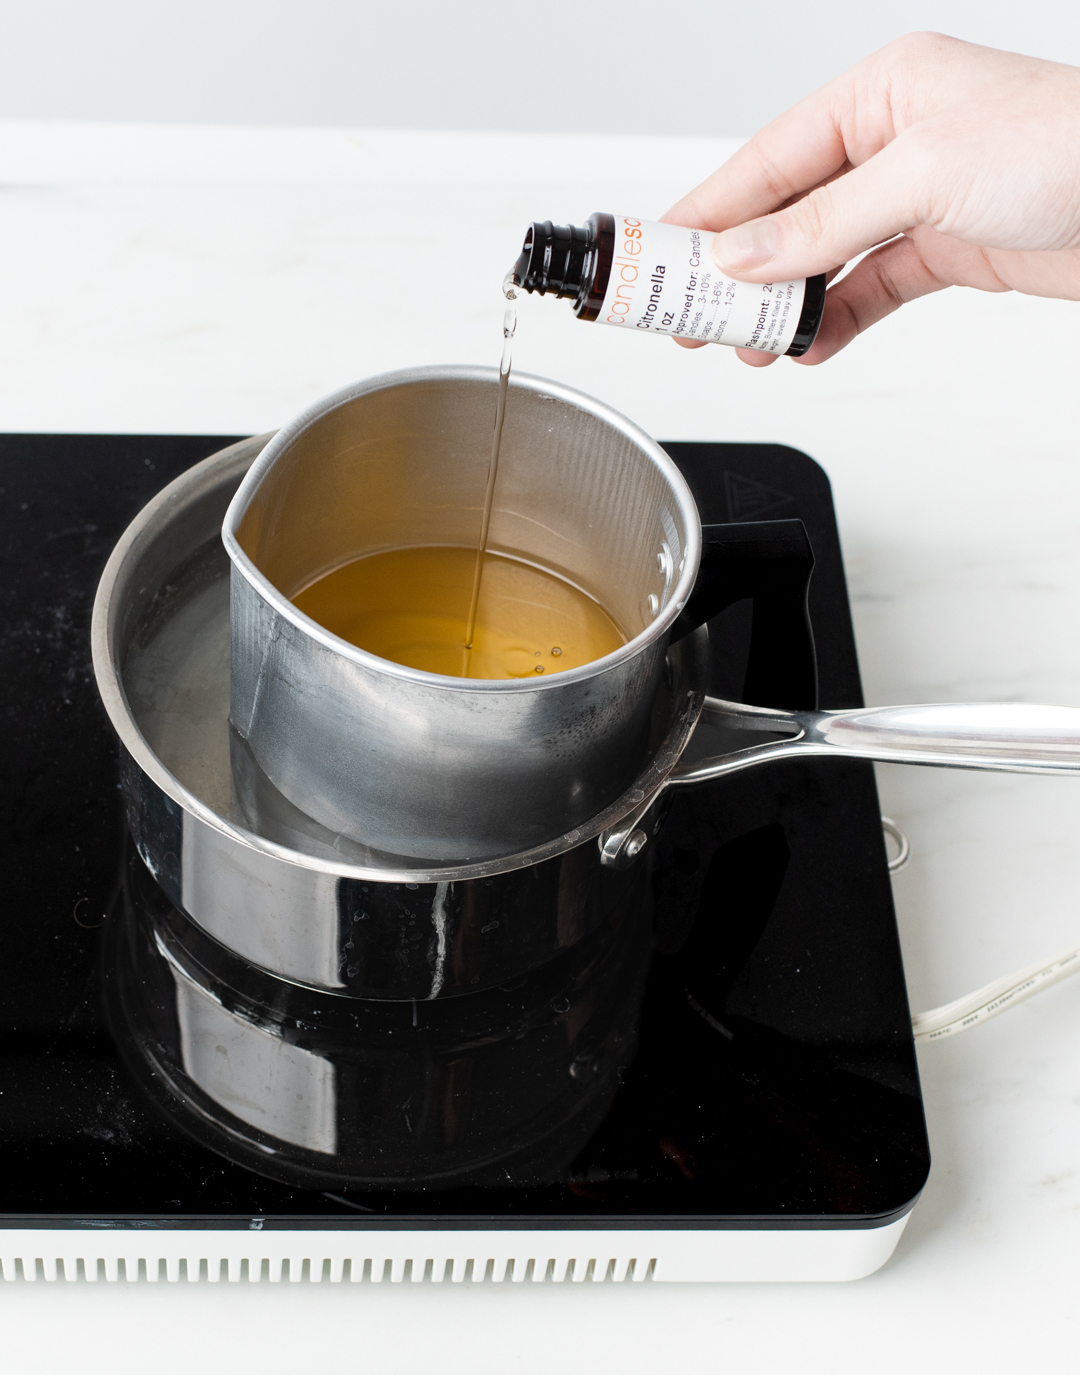
Once your wax has reached 185°F (85°C), add the 1 oz (28 g) bottle of Citronella fragrance oil, approximately a 7% fragrance load. Remove the pitcher from heat and stir gently for 2 minutes to ensure that the oil is fully incorporated with the wax.
Step 6: Pour the wax into the prepared candle jar
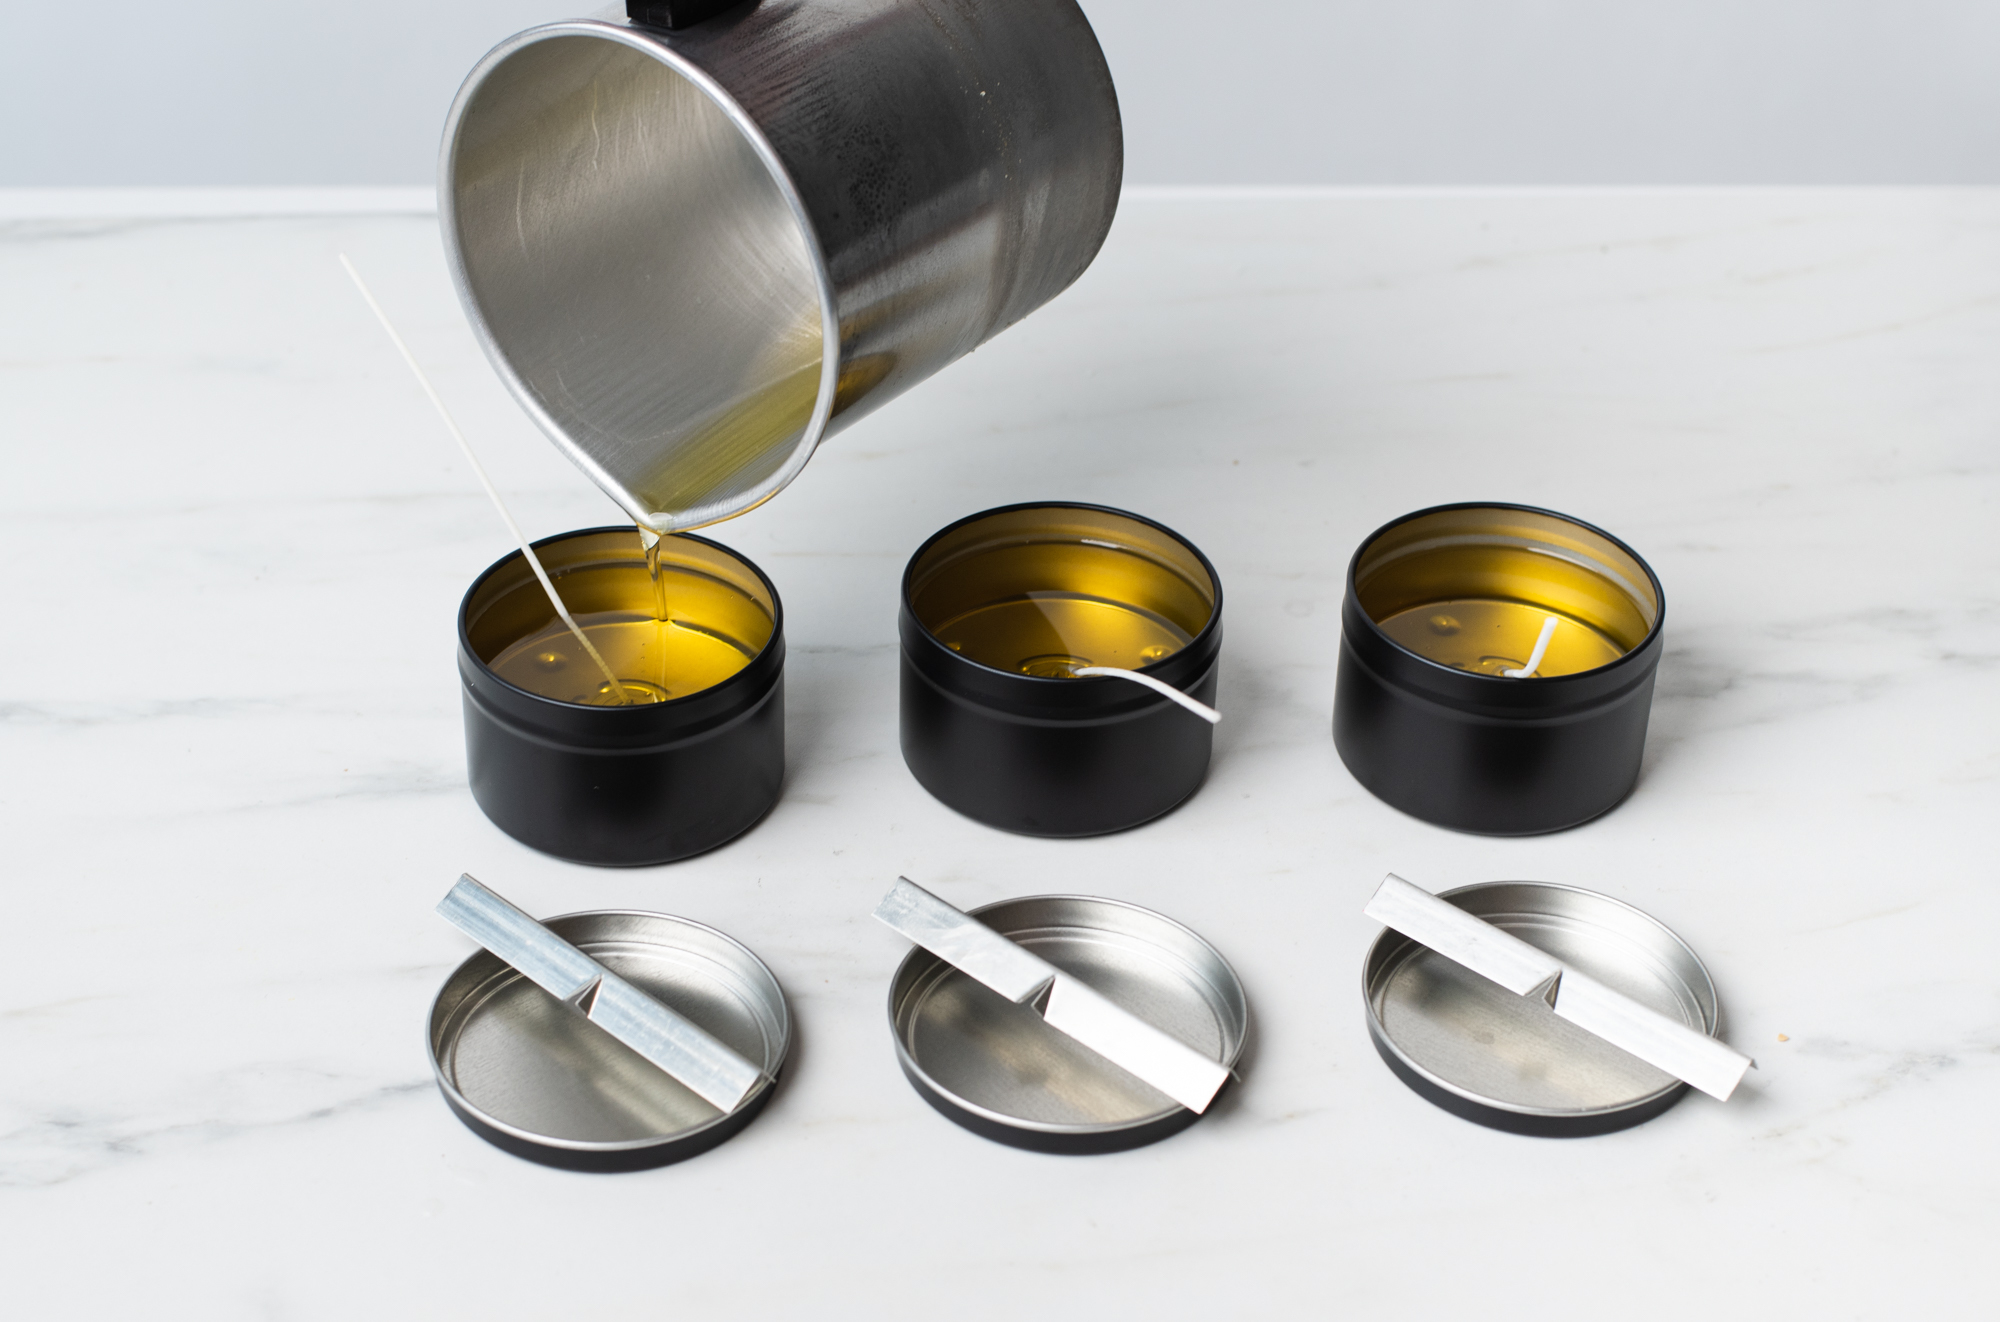
When the wax cools to 160°F (71.1°C), carefully pour the wax up to the embossed ring of each candle tin. Secure the wick with a wick bar.
Note: To prevent cracks from forming on the surface of your candles, allow the candles to cool at a slow and even rate. We recommend cooling the candles in a room with a consistent temperature of 72°-75°F (22.2°-23.9°C) that is free from drafts.
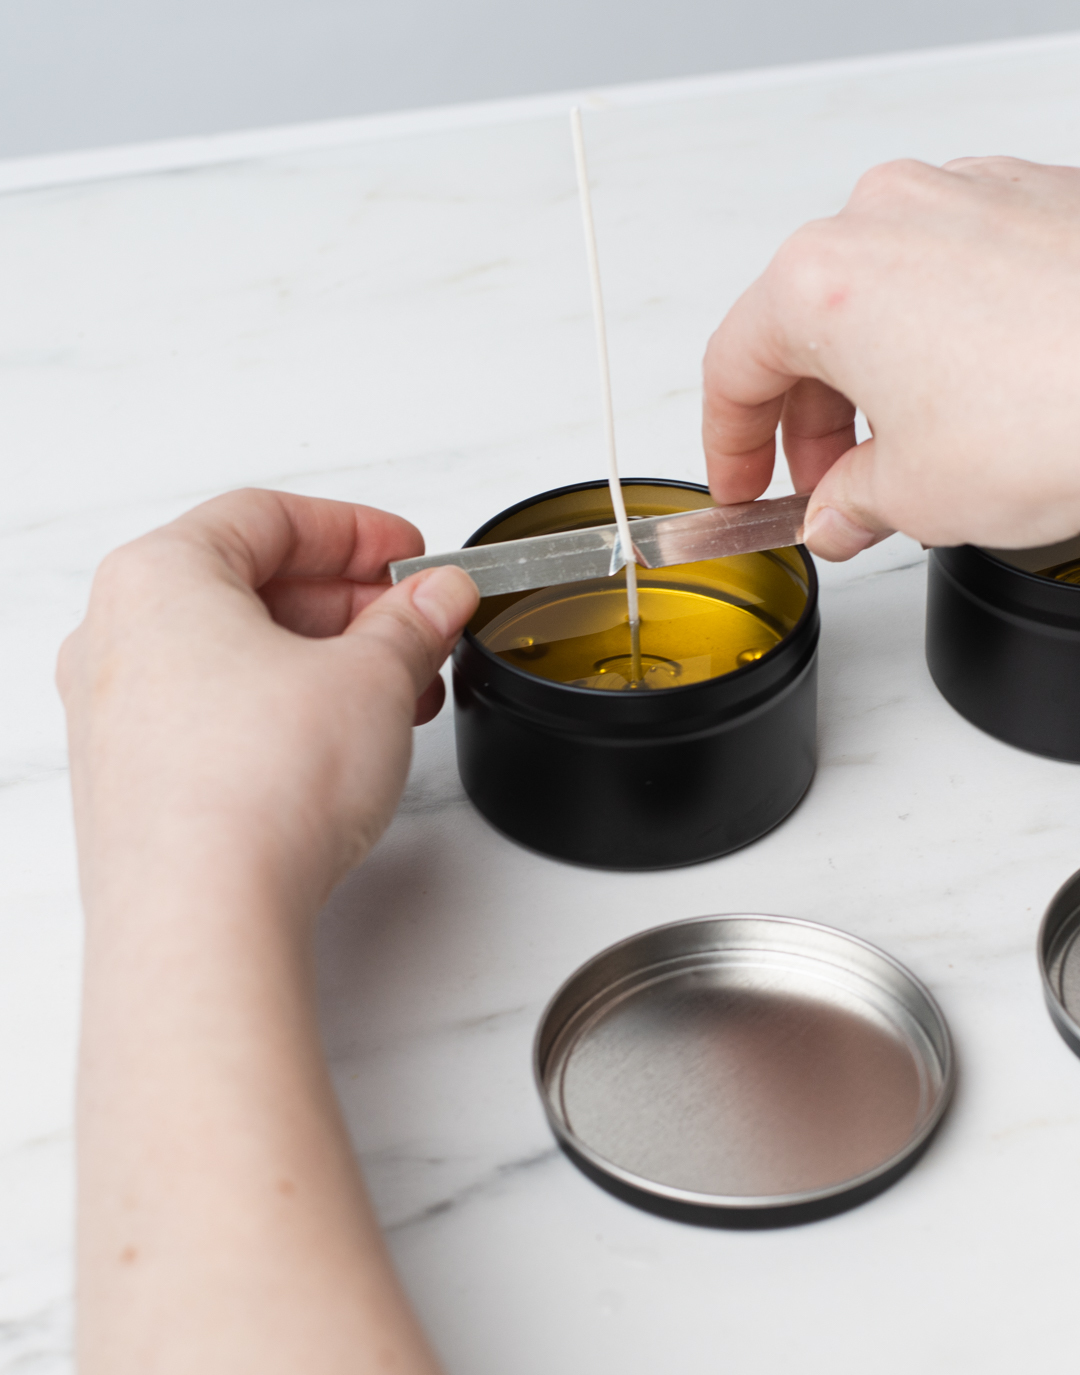
Allow your candles to fully cool.
Step 7: Remove wick bars and trim wick
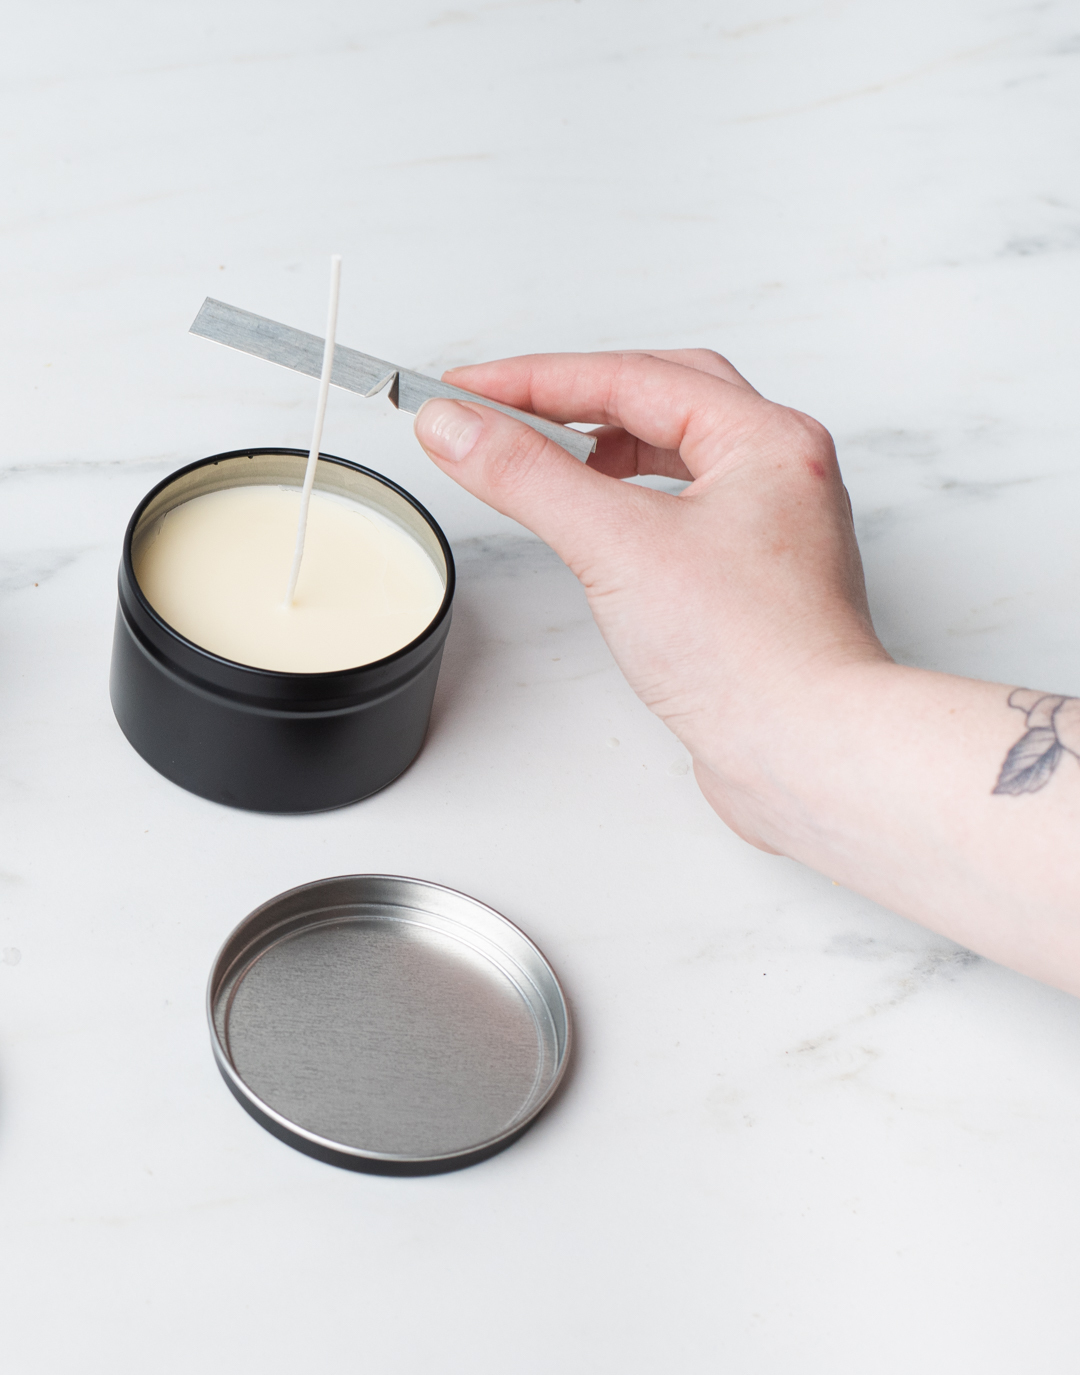
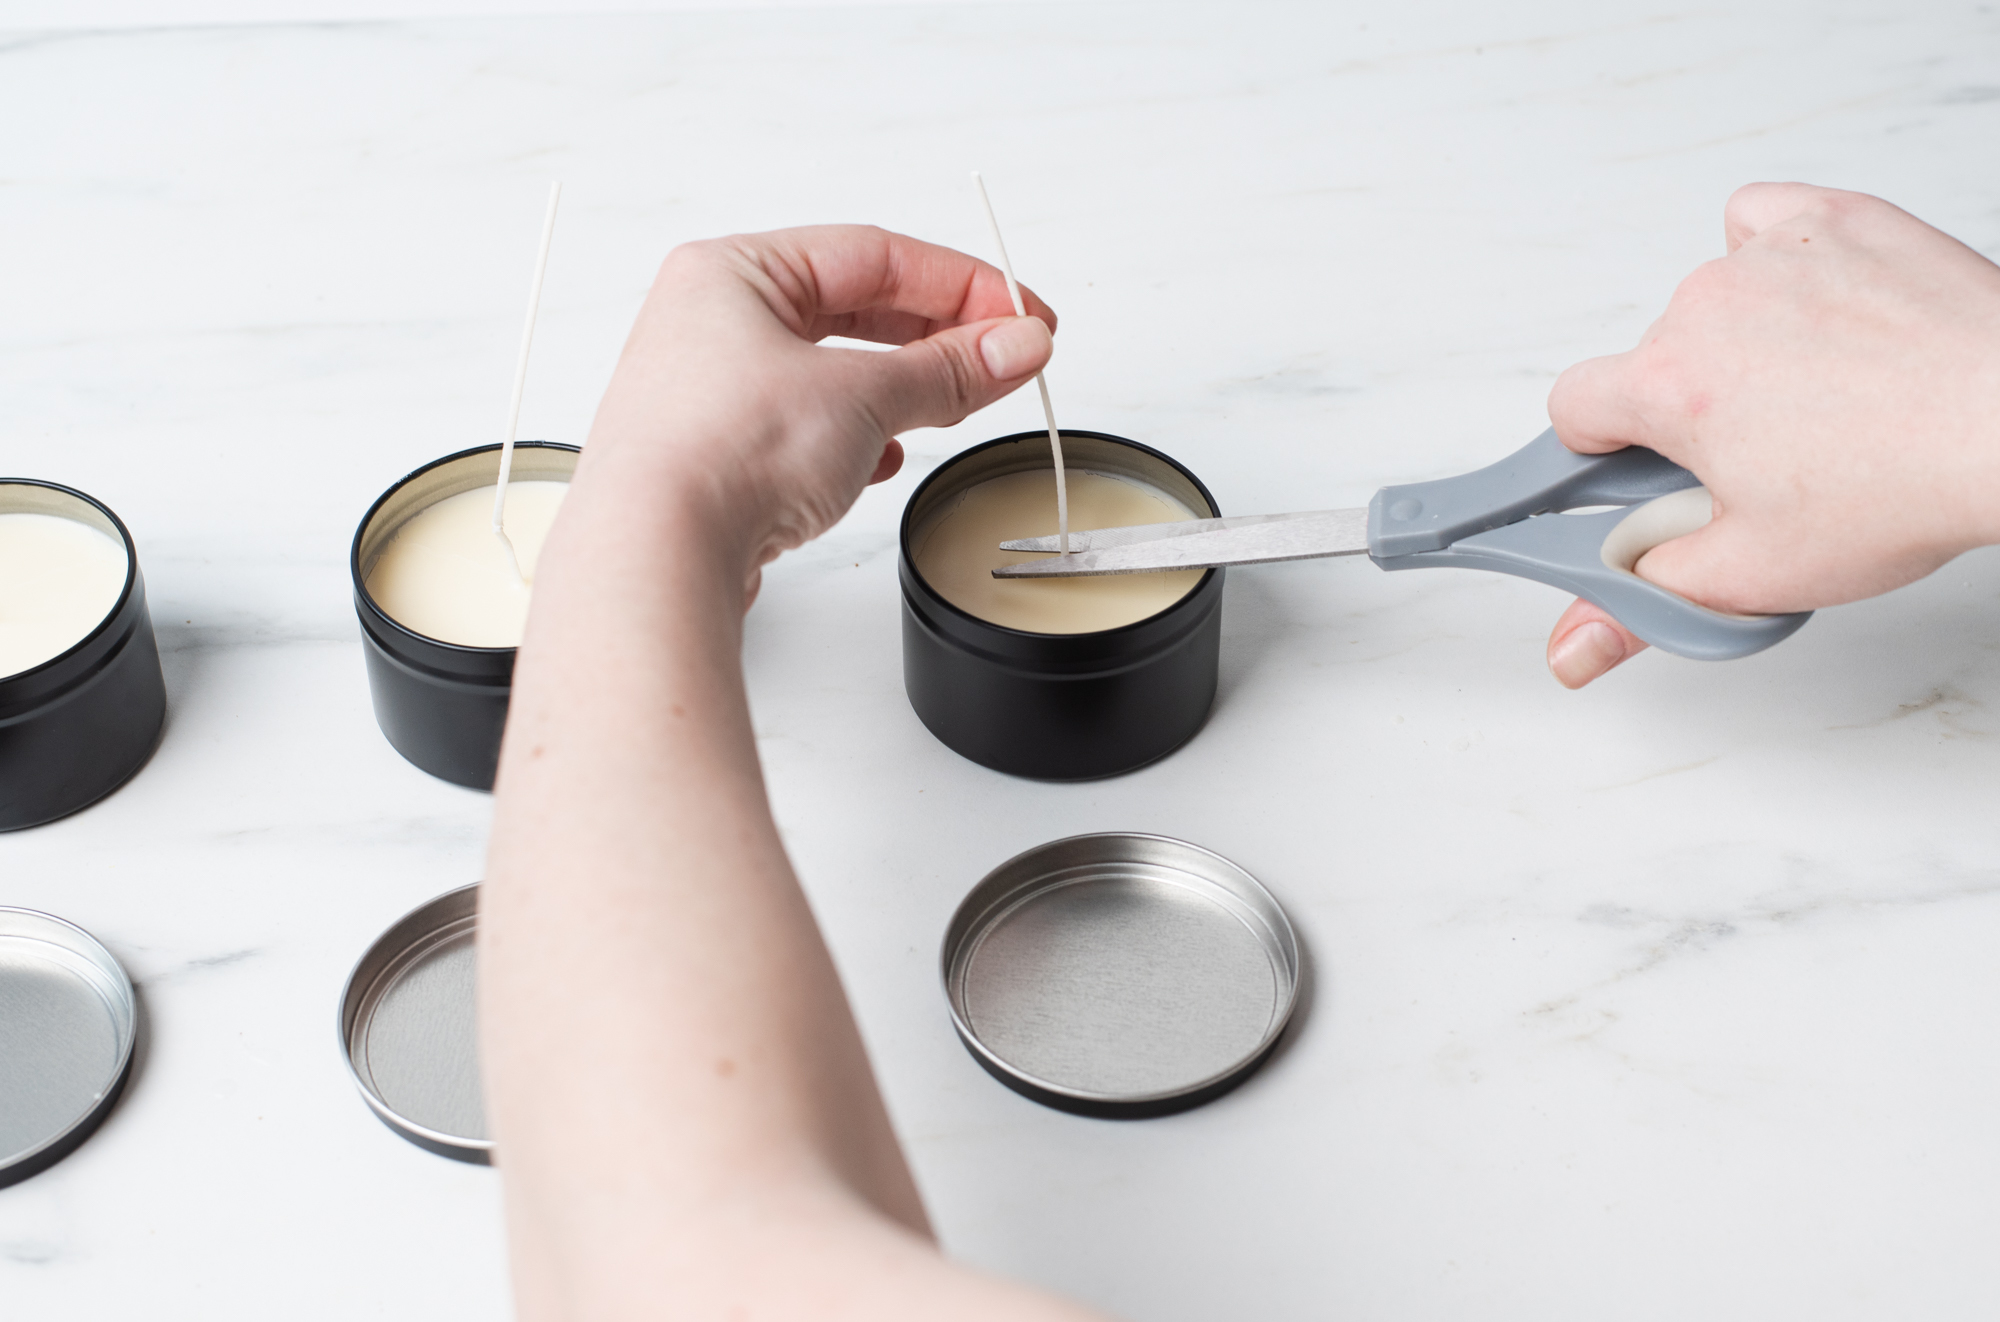
Once your candles have cooled completely, remove the wick bars and trim the wicks to 1/4 in (6 mm). Place a warning label on the bottom of each candle. Be sure to follow all candle burning safety rules.
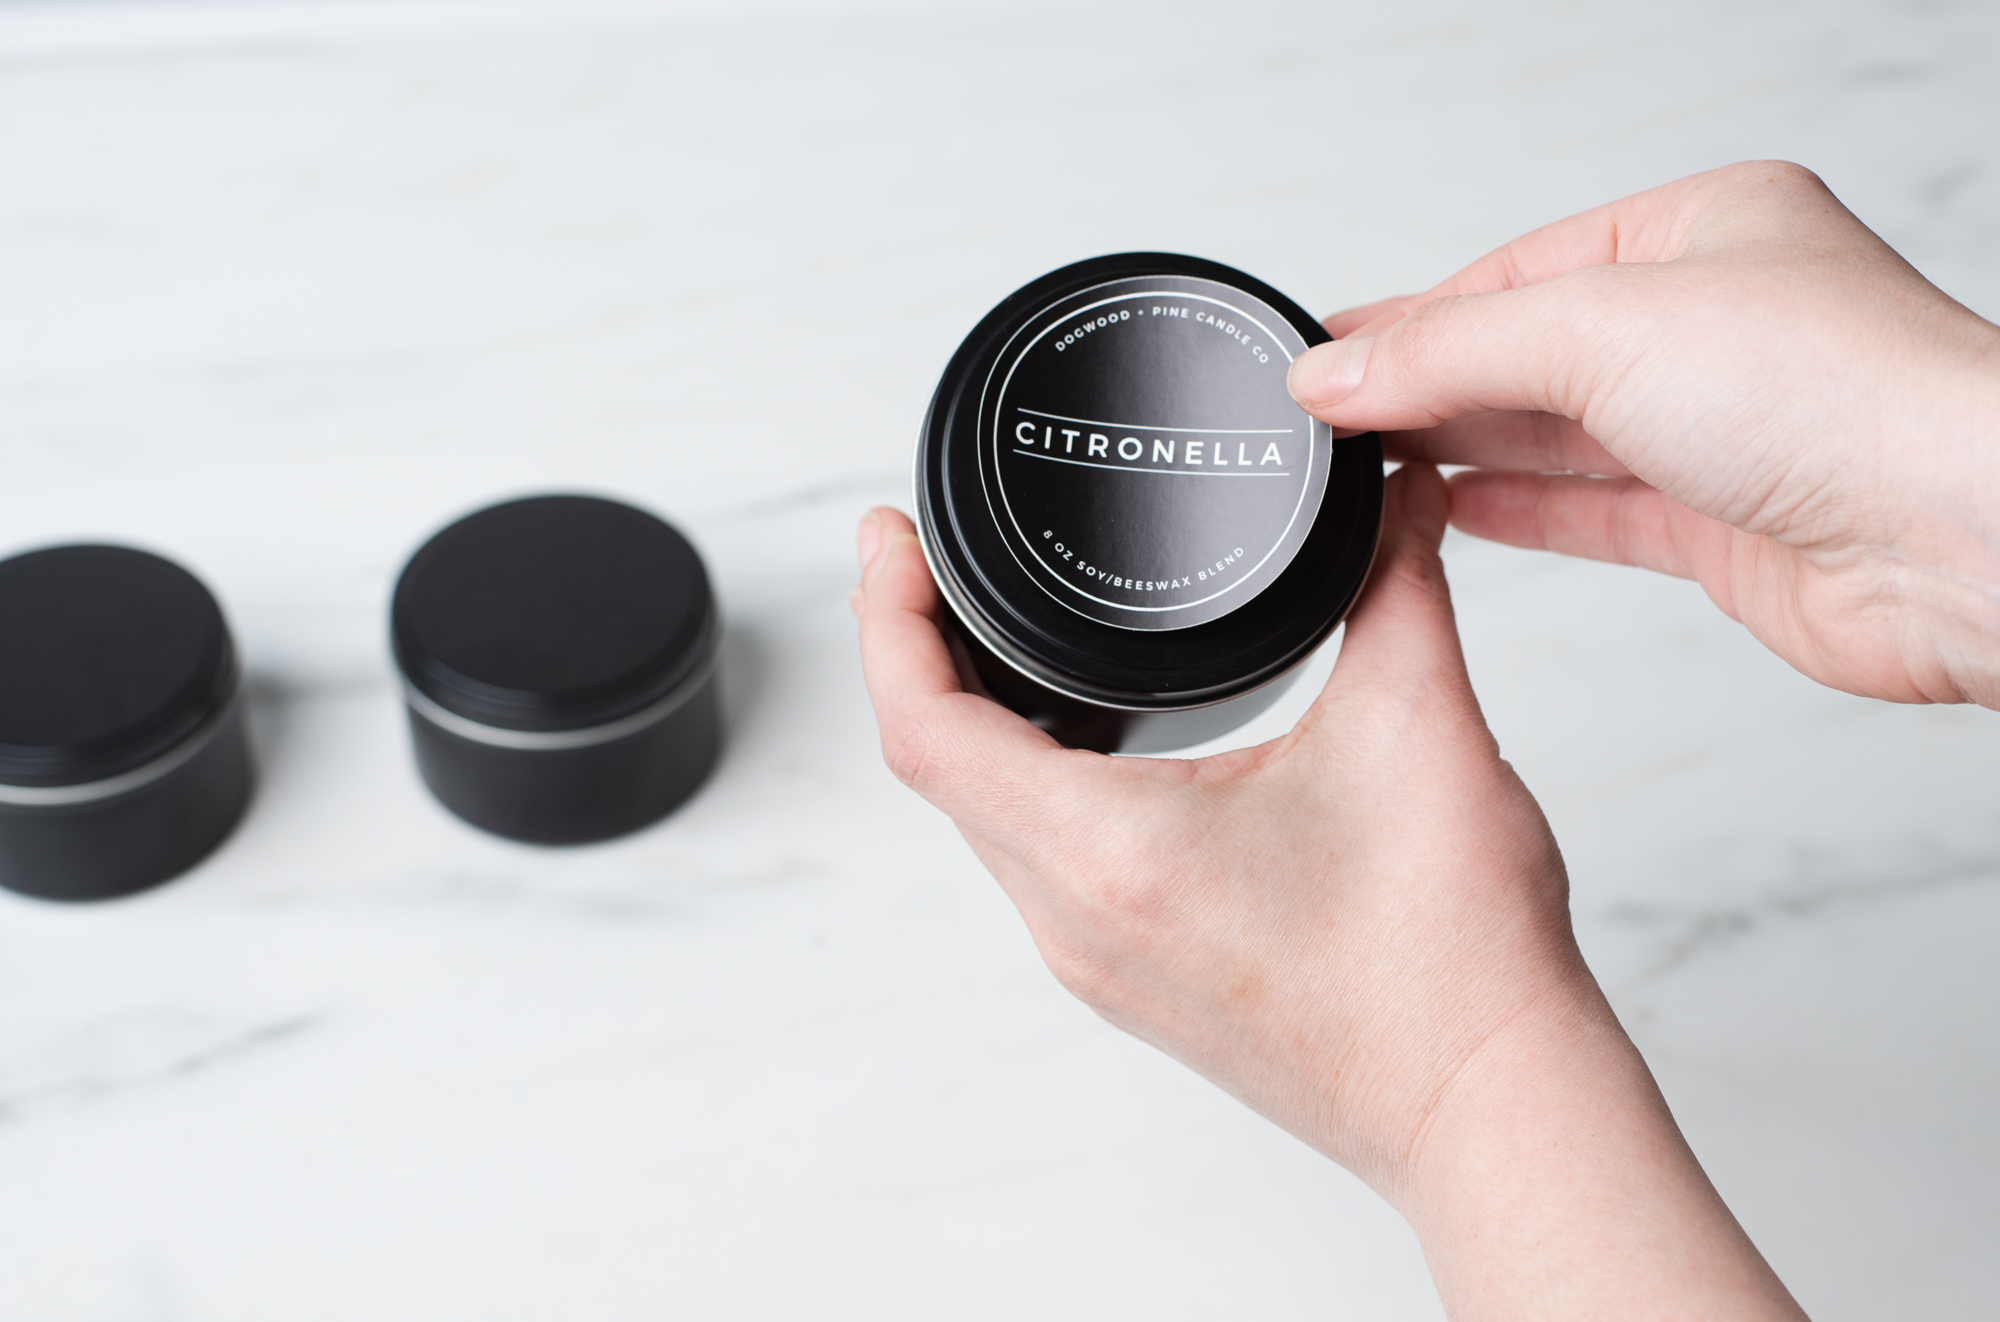
For a finished look, add labels to your citronella candles.
We created labels in Canva and printed with Avery WePrint.
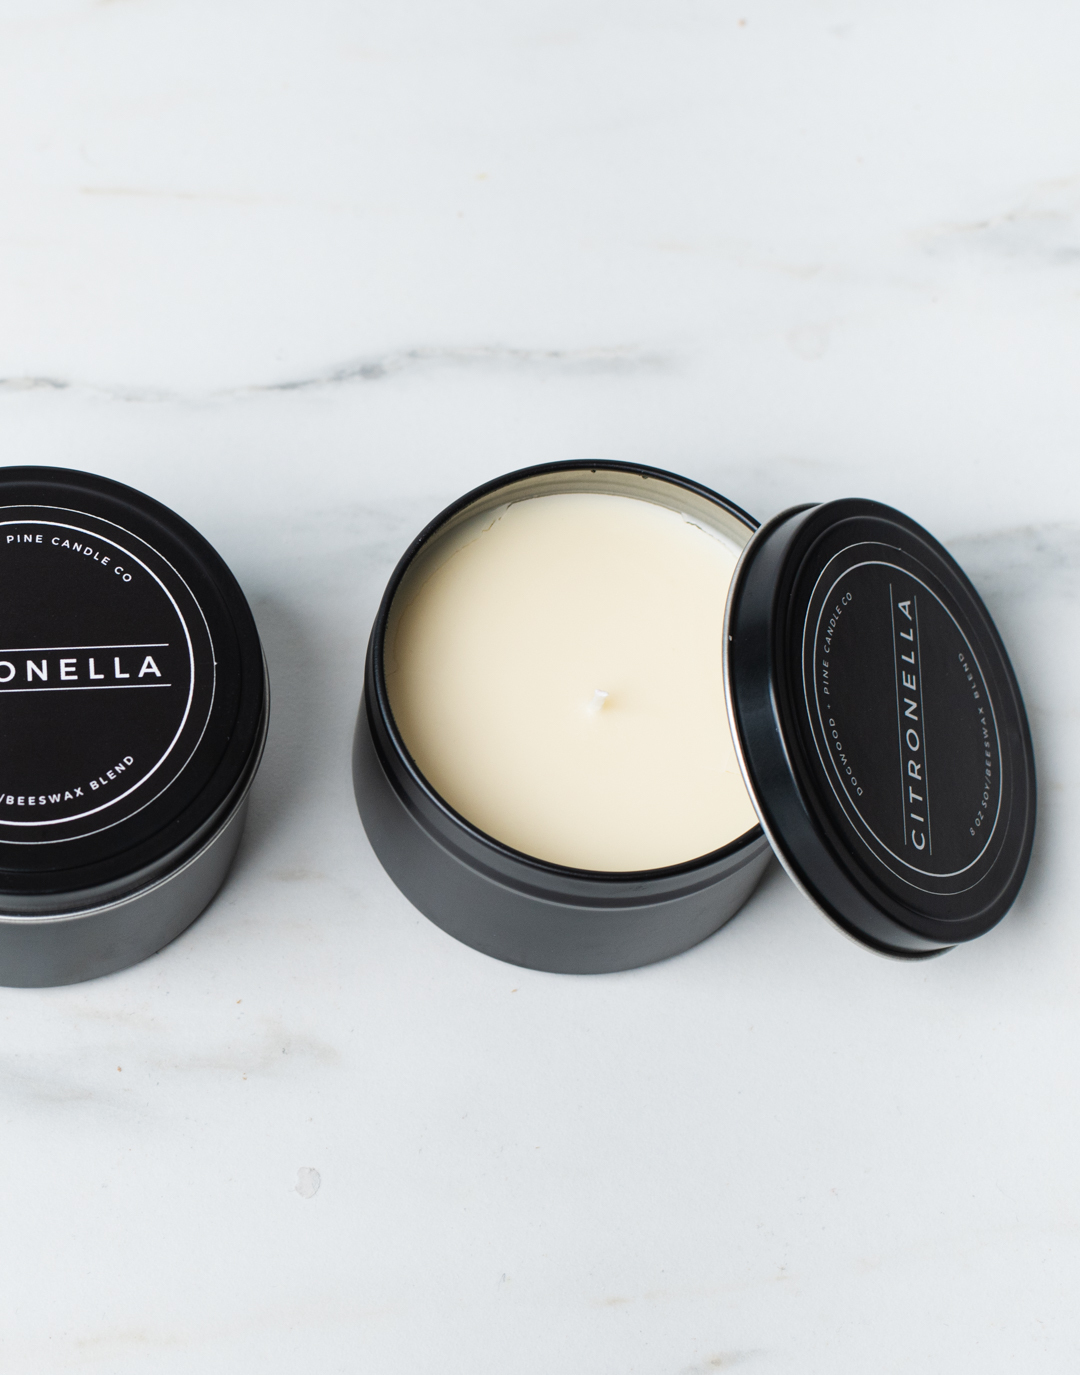
If you're looking for other citronella fragrances to try in your candles, check out Ginger and Saffron Citronella, Pear and Thyme Citronella, or Lemongrass and Verbena Citronella.
Show off your take on citronella candles and all your handmade creations, with the CandleScience community by tagging us @CandleScience and using the #CandleScientist hashtag on Facebook and Instagram. We may feature you in our Stories or on our website!