How to Make Wax Sachets

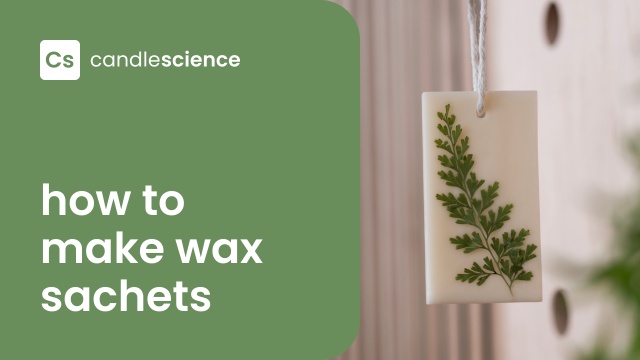
Wax sachets are a great way to add fragrance to small spaces like closets, drawers, or bathrooms—all while doubling as unique, decorative pieces! In this tutorial, we'll show you how simple it is to make your own.
This project is super beginner-friendly and easy to customize with different scents and dried botanicals. You'll make the base of your wax sachet using pillar wax, scent your wax with fragrance or essential oil, decorate the surface with dried botanicals, then add a ribbon or twine to complete the look.
Whether you're looking for new flameless fragrance project ideas, a way to use that extra pillar wax lying around, or just want to get crafty, wax sachets are a fun and easy project to try your hand at!
Additional Items Needed:
- Silicone molds
- String or ribbon
- Paper Towels
- Glass Beaker
- Rubbing Alcohol
- Scissors
- Dried botanicals, flowers, or fruits
Directions:
Step 1: Prepare your silicone mold
Wipe out your silicone mold with a small amount of isopropyl alcohol and a clean paper towel.
Step 2: Weigh and melt wax
Note: The amount of wax you use will vary depending on how much wax your silicone mold holds. To keep it simple, we used 1 lb (453.59 g).
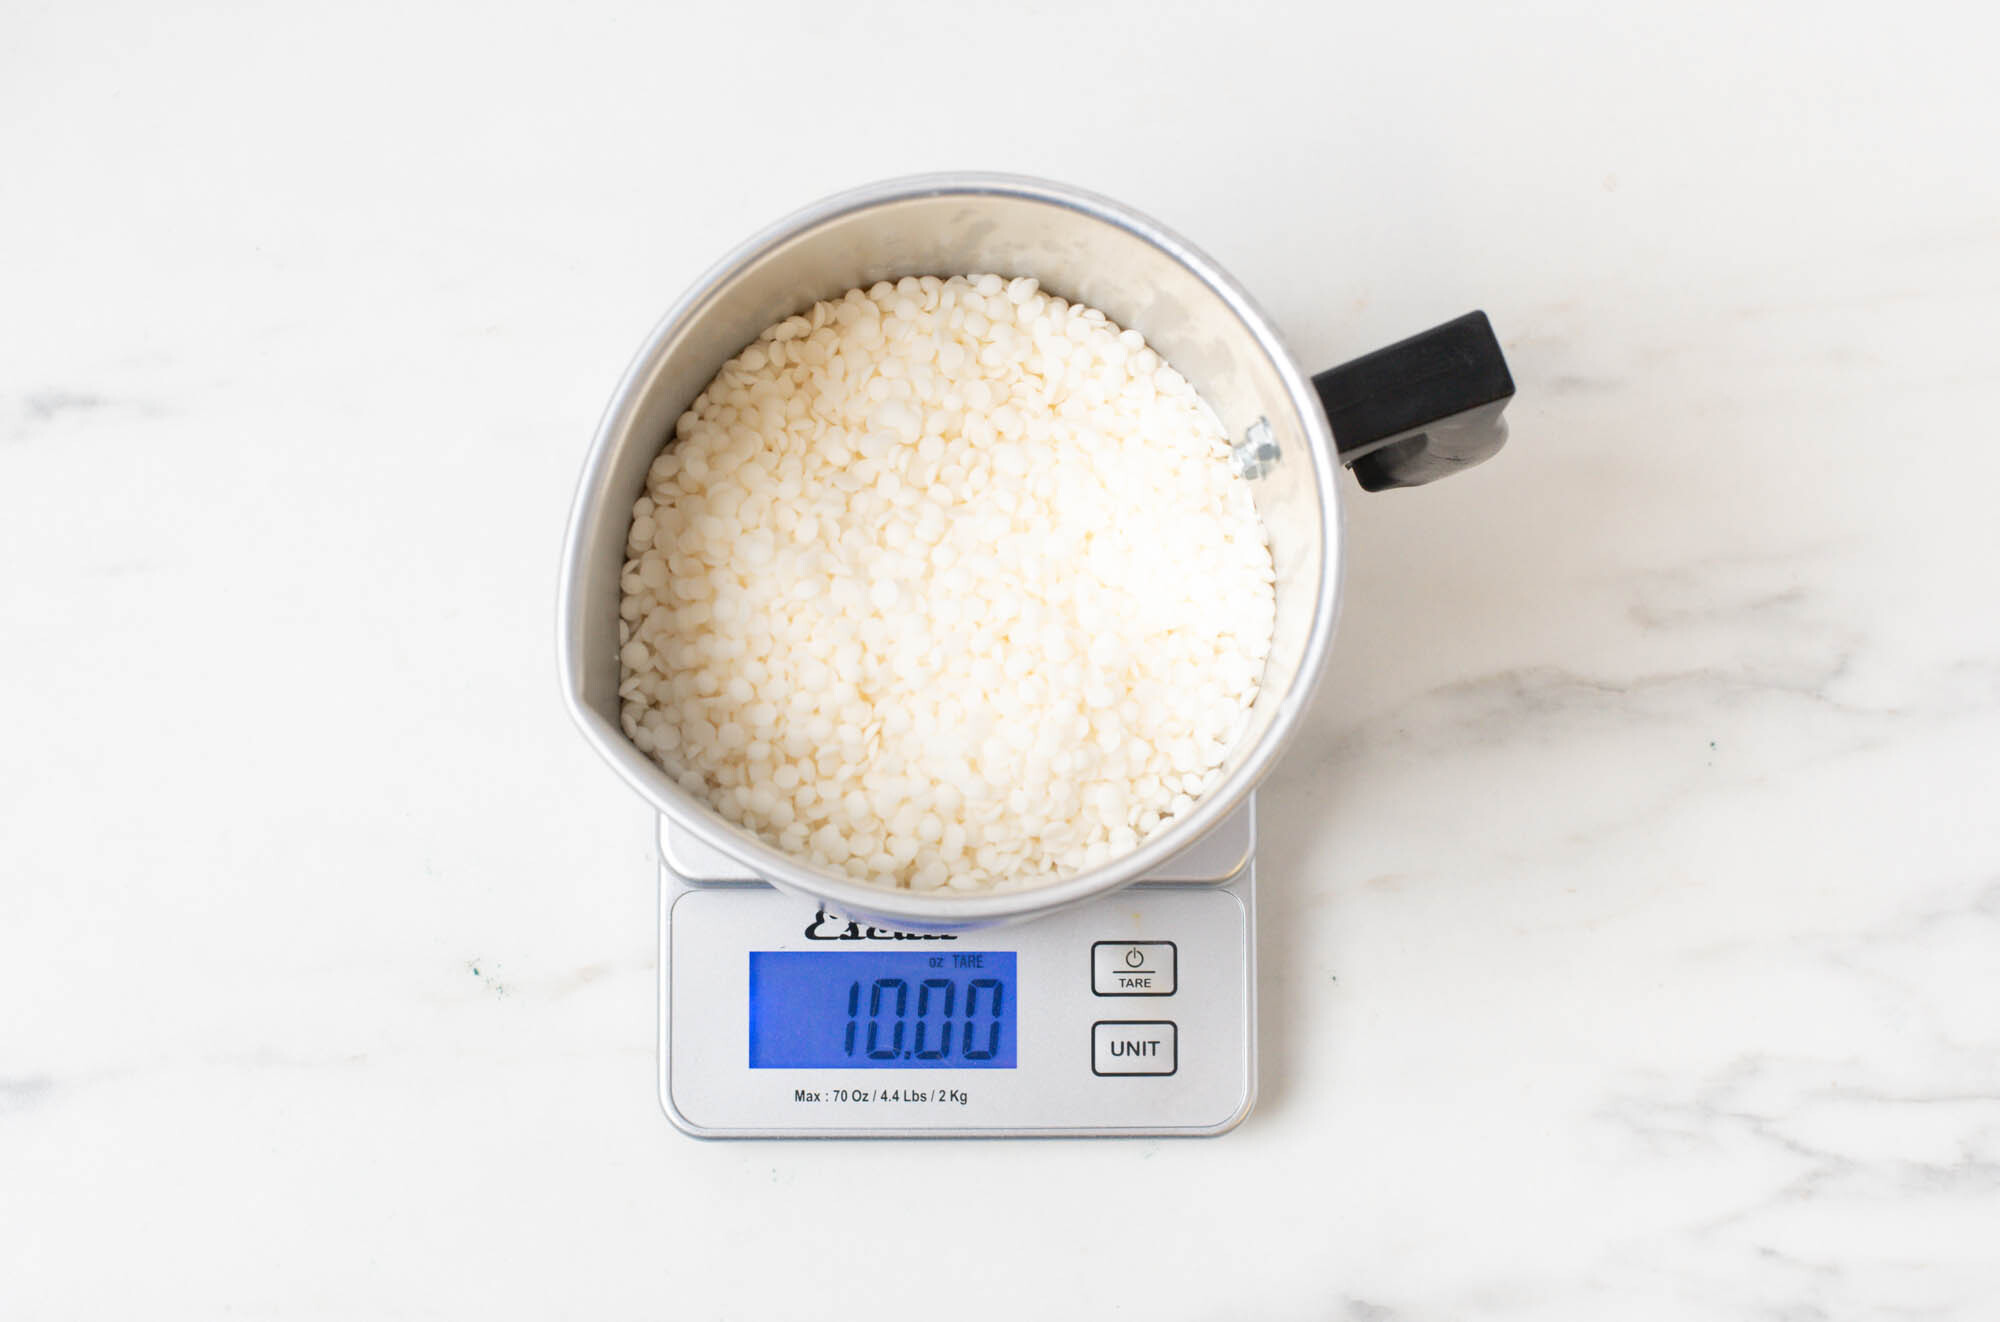
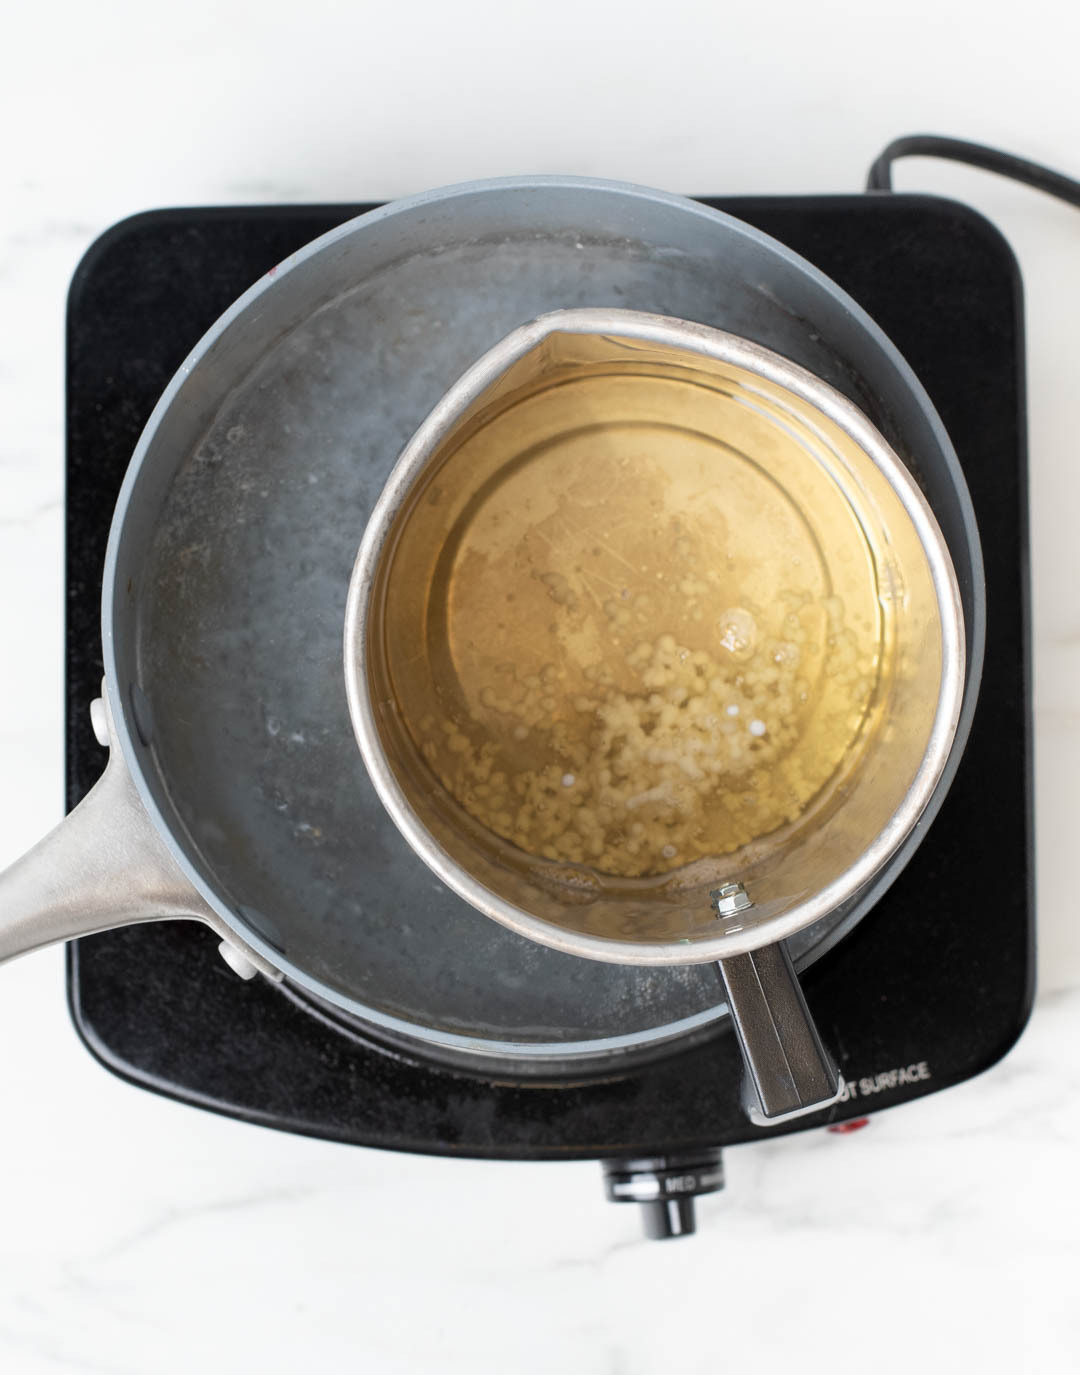
Place a pouring pitcher on your digital scale and tare the weight. Weigh 16 oz (453.59 g) of CandleScience CocoSol Soy Pillar Wax in the pouring pitcher and begin to melt the wax with a double boiler.
Step 3: Add the fragrance oil
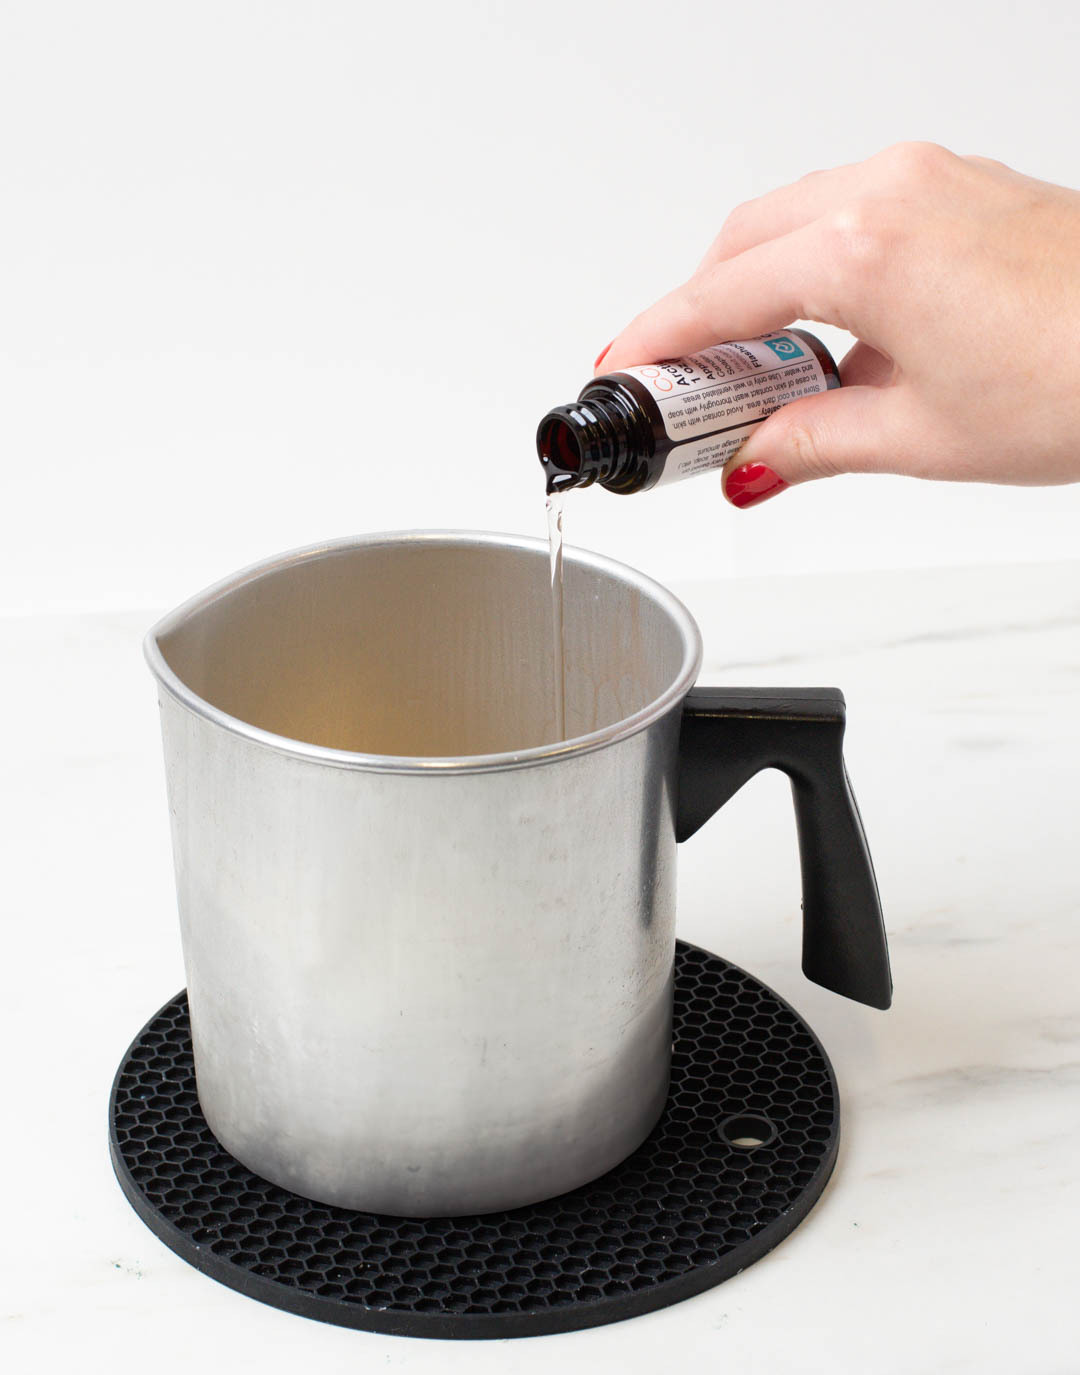
Once your wax has reached 185°F (85°C), pour in the 1 oz bottle of fragrance oil. We chose Arctic Ivy for ours. Stir gently for 2 minutes to ensure that the oil is fully incorporated with the wax.
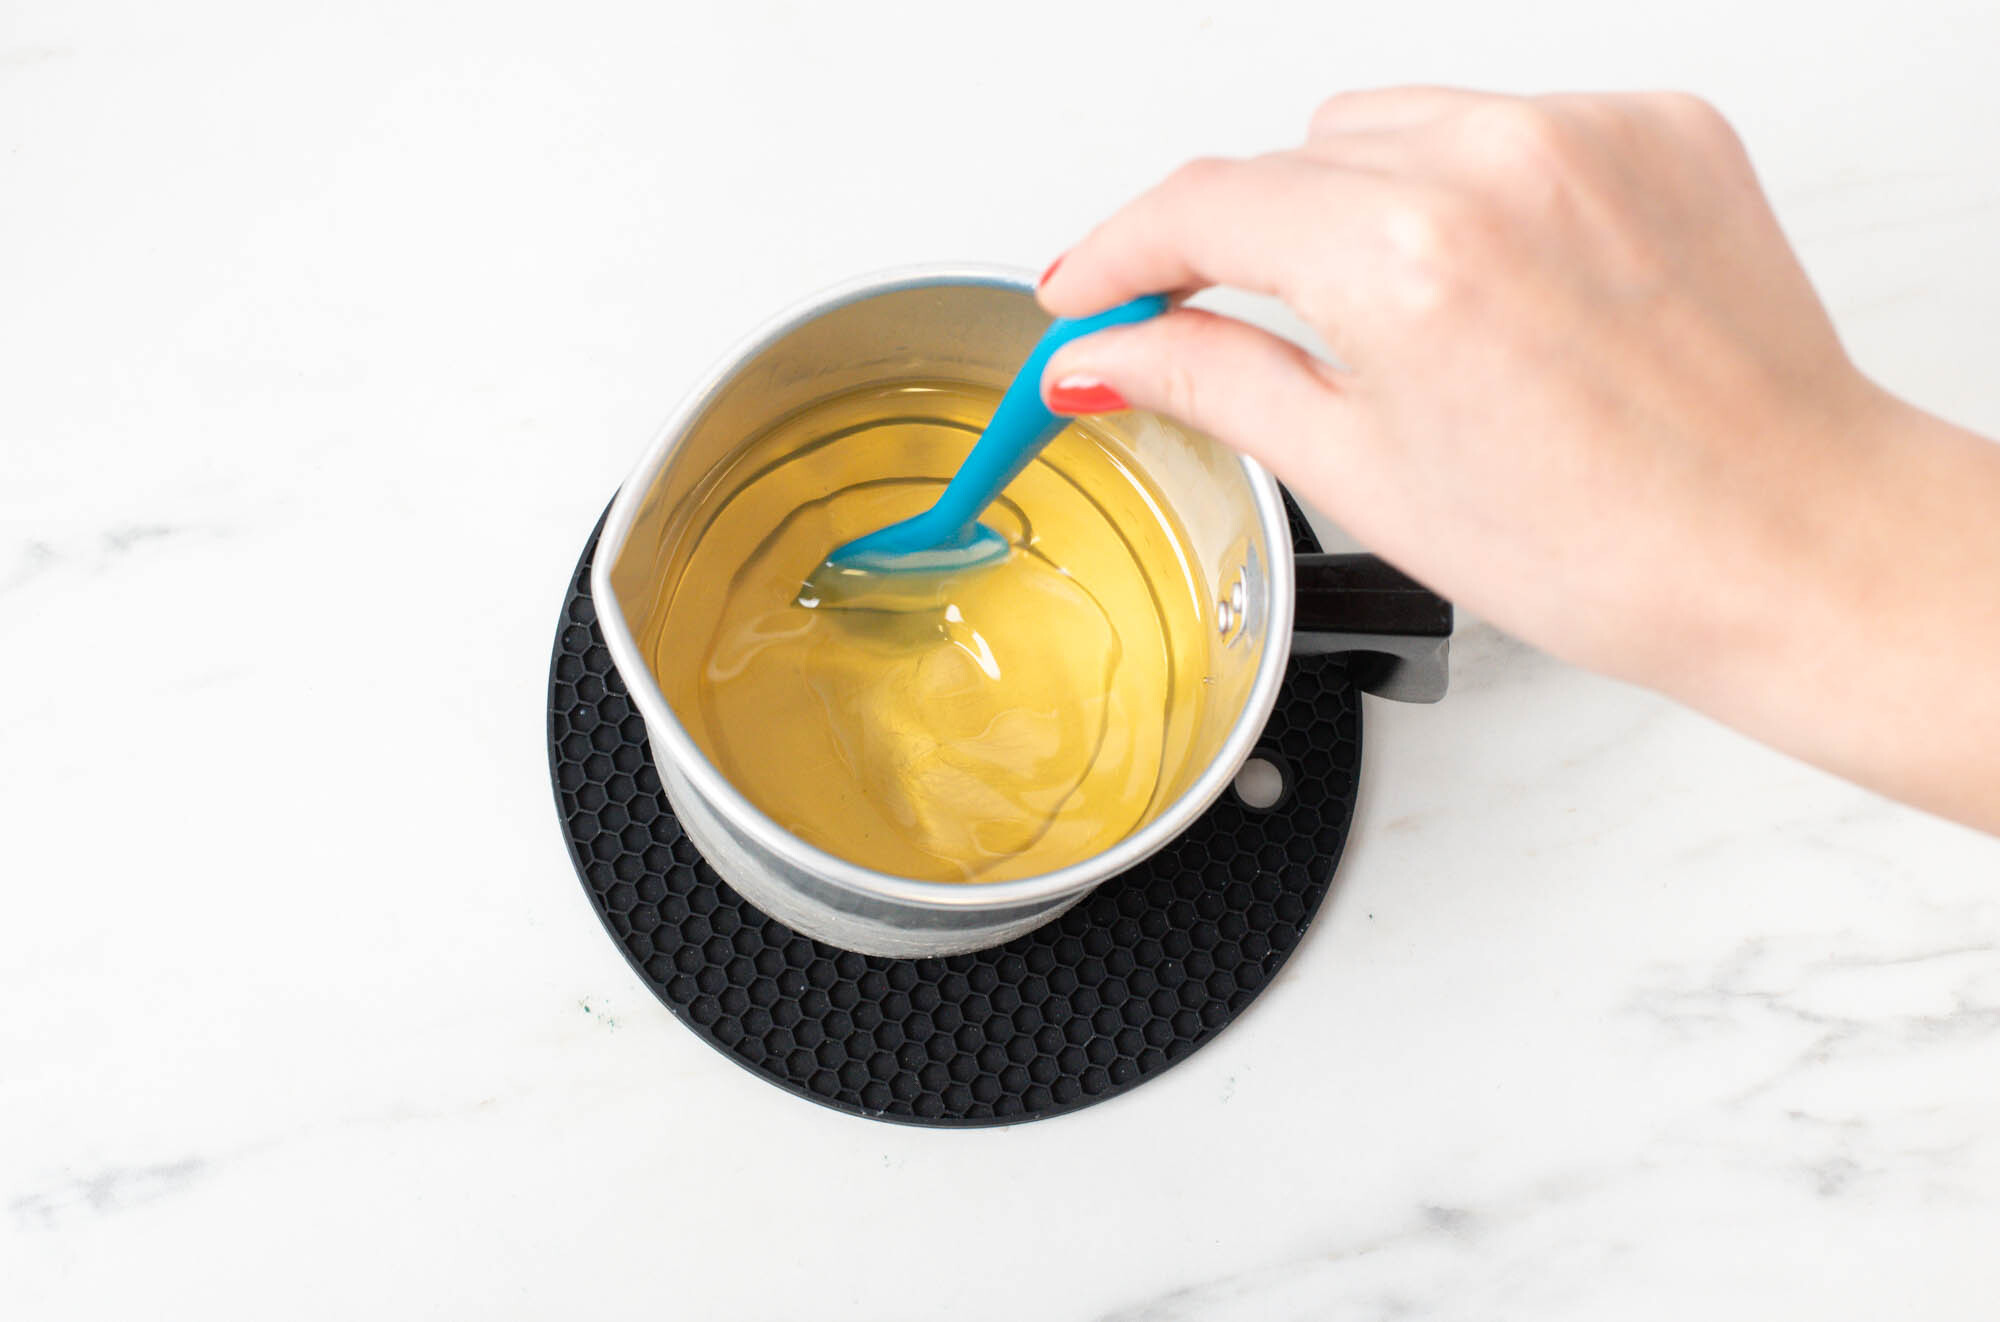
Step 4: Pour wax into mold
Carefully pour the wax into your silicone molds. Fill each cavity leaving enough space at the top to accomodate your chosen embeds.
Note: This wax cools quickly so if you have a more intricate plan with your embeds, you may want to pour and create one sachet at a time.
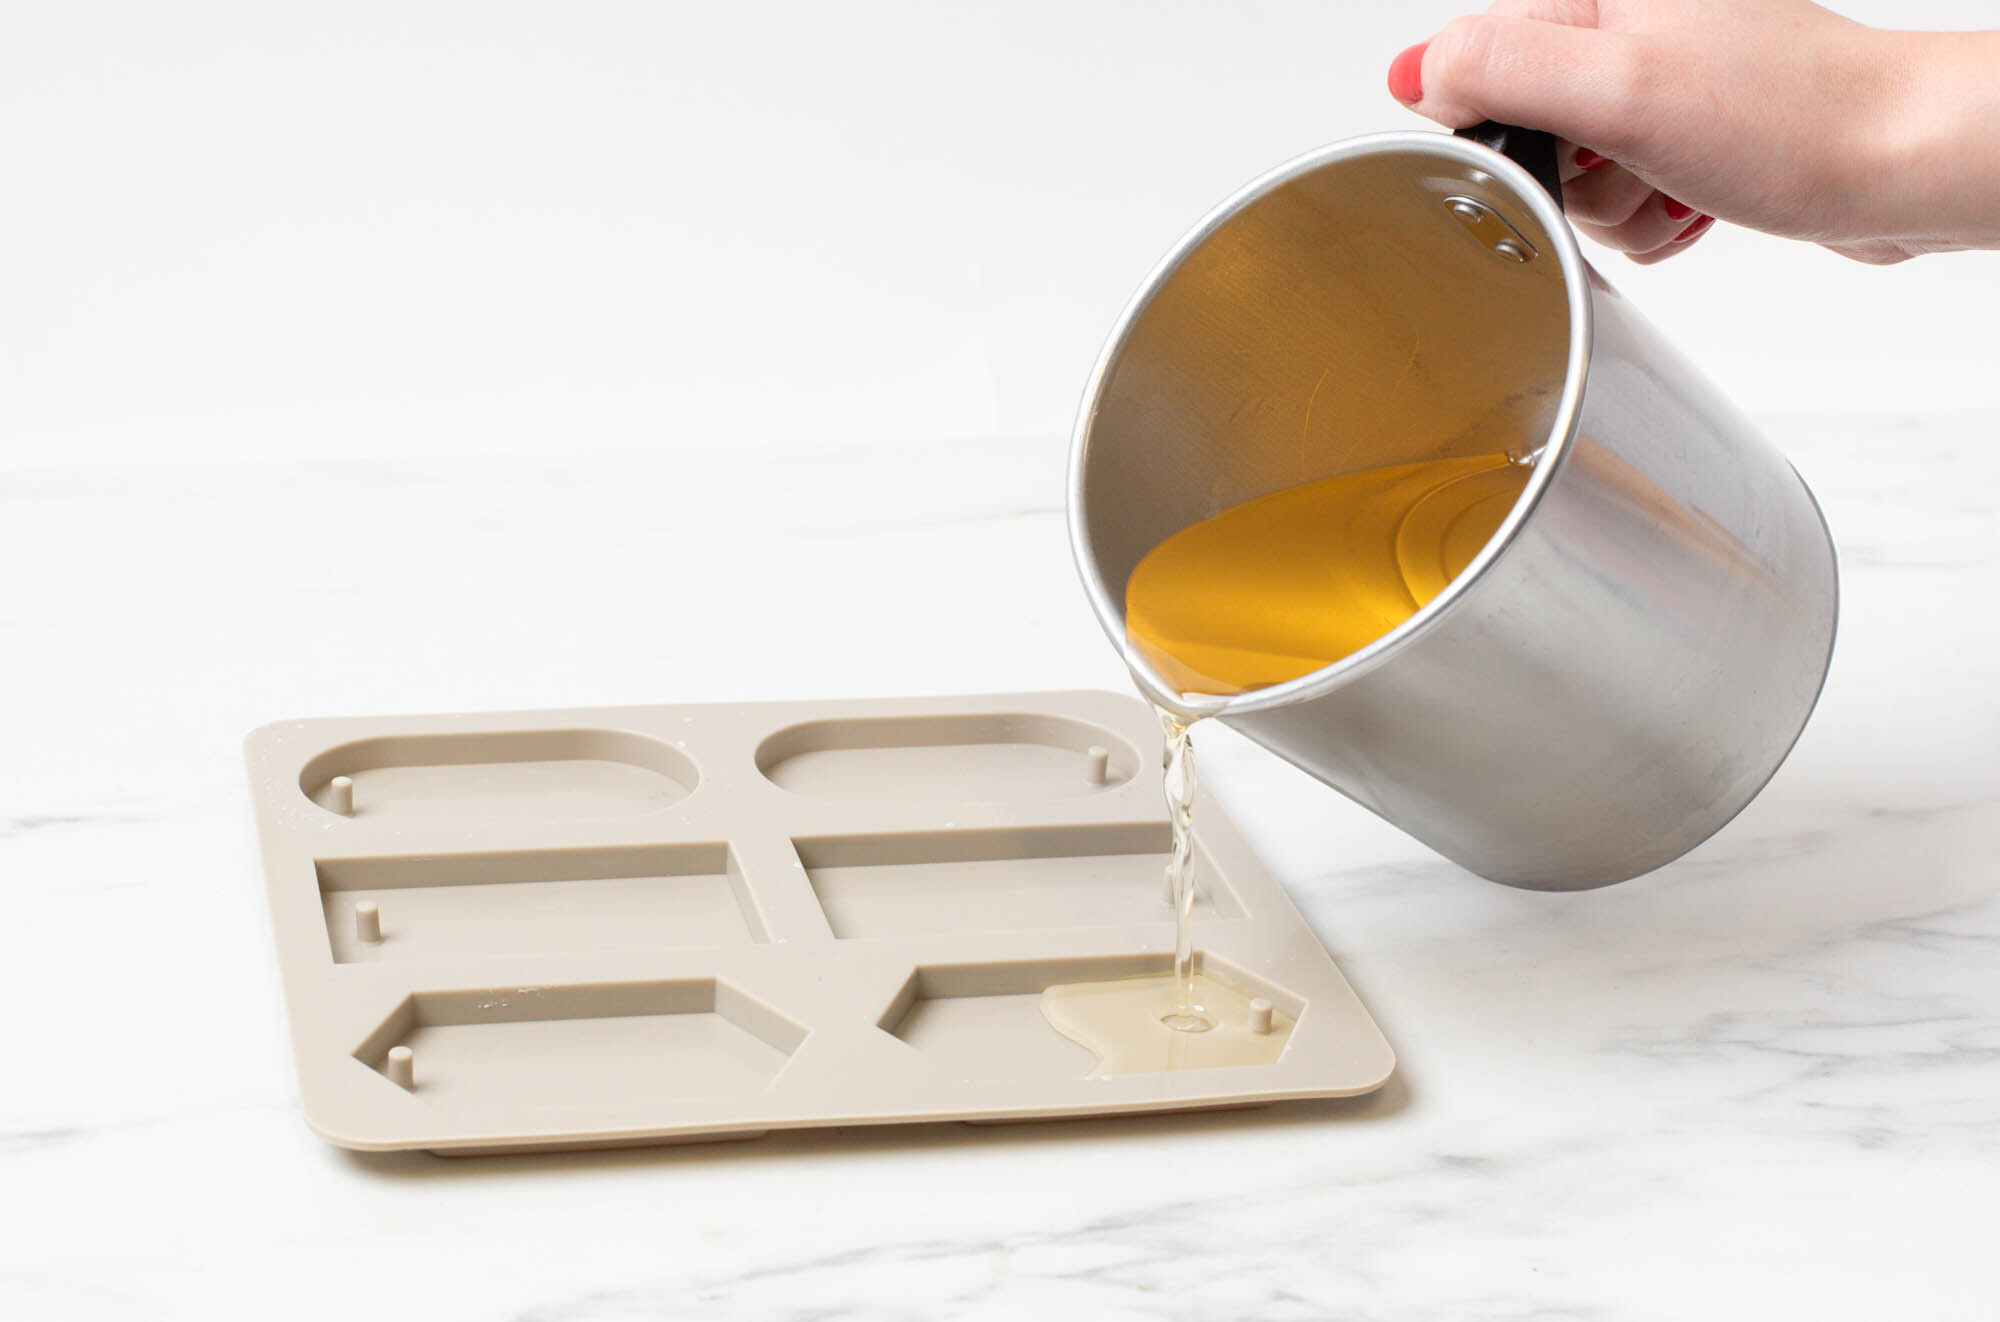
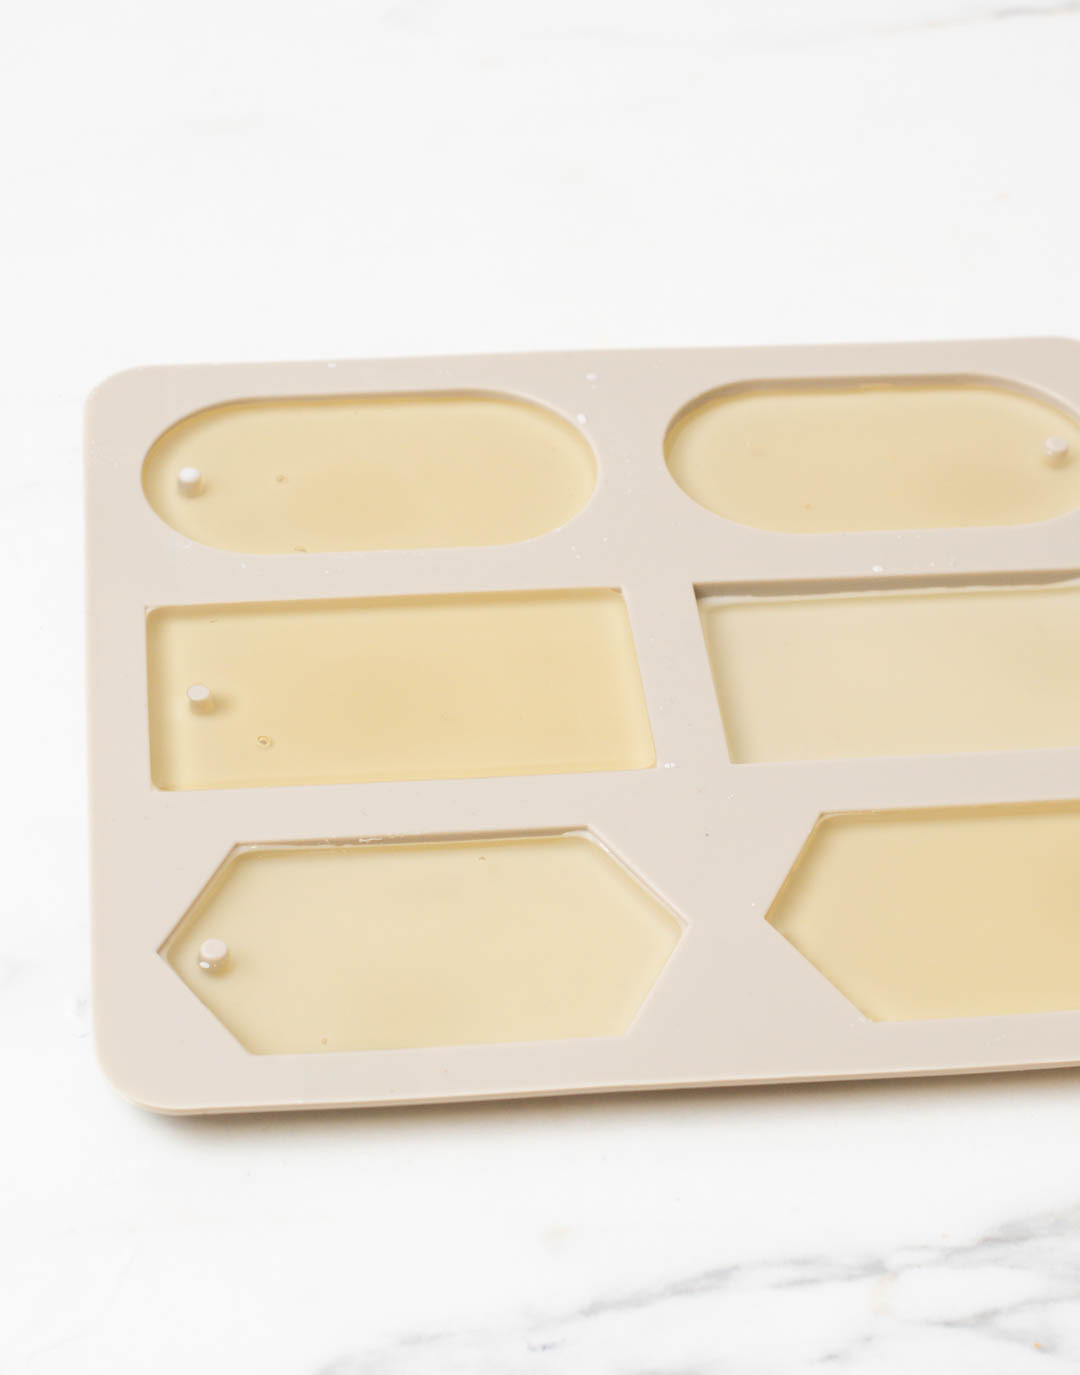
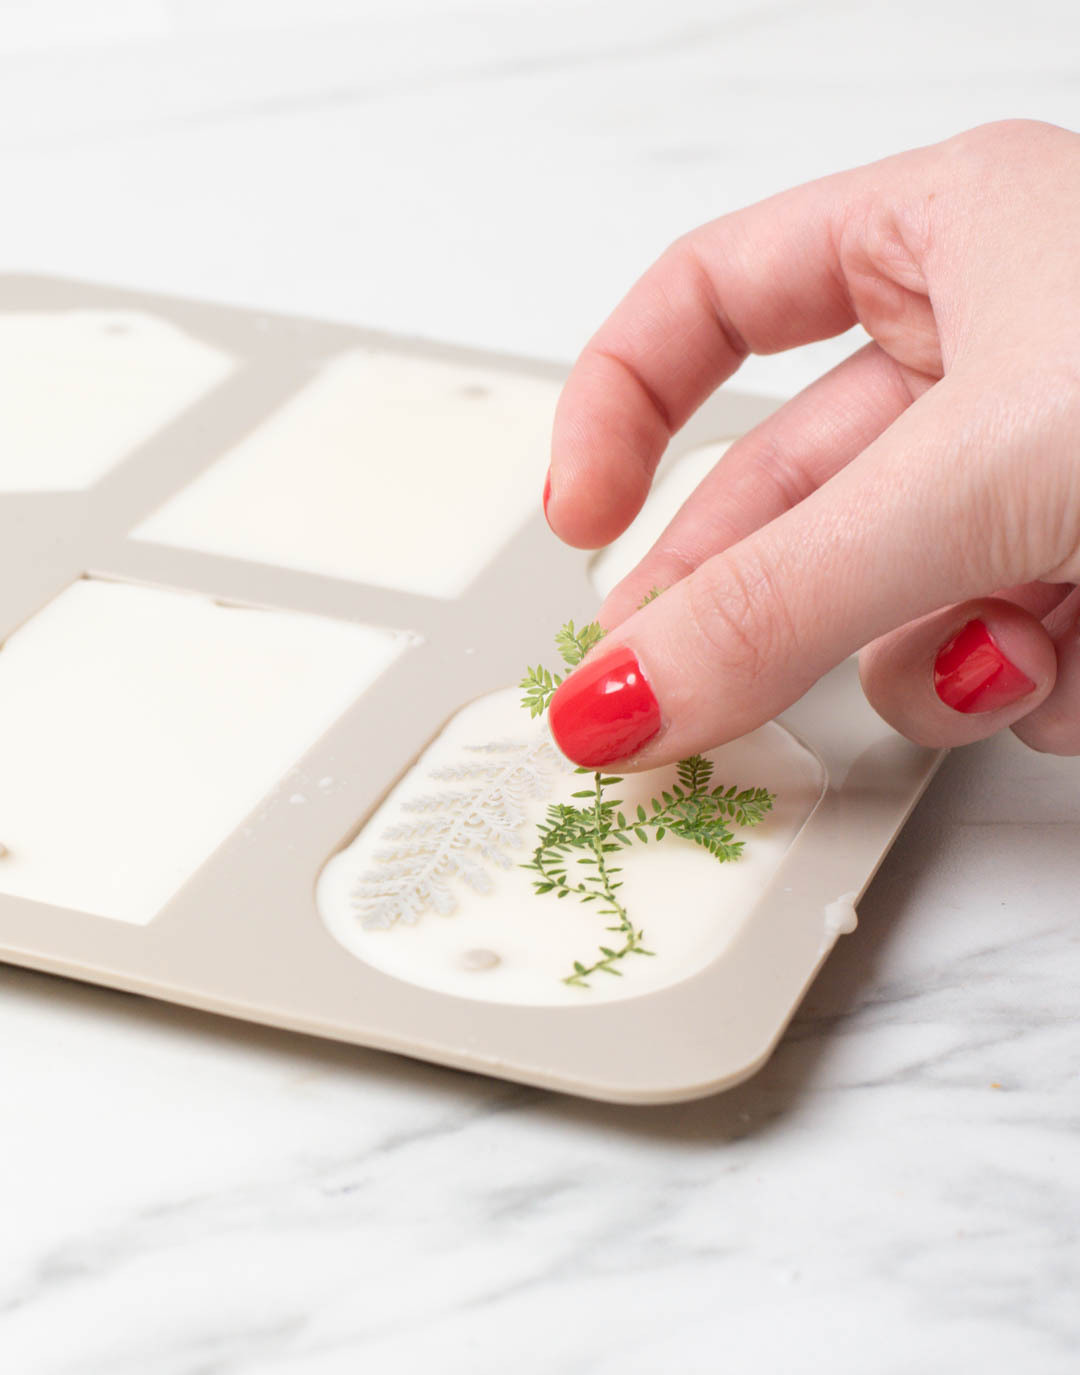
Step 5: Add the embeds
Lightly place your embeds in the wax. Be careful not to push them too far in. If your wax has cooled too much, simply melt the top with a heat gun.
Note: Use tweezers to help with placement for small pieces.
.jpg)

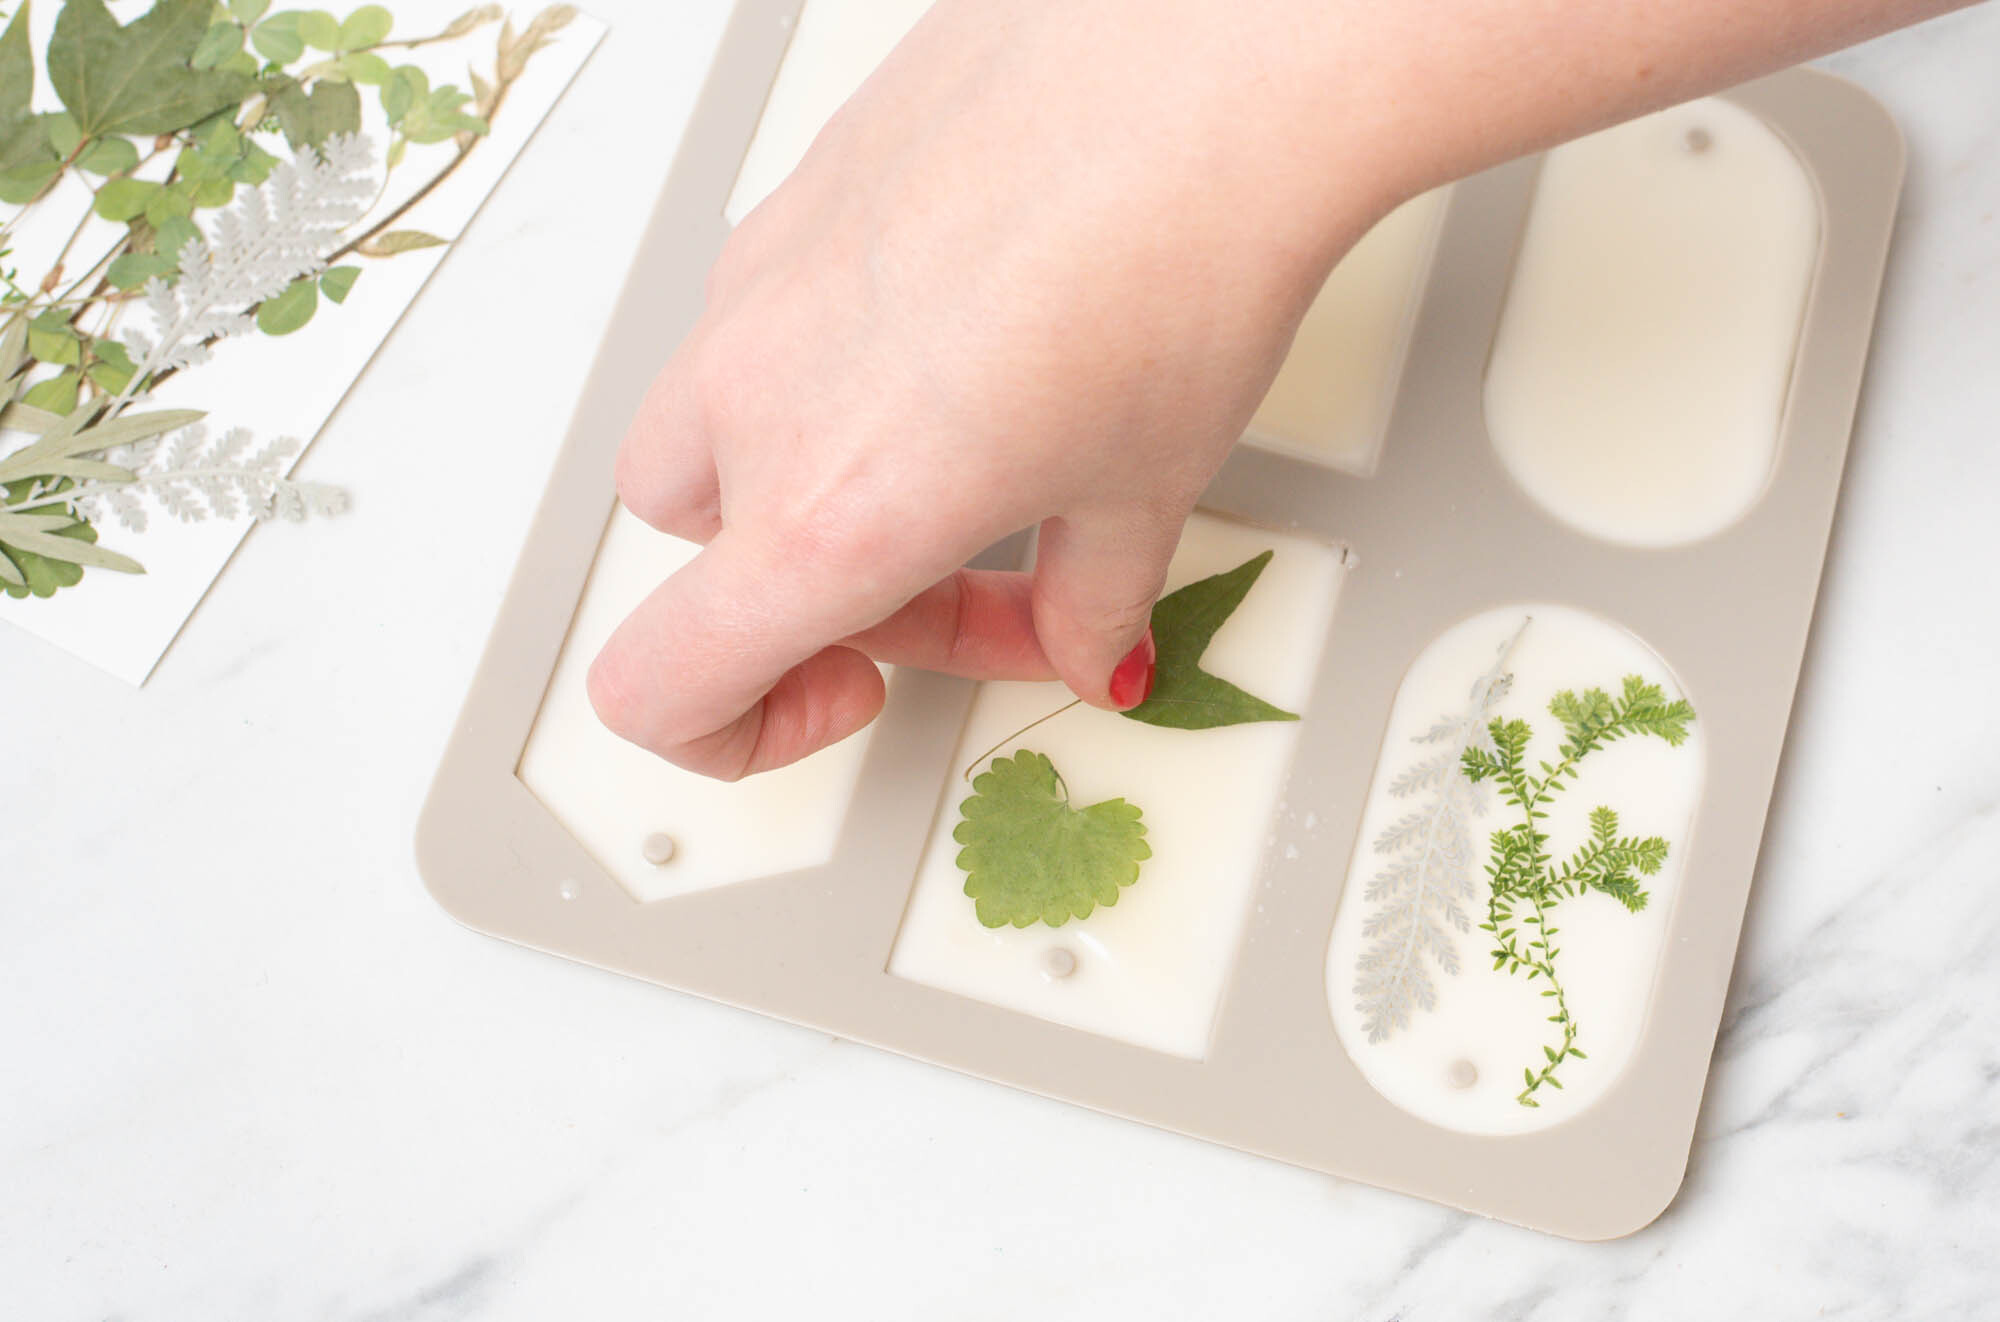
Step 6: Remove sachets from mold
Carefully remove the wax sachets from the silicone mold. Cut ribbon to your desired length, string through the hole, and tie a knot to complete your project!
Note: Avoid using these in areas that reach extreme temperatures where the wax could melt—such as inside a car.


Show off your take on wax sachets and all your handmade creations, with the CandleScience community by tagging us @CandleScience and using the #CandleScientist hashtag on Facebook and Instagram. We may feature you in our Stories or on our website!