How to Make a Layered Scented Candle
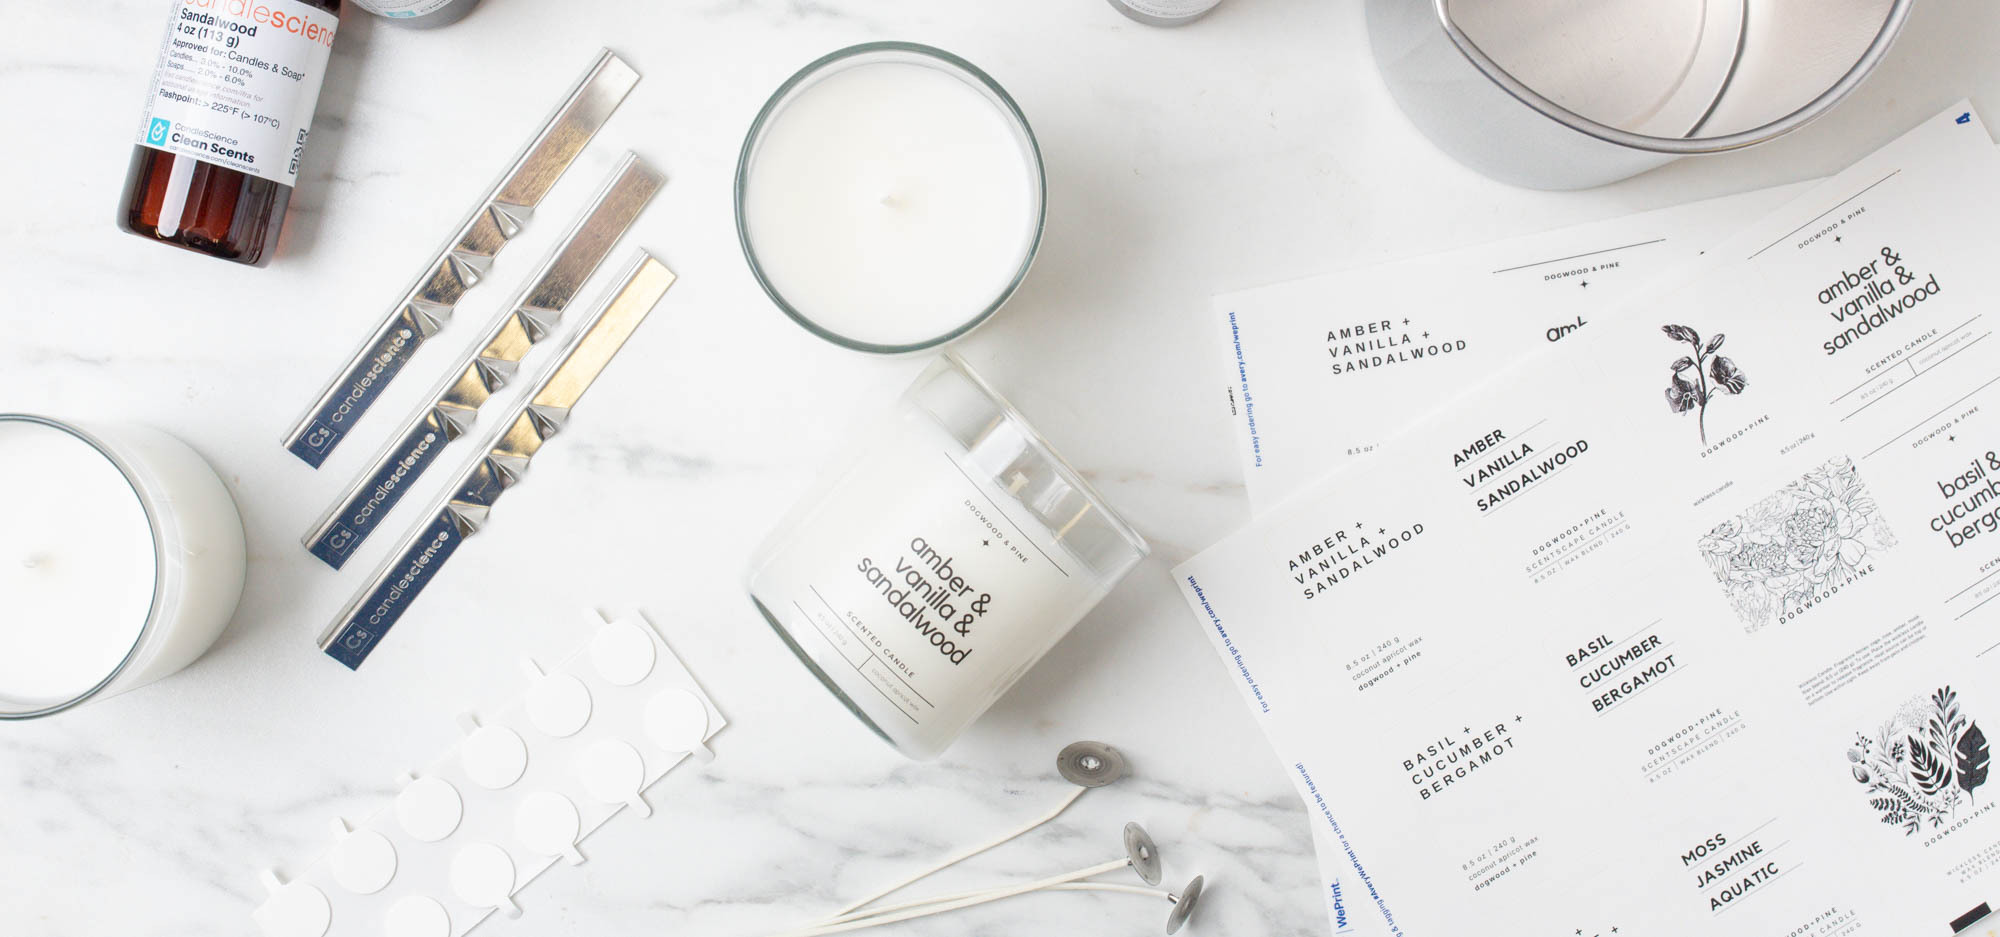
Looking for ways to elevate your next batch of scented candles? In this easy-to-follow tutorial, we’ll show you how to make layered scented candles featuring single-note scents. Each layer of the candle is made using a different fragrance oil and as it burns, each layer fills the space with its unique aroma.
Layered scented candles are a chance to explore the world of scentscaping, or the intentional use of aroma to create a desired atmosphere. By selecting single-note scents that complement each other but also smell amazing on their own, we can create a candle that feels more like an experience than a product.
We chose amber, vanilla, and sandalwood for our candle, but the options are truly endless! Our BlendingElements Collection makes it easy to curate your own combination of scent layers that work well together while also standing out on their own.
Additional items needed:
- Double boiler
- Stirring spatula
- Glass measuring cups
- Paper towels
- Isopropyl alcohol
- Scissors or wick trimmer
Directions:
We are making three layers in each candle, and three candles total. We chose to keep our candle undyed, but you can dye each layer—be sure to choose colors that will blend well together as the candle melts.
Below is the breakdown of each layer per candle.
Layer 1 / Base Layer: Sandalwood Element
Wax: 2.83 oz
FO: 0.22 oz
Layer 2 / Middle Layer: Vanilla Element
Wax: 2.83 oz
FO: 0.22 oz
Layer 3 / Top Layer: Amber Element
Wax: 2.83 oz
FO: 0.22 oz
Total Wax: 25.5 oz (722.91 g)
Total Fragrance Oil: 1.98 oz (56.13 g)
Step 1: Prepare and wick your jars
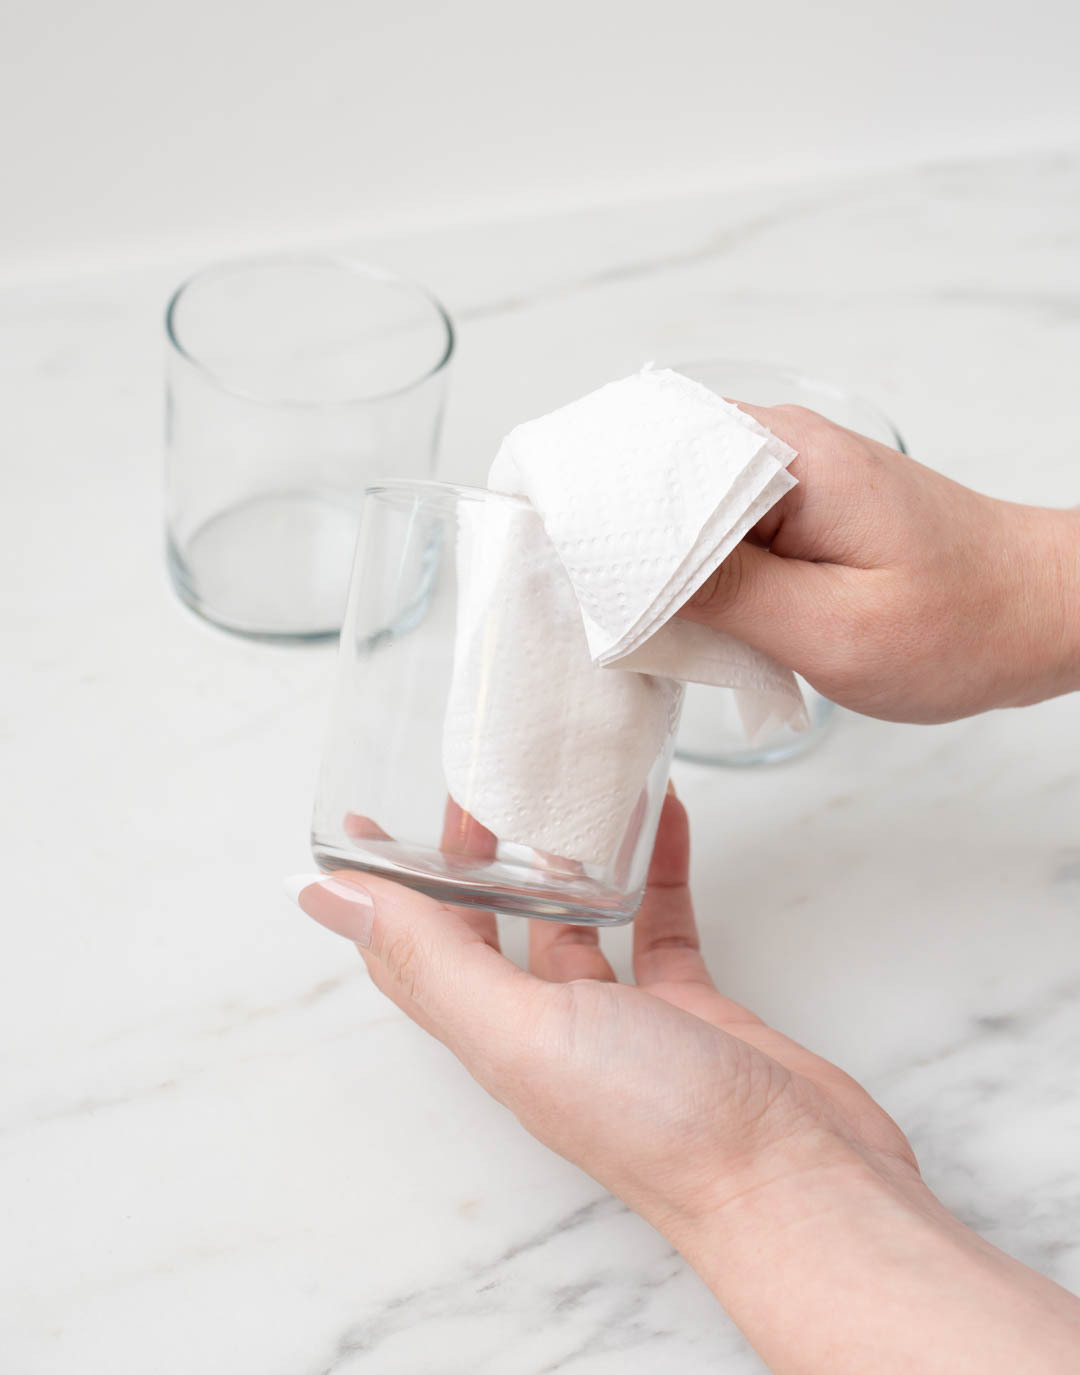
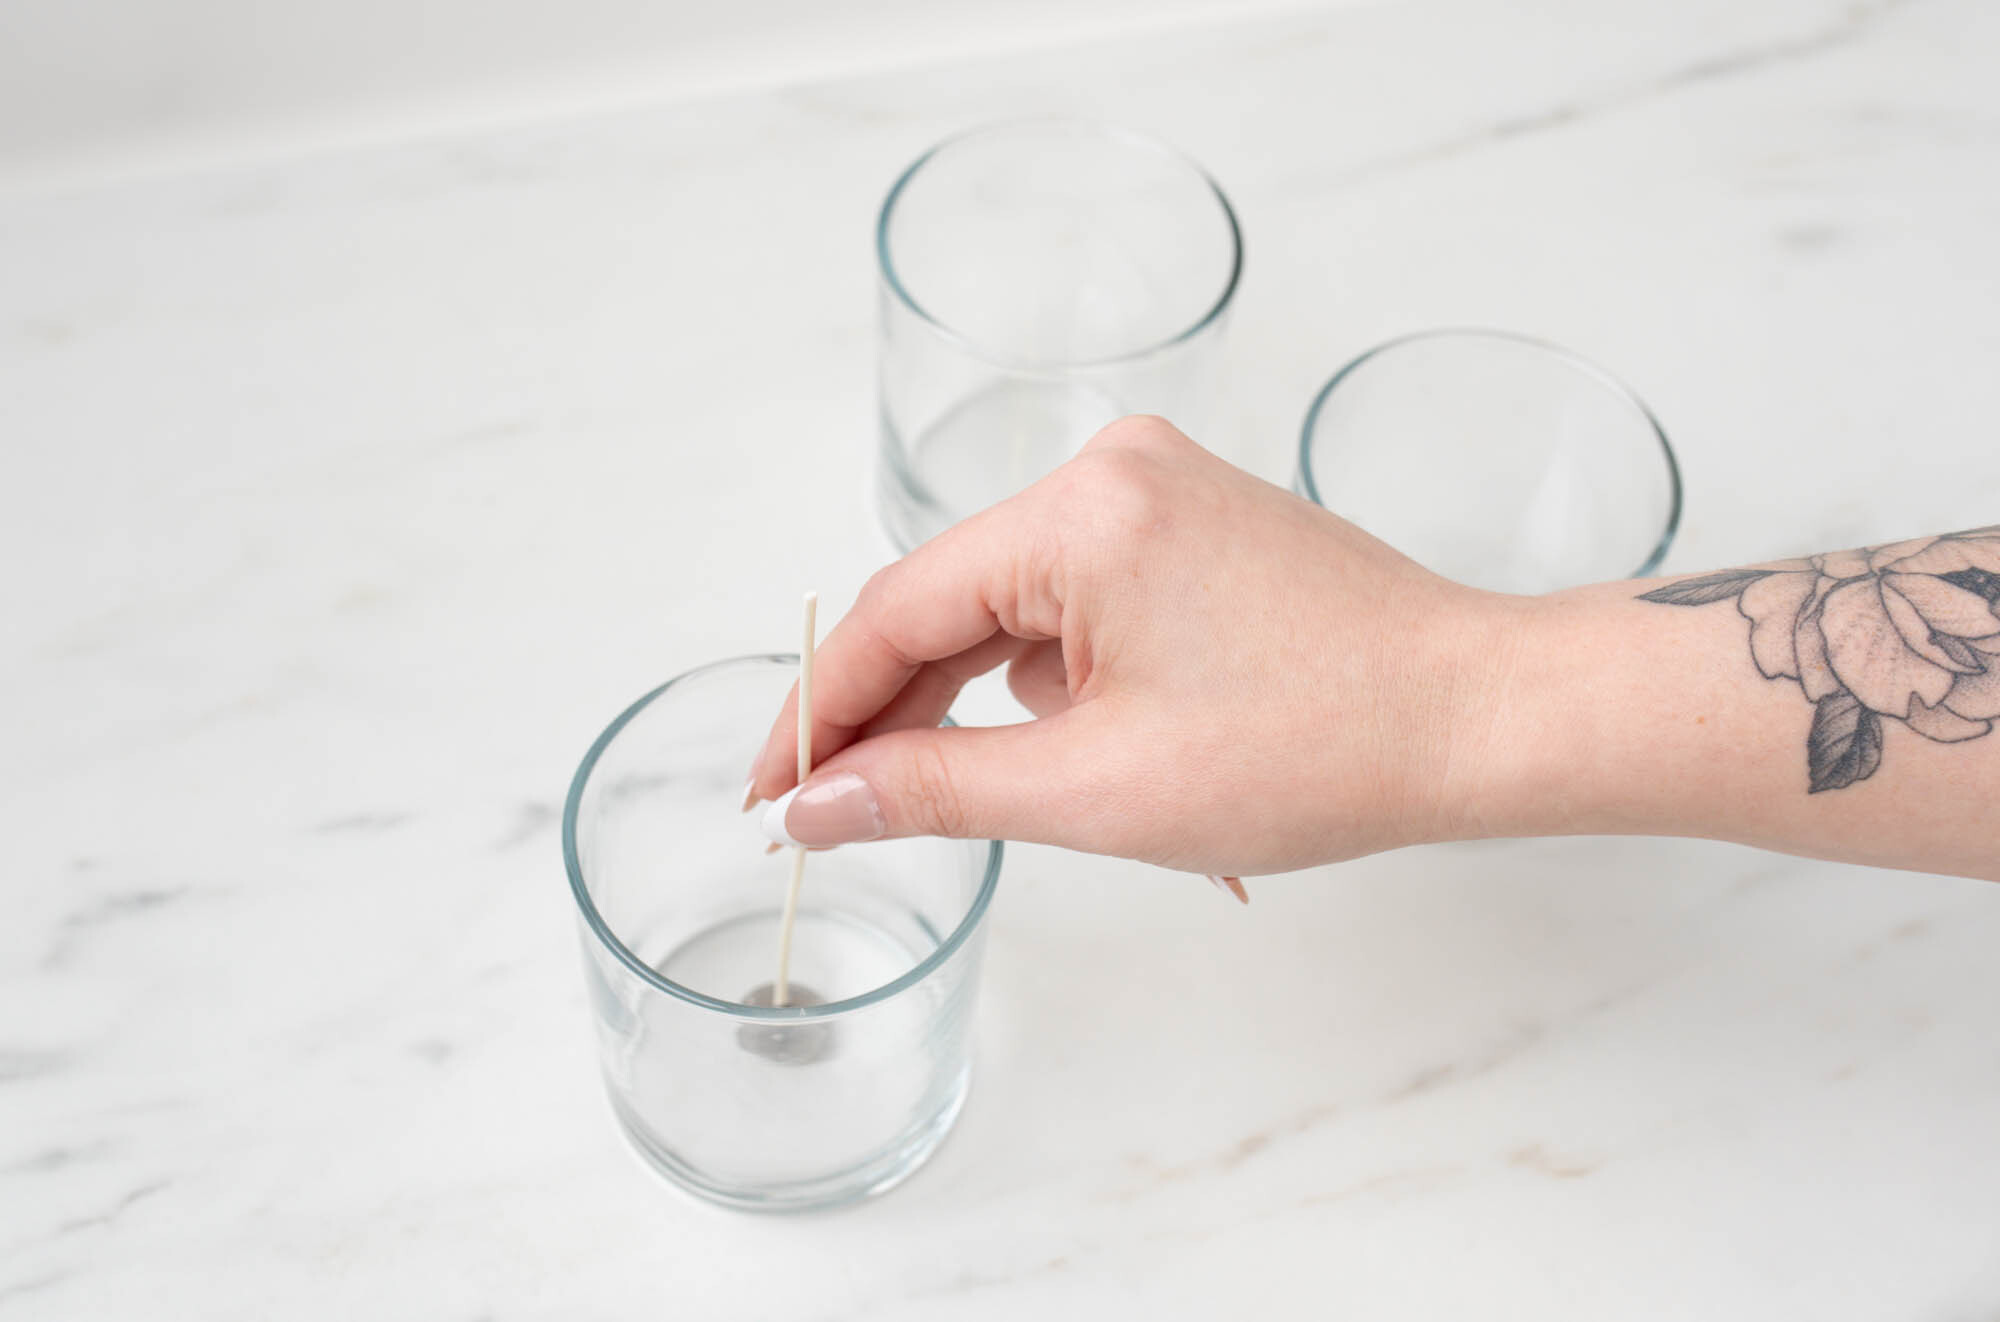
Wipe out 3 Studio Tumbler Jars with a small amount of isopropyl alcohol and a clean paper towel. Using a wick sticker, center one LX 18 wick in each jar. Set aside.
Step 2: Weigh and melt wax
Note: We’re doing even layers so we will weigh out the same amount of wax for each layer. You can use 3 pouring pitchers to measure wax for all individual layers at once if you don't want to clean a pitcher in between layer pouring.
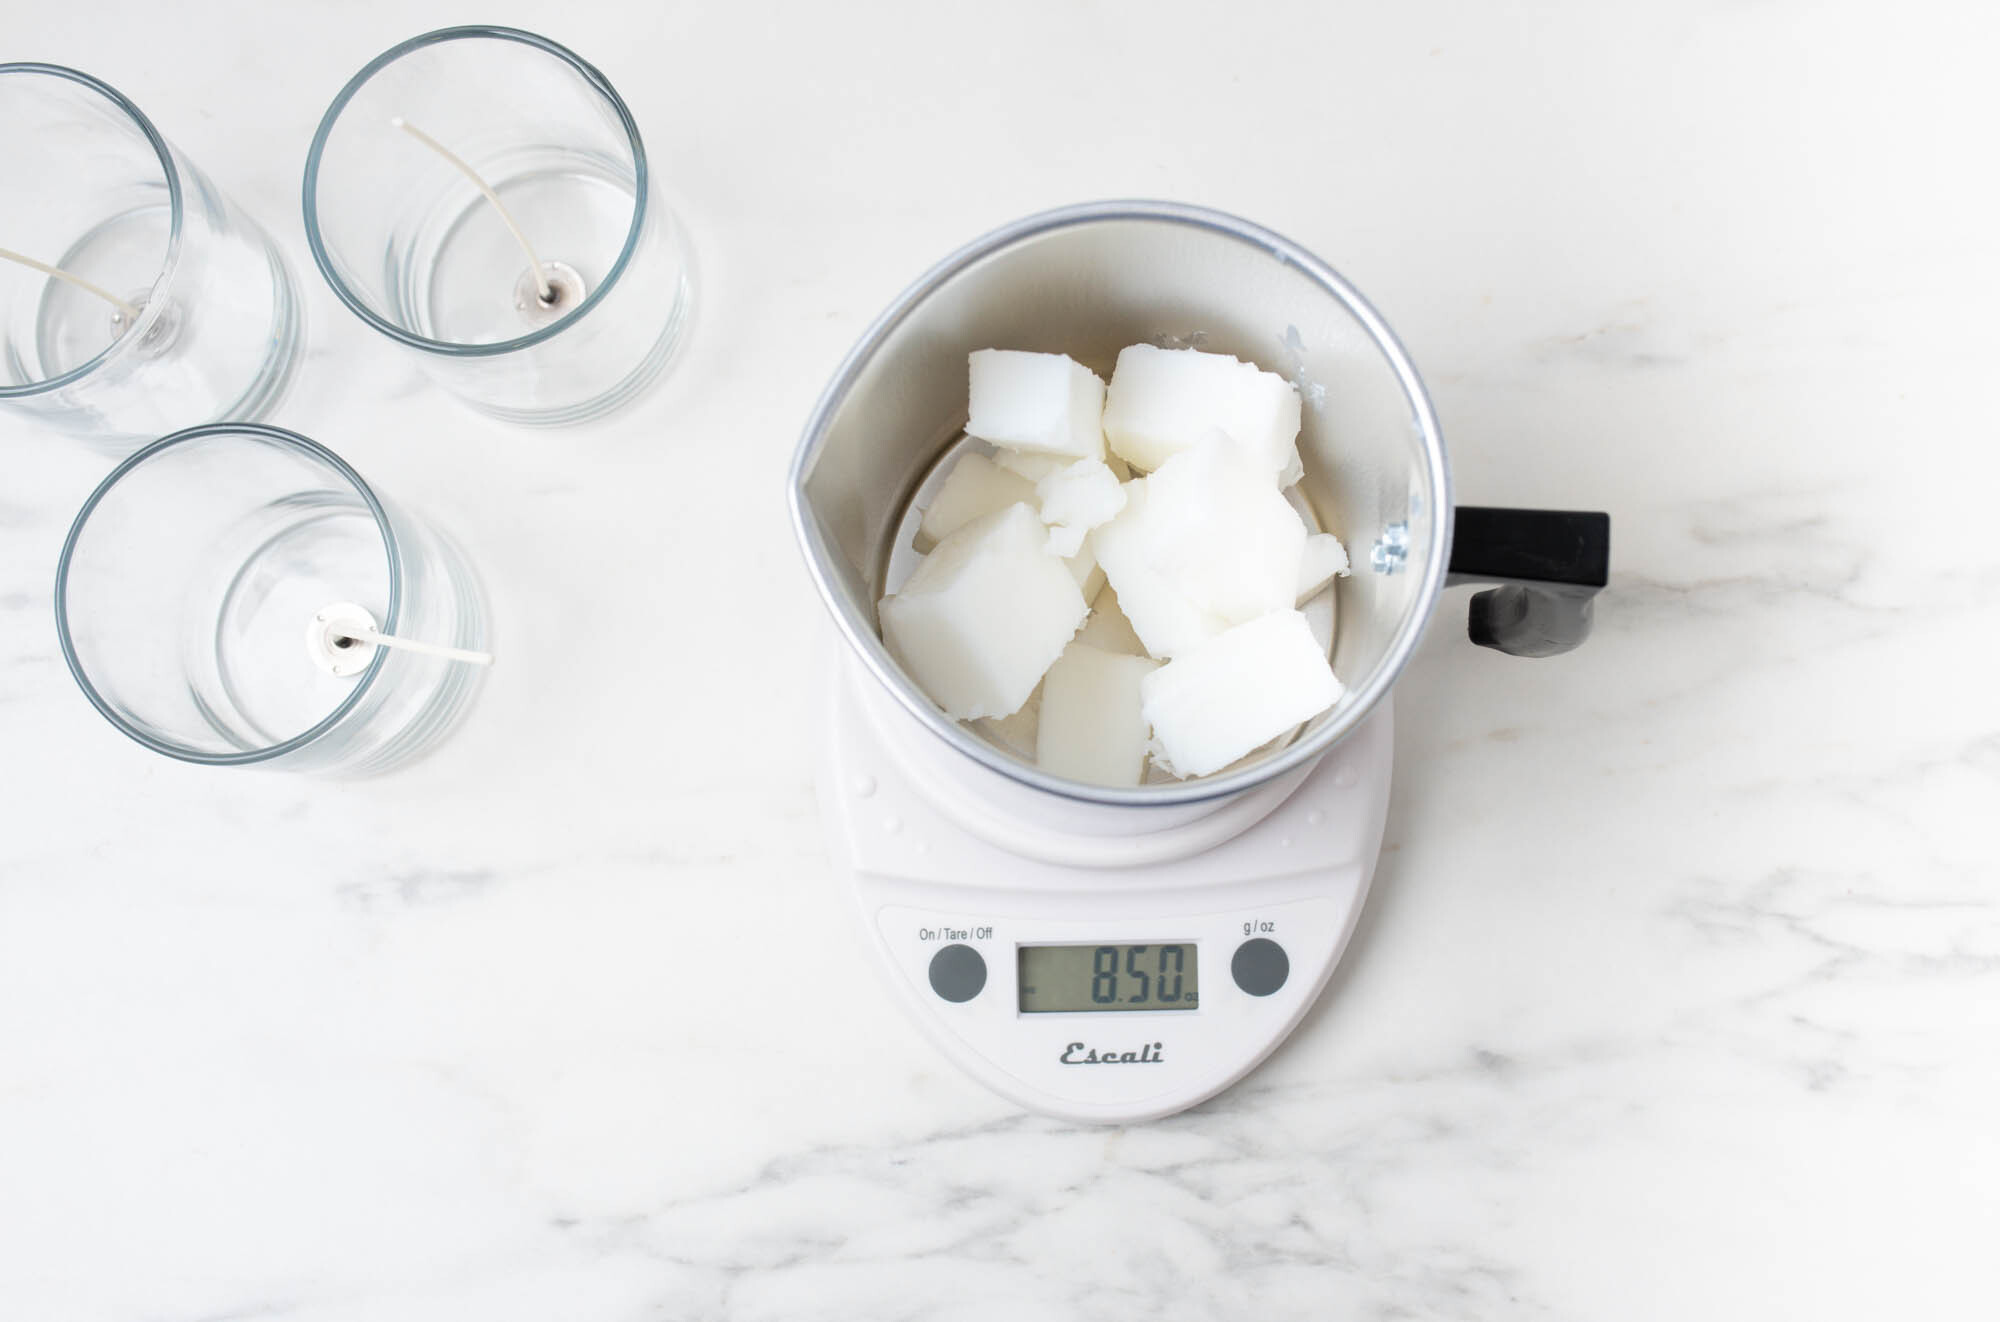
Each layer will be 2.83 oz (80.23 g) of wax. Because we are making 3 candles, that means we’ll need 8.5 oz (240.97 g) total of each scented wax layer.
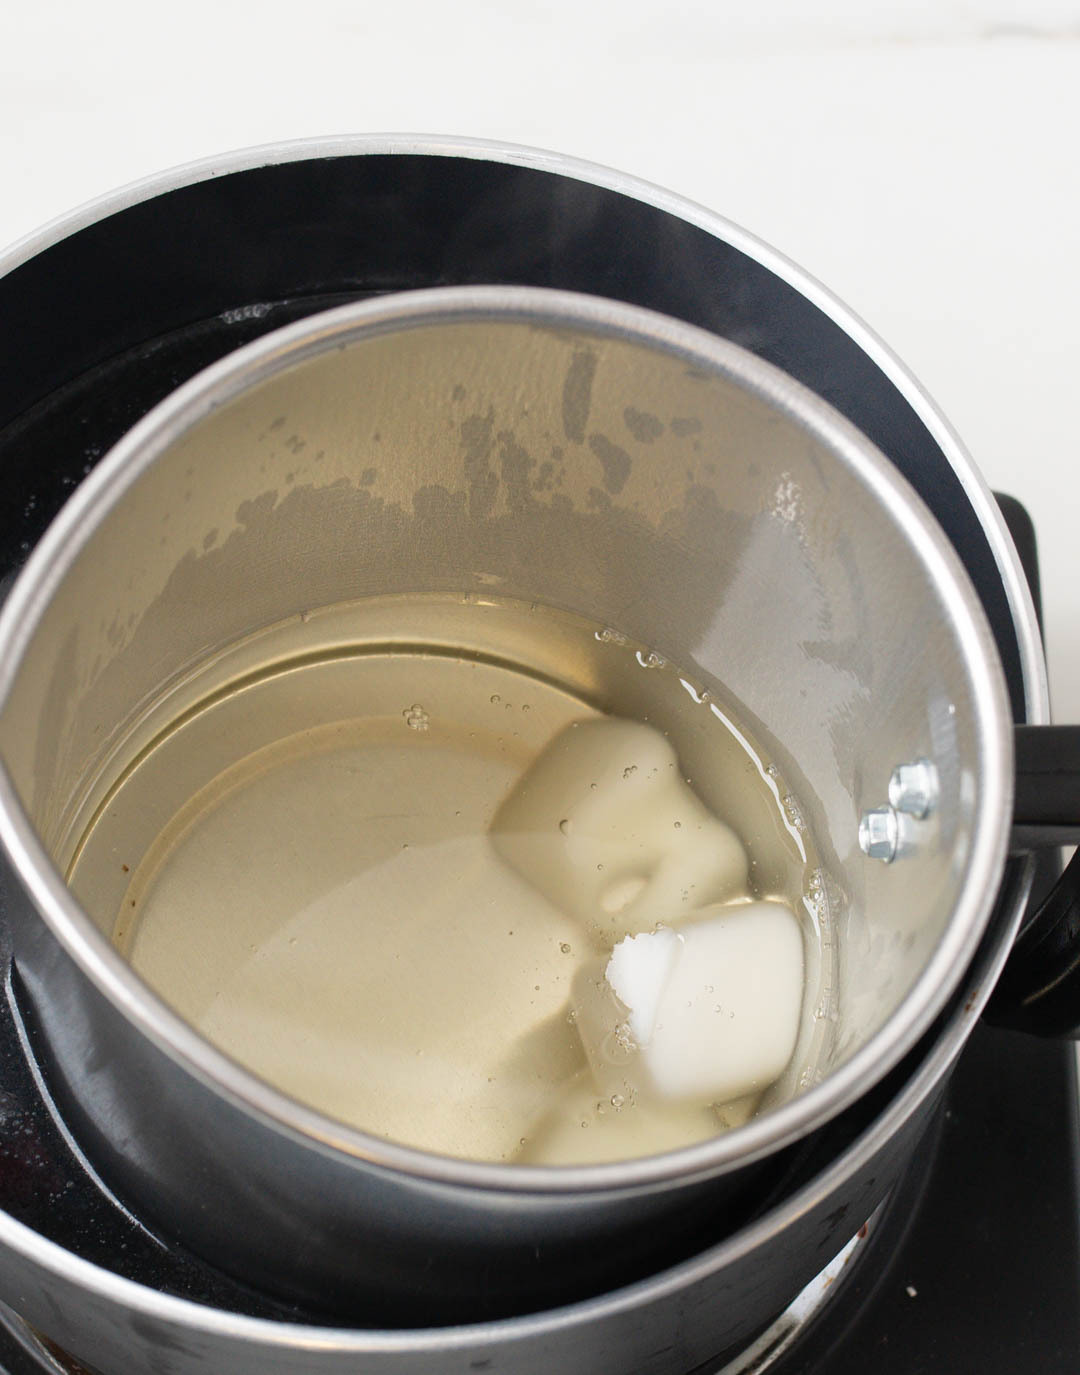
Place a pouring pitcher on your digital scale and tare the weight. Weigh 8.5 oz (240.97 g) of Coconut Apricot Wax in the pouring pitcher and begin to melt the wax with a double boiler.
Step 3: Weigh the fragrance oil
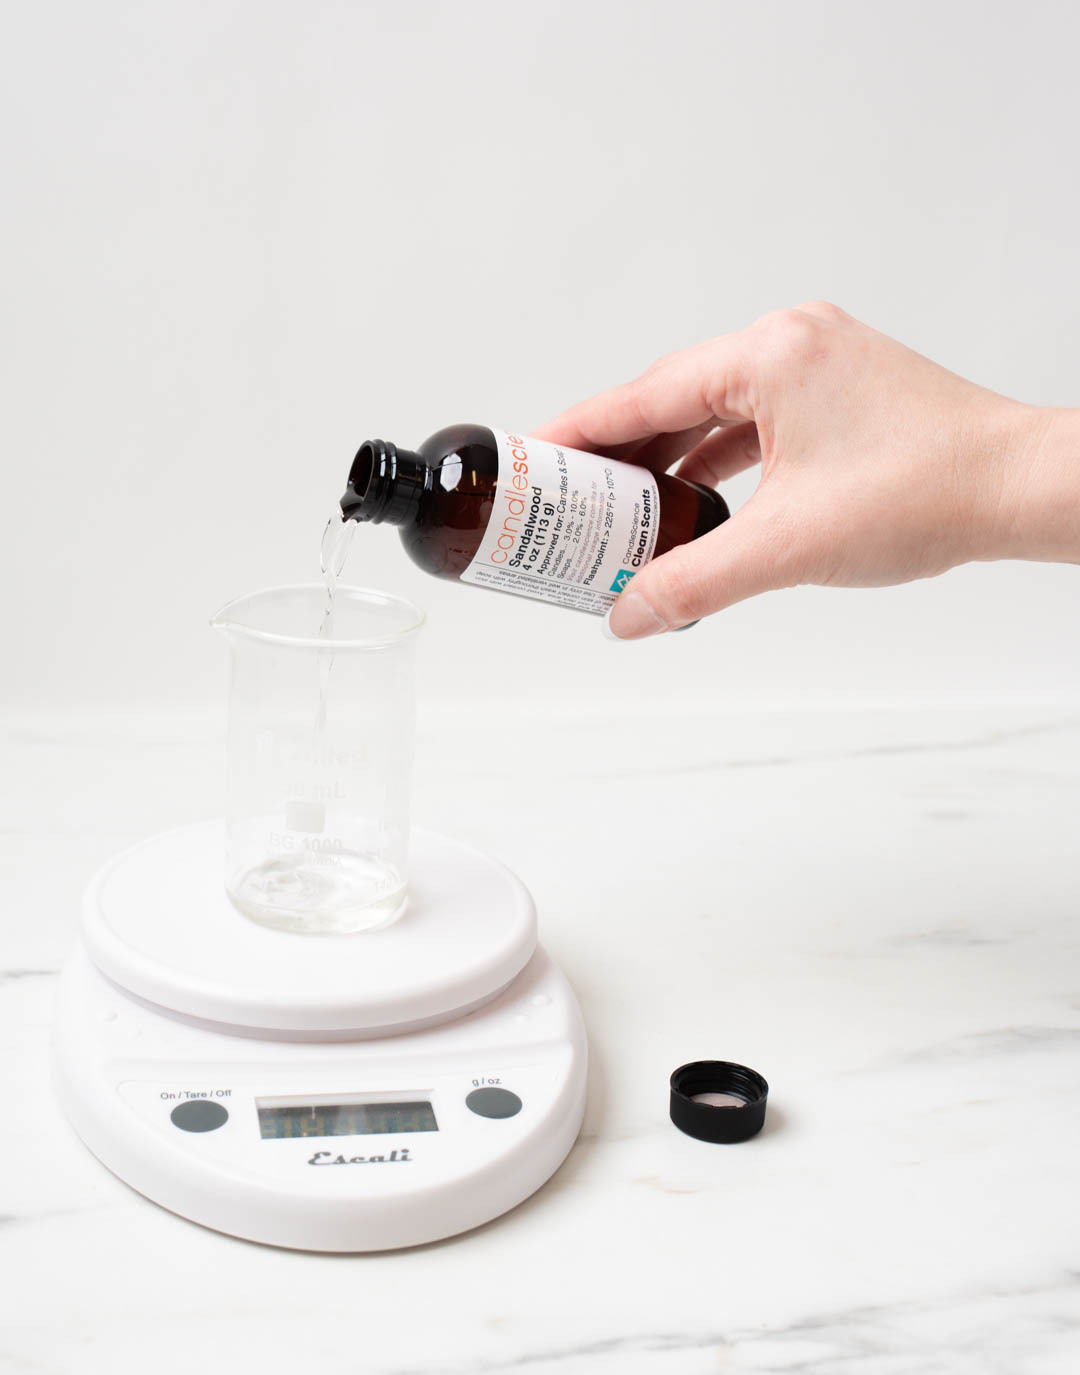
While the wax is melting, weigh out .66 oz. (18.71 g) of layer 1, Sandalwood Element, approximately an 8% fragrance load, on a tared scale.
.jpg)
Step 4: Add the fragrance oil
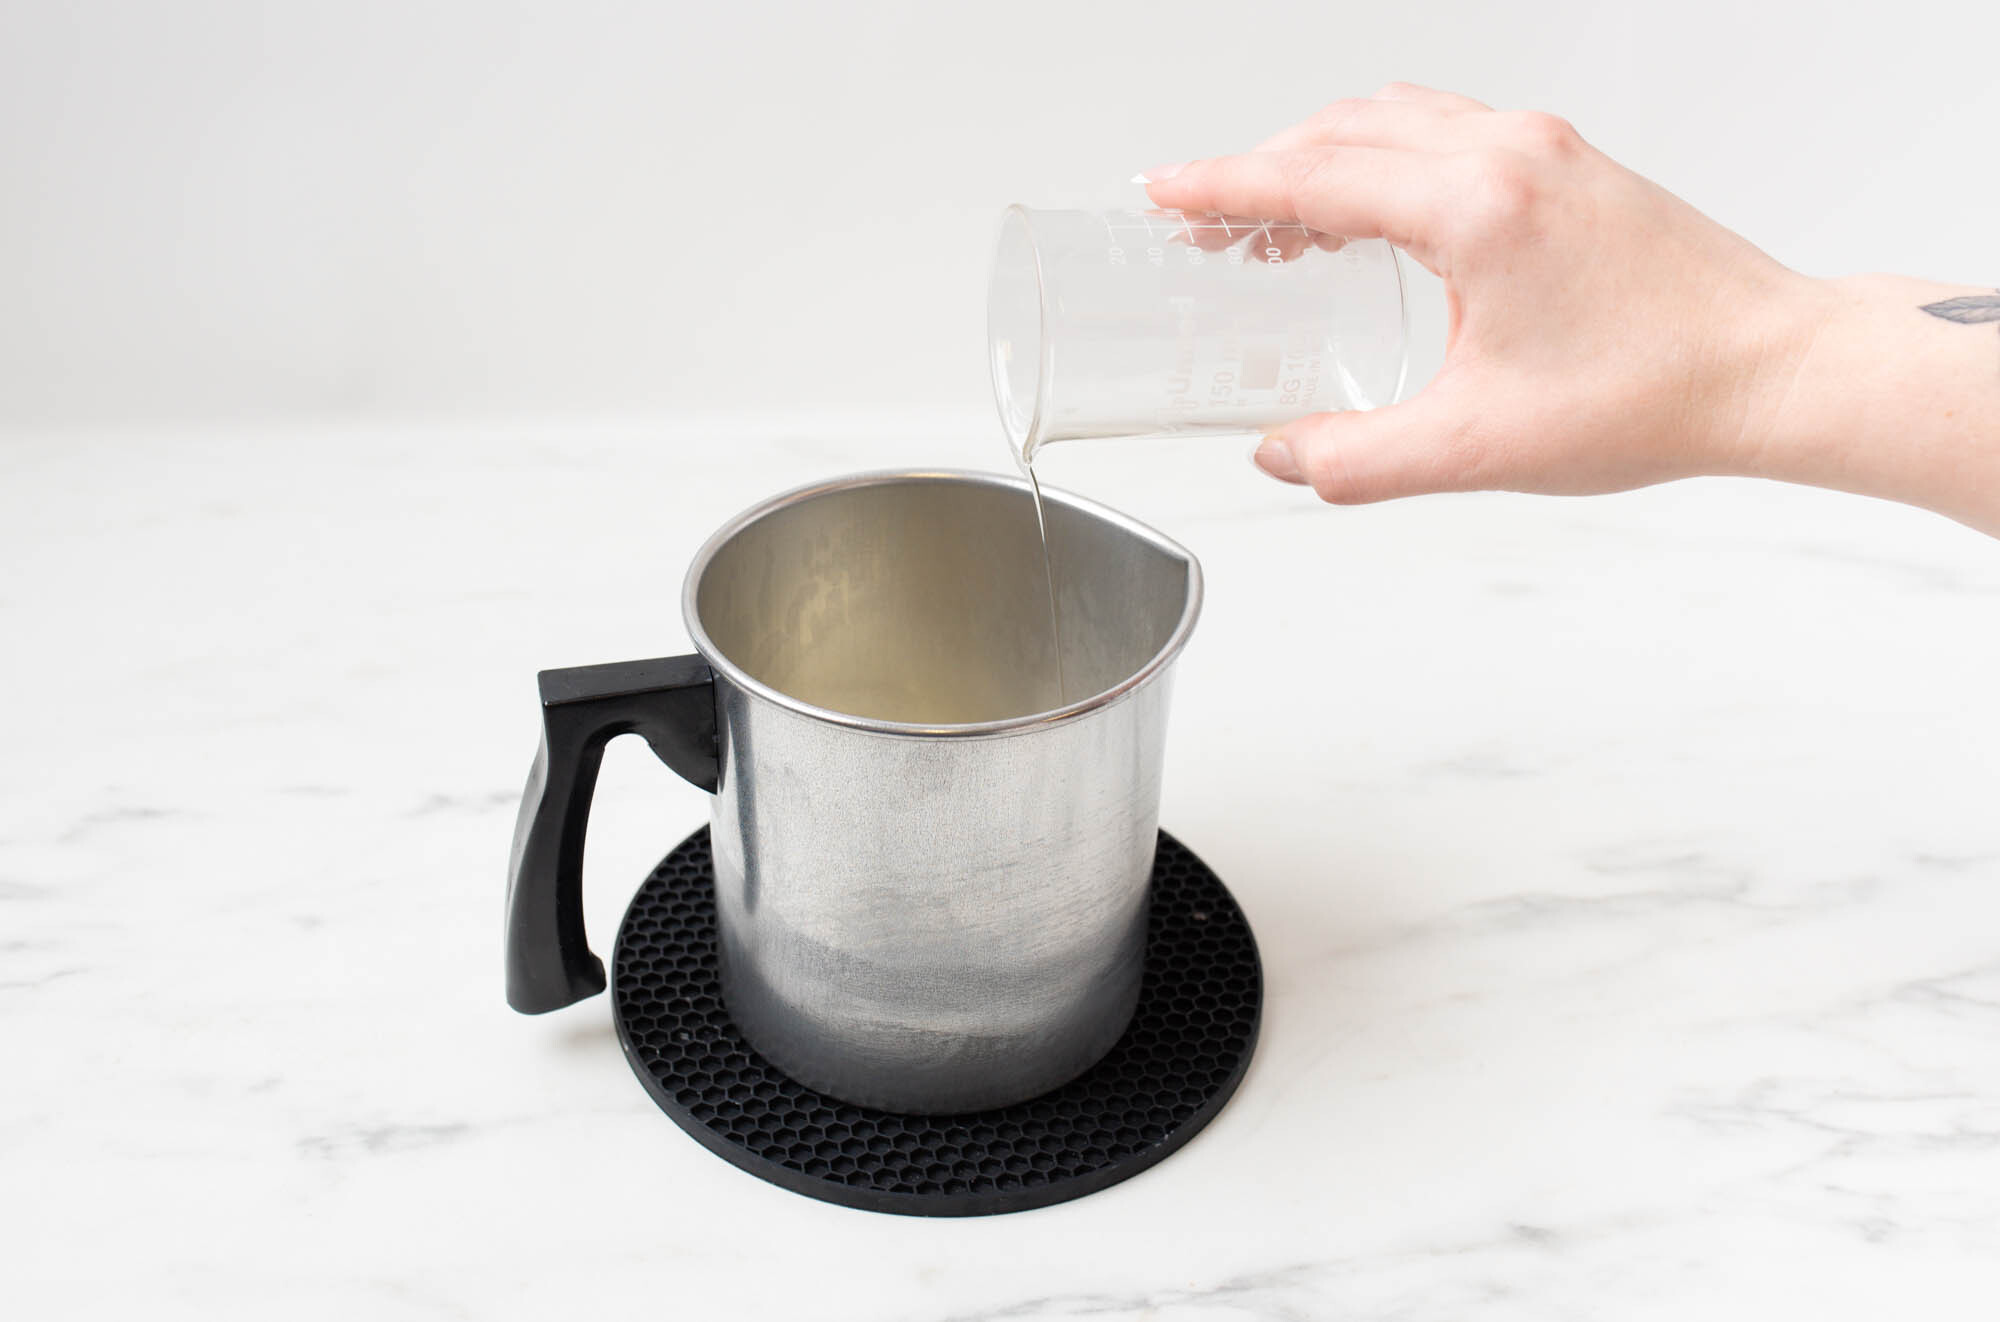
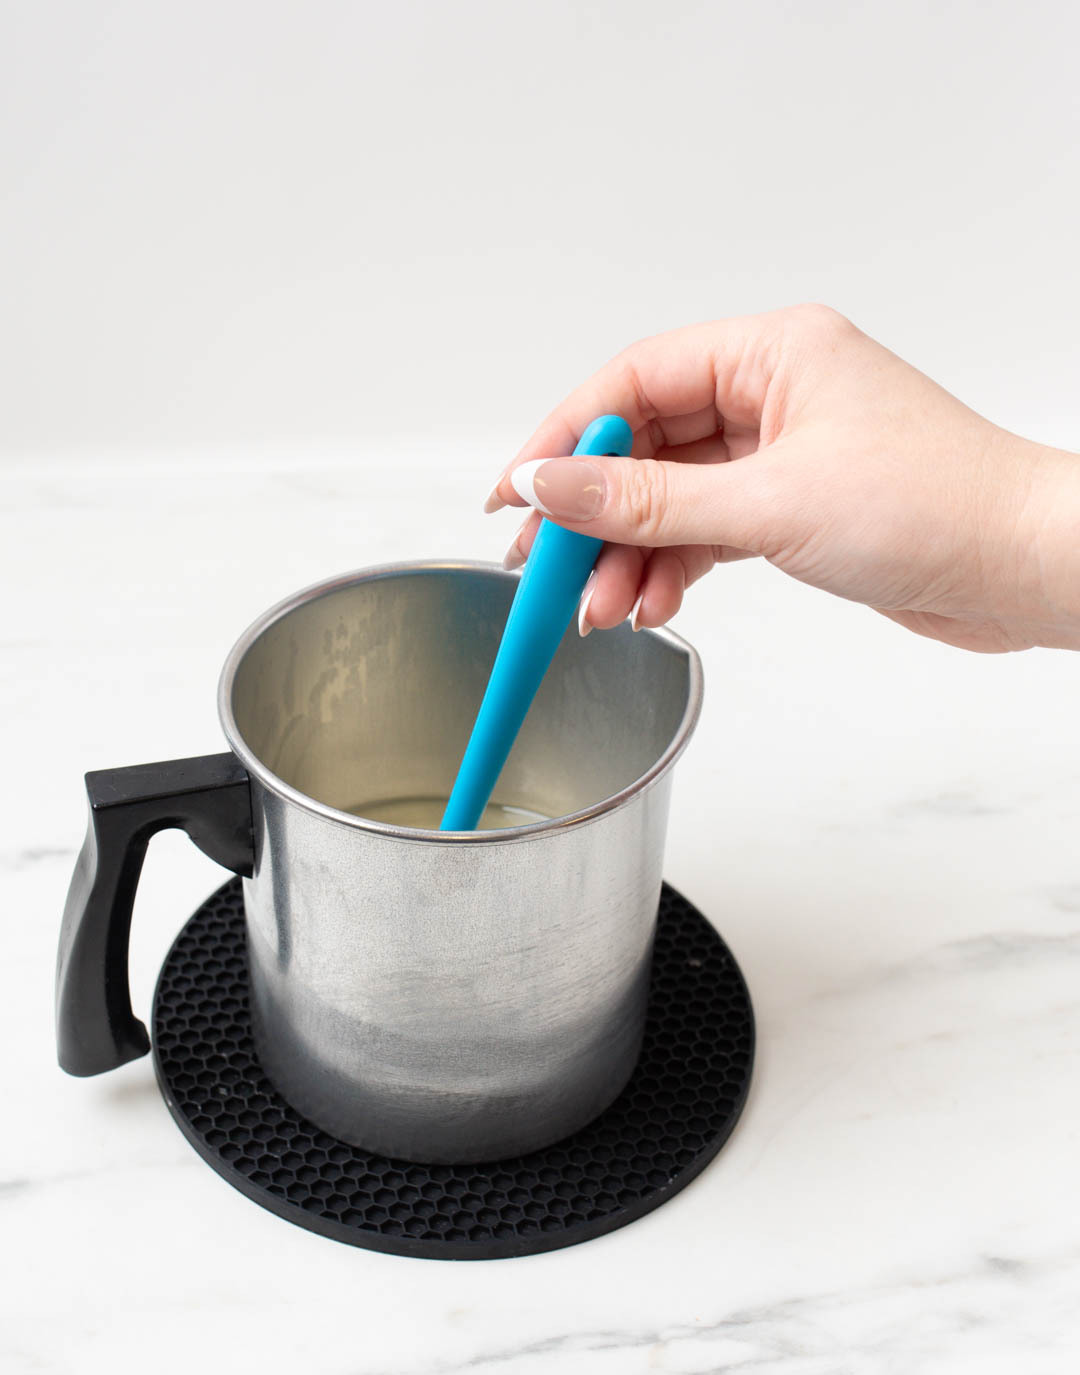
Once the wax reaches 185°F (85°C), add the fragrance oil to the pouring pitcher. Stir gently for 2 minutes to make sure the fragrance oil is fully incorporated into the wax.
Step 5: Pour the candle layer
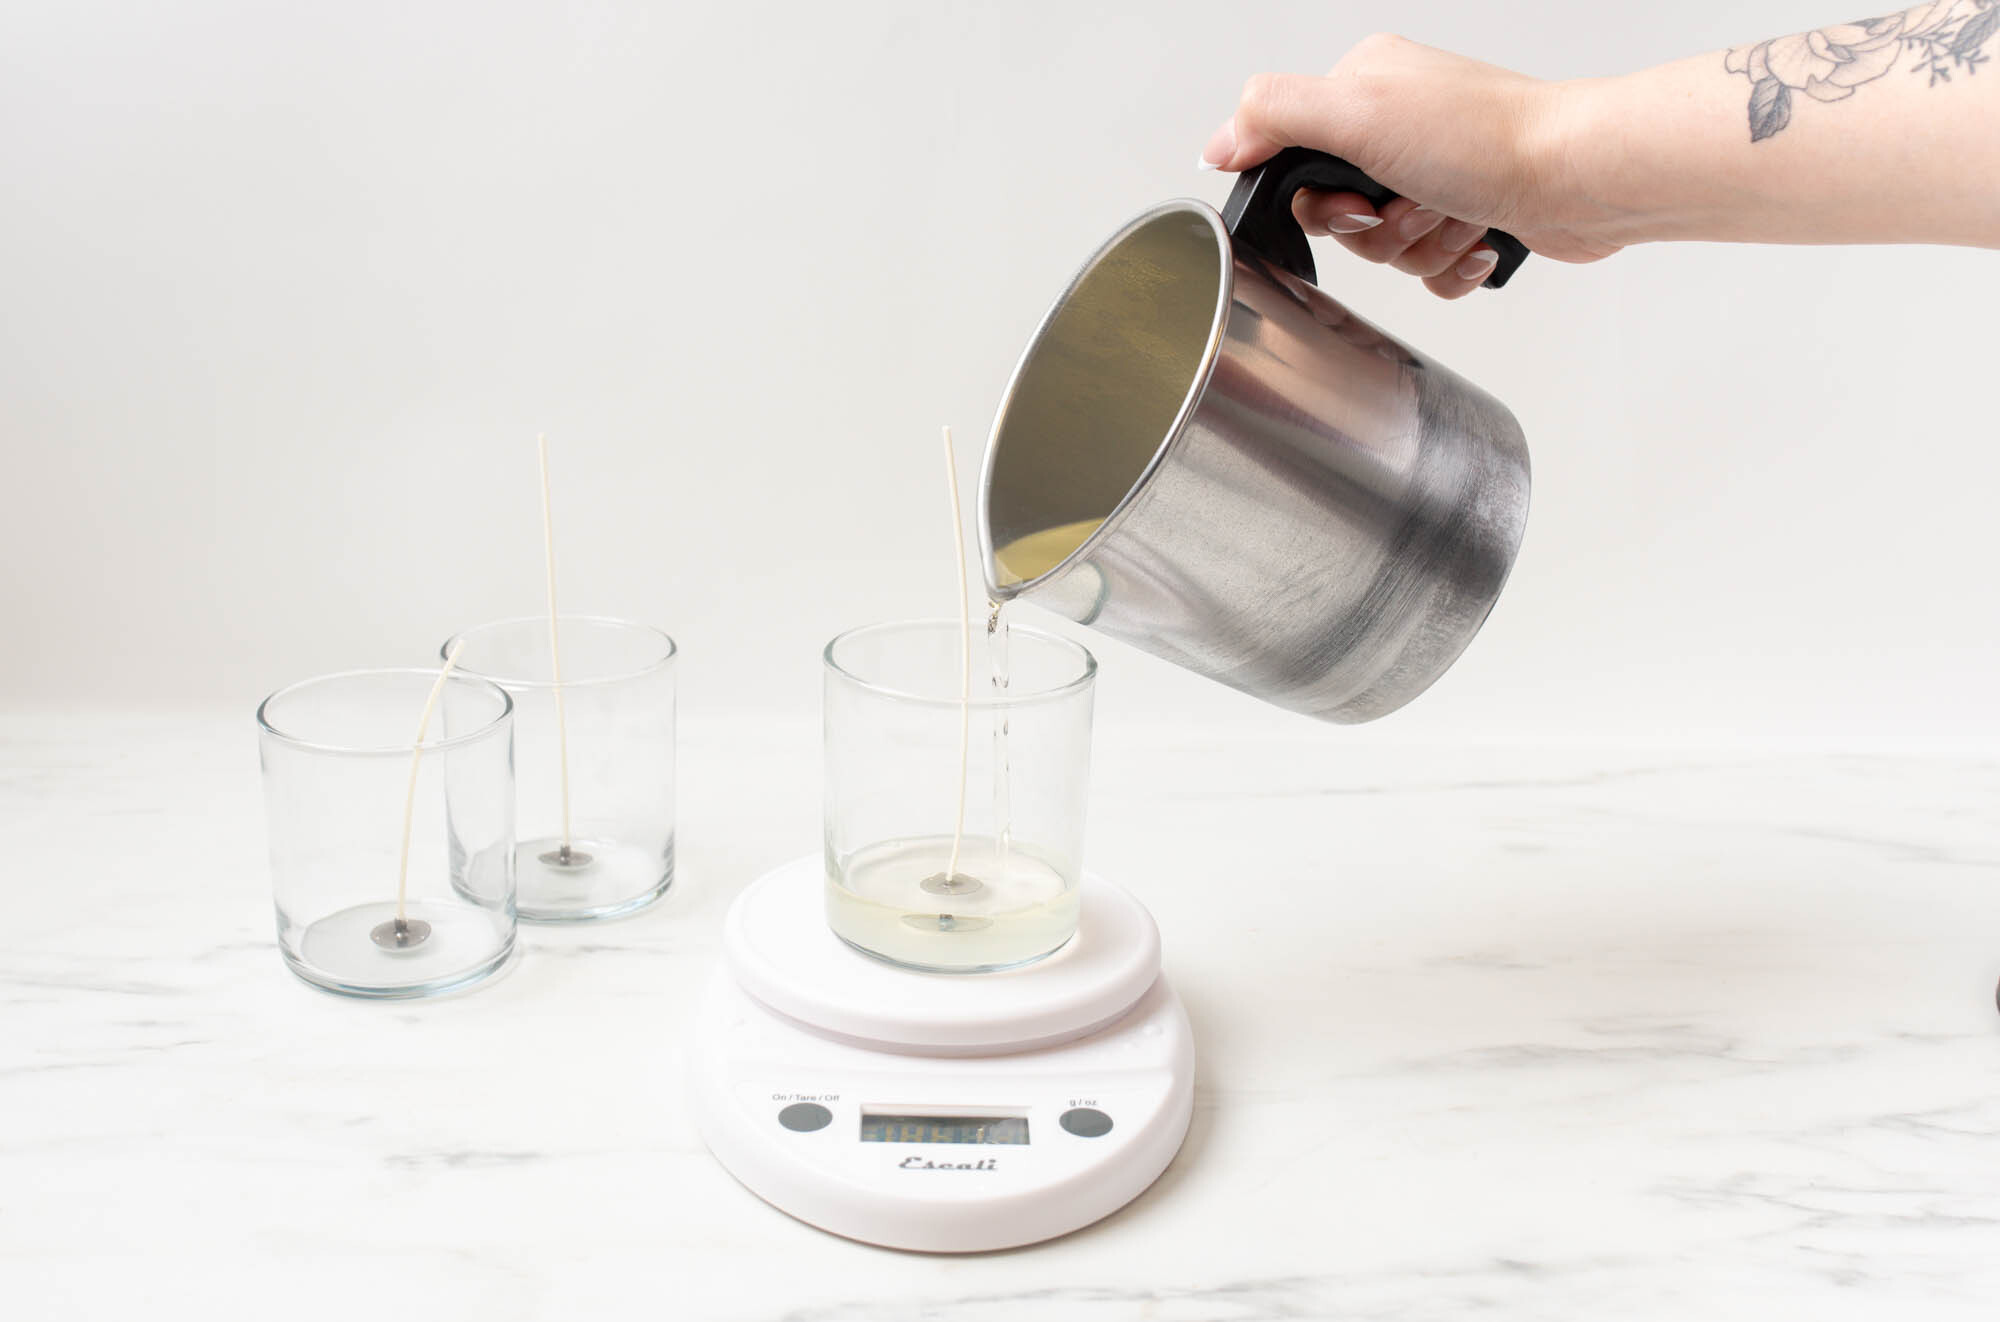
To make sure each layer has the same amount of scented wax, we will need to weigh the candle container as we pour.
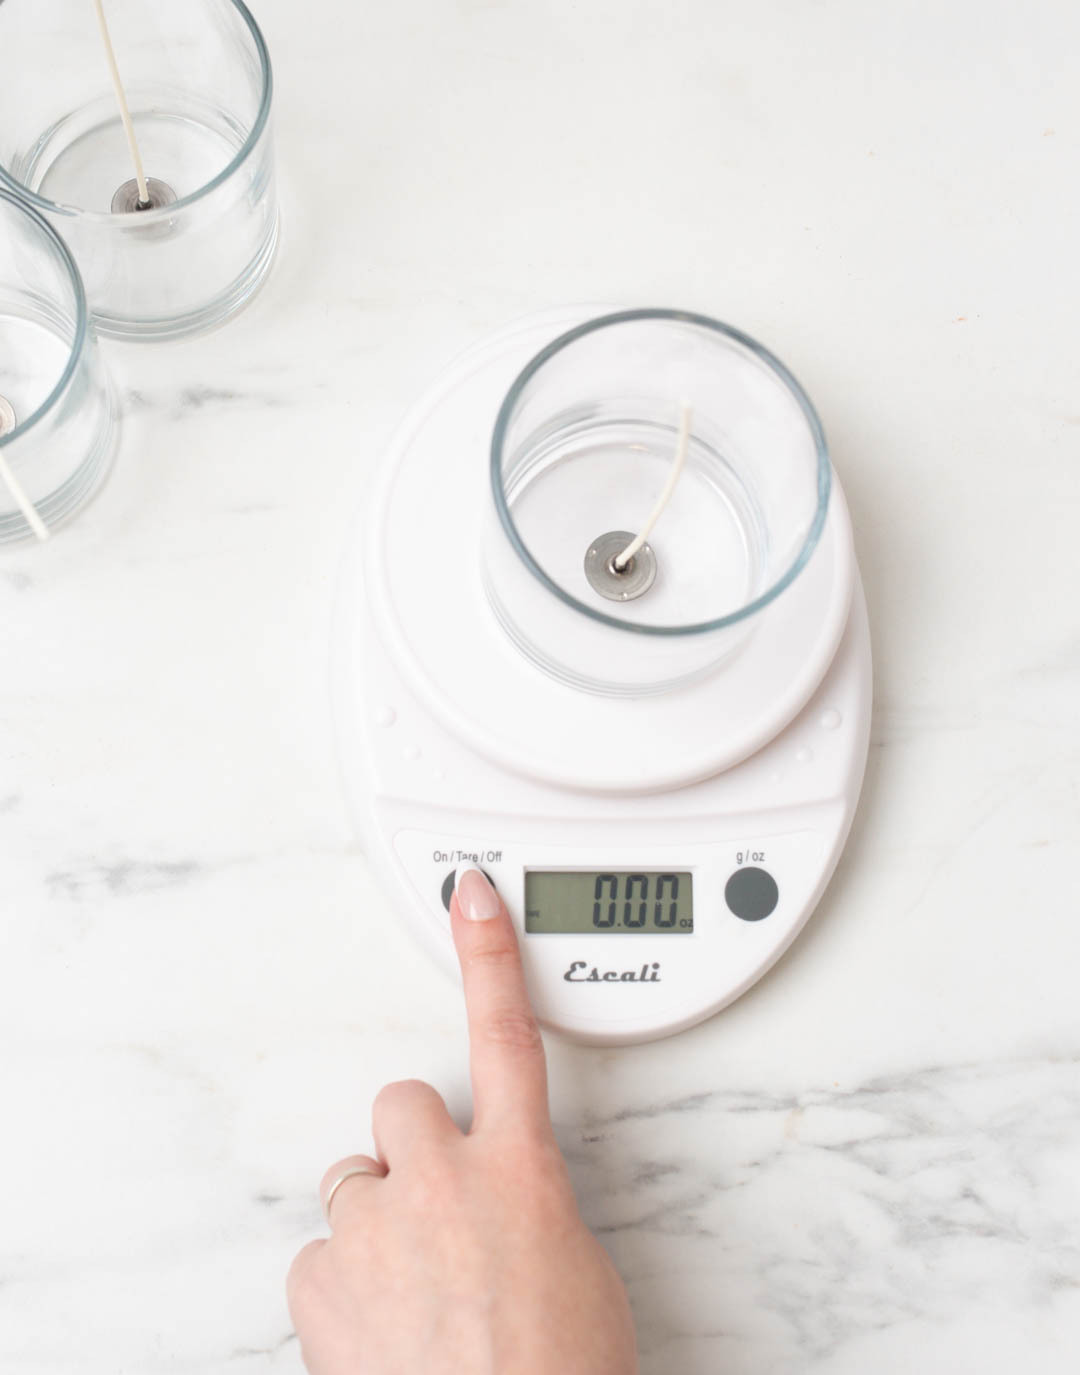
Place one of the wicked CS Studio Jars on your digital scale and tare the weight.
Carefully pour 2.83 oz (80.23 g) of the layer 1 wax into the container. Set the candle aside to cool and repeat the same pour for the other two candle containers.
Note: Be sure to clean out the pouring pitcher after you finish pouring each layer so it is ready for the next layer.
Step 6: Create layers 2 and 3
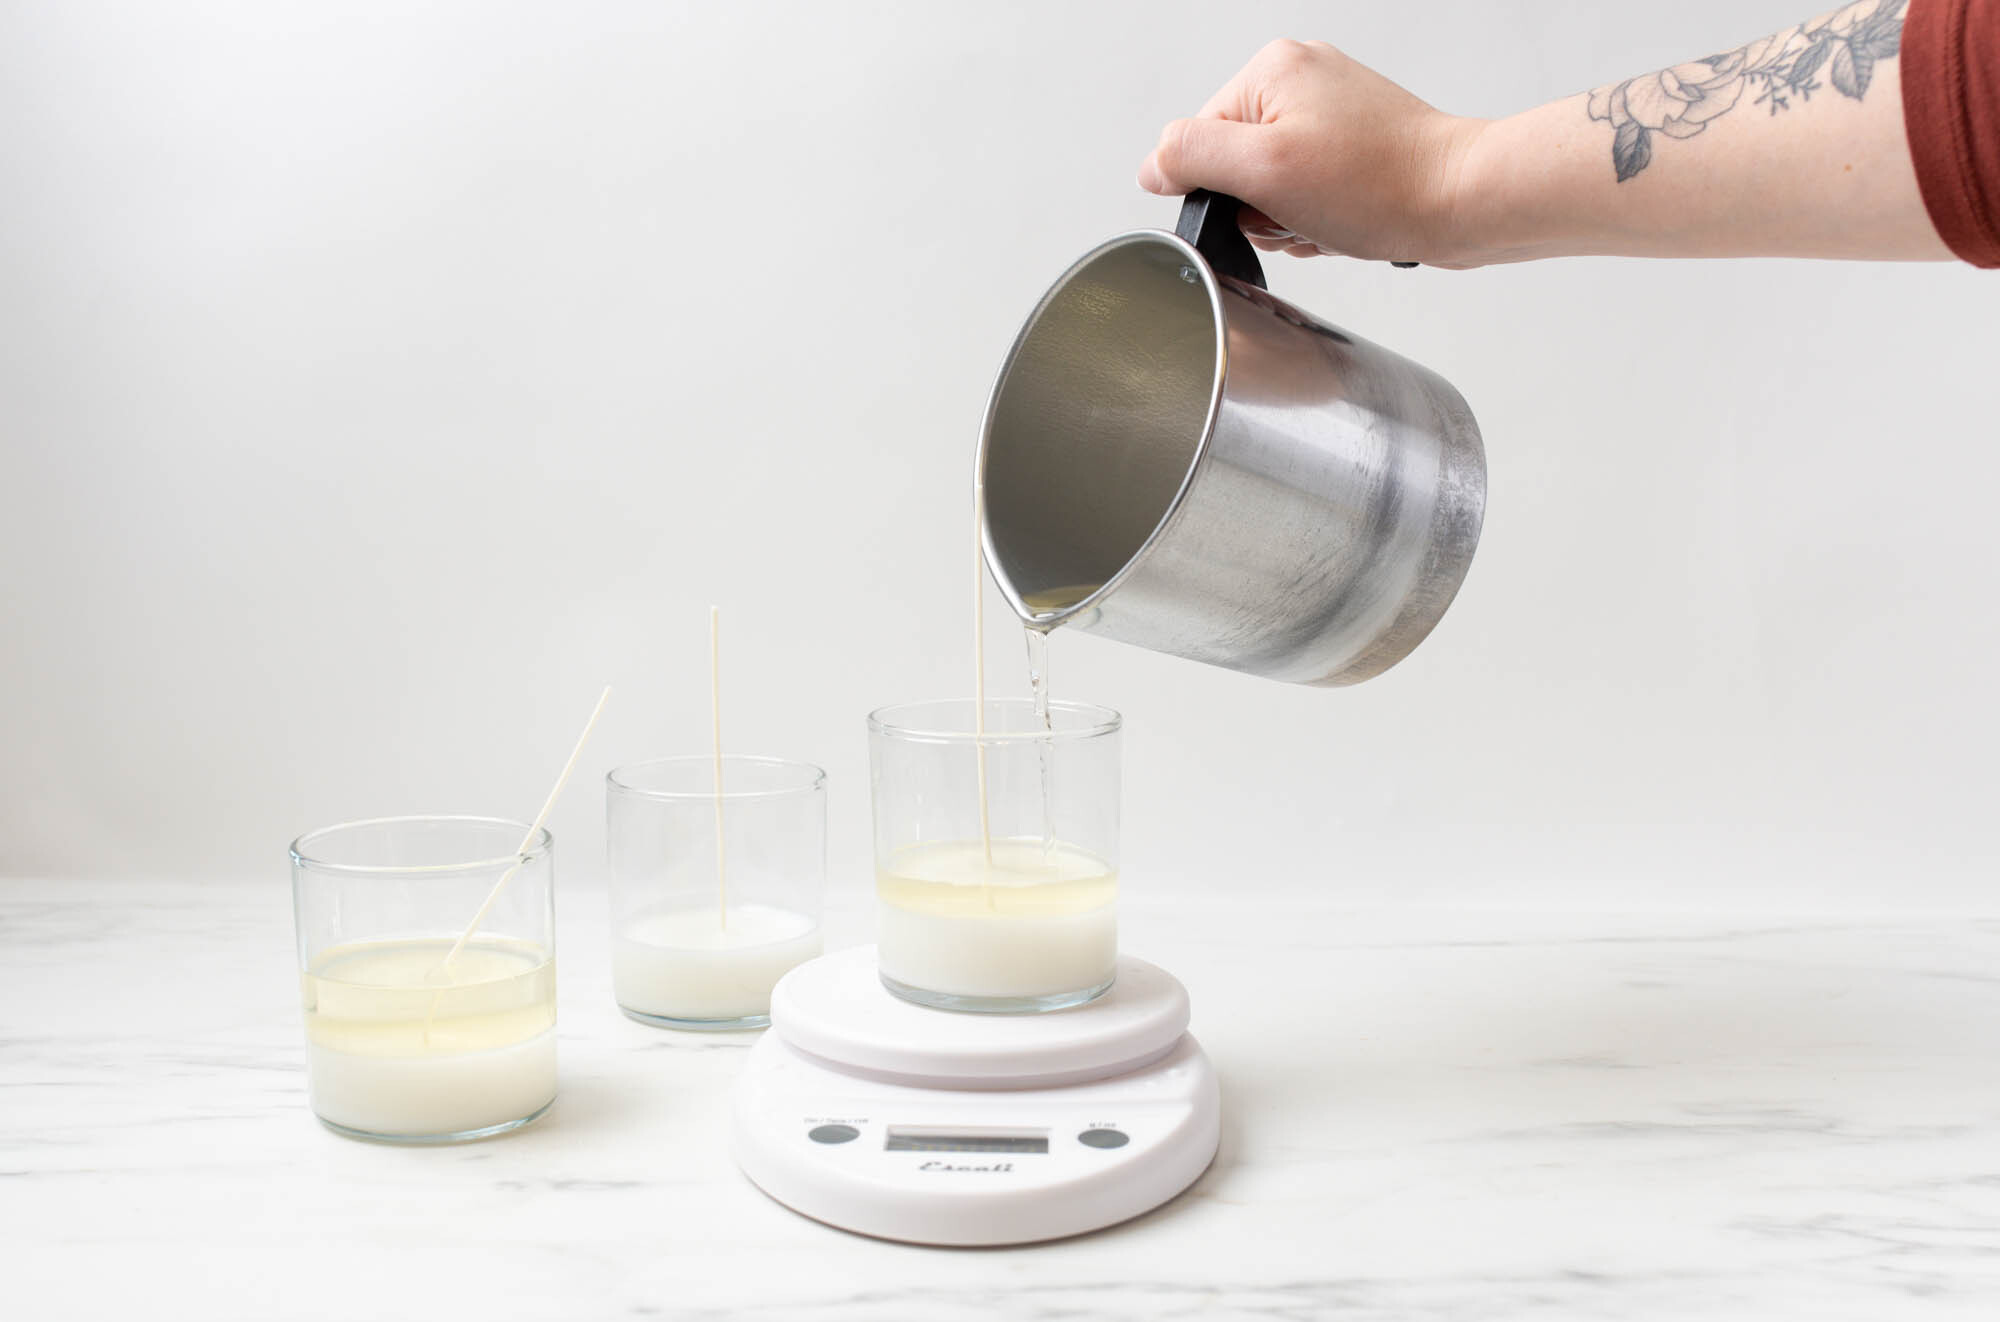
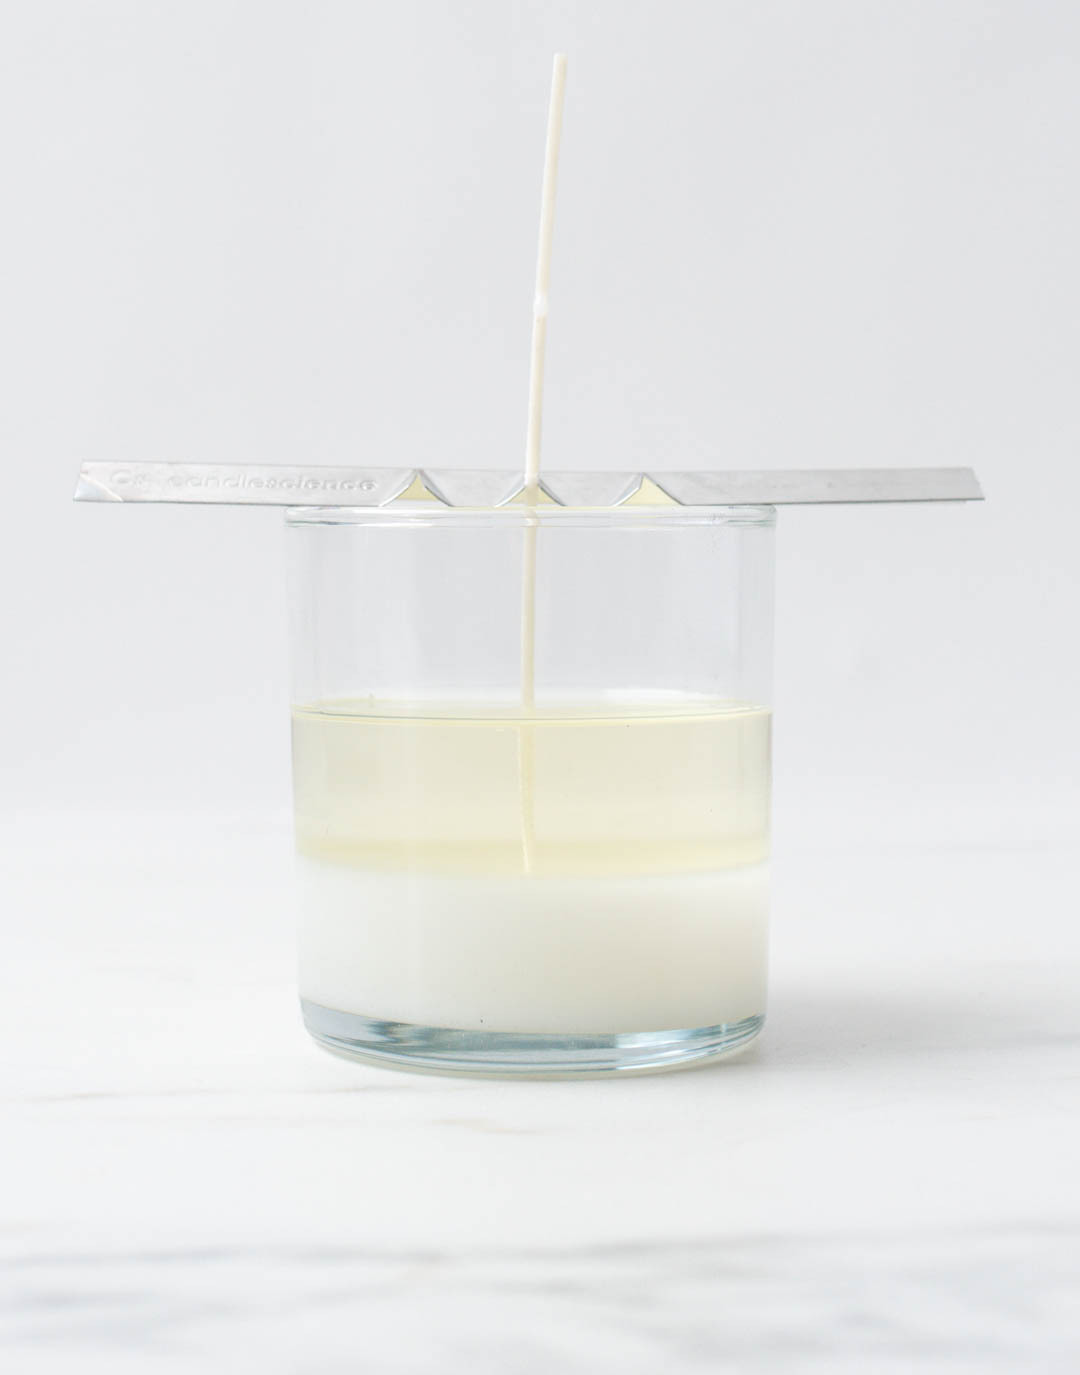
Repeat steps 2-5 for the second and third layer. Make sure you allow each layer to cool before adding the next layer.
Layer 2: Use Vanilla Element
Layer 3: Use Amber Element
Step 7: Trim wick and label your candle
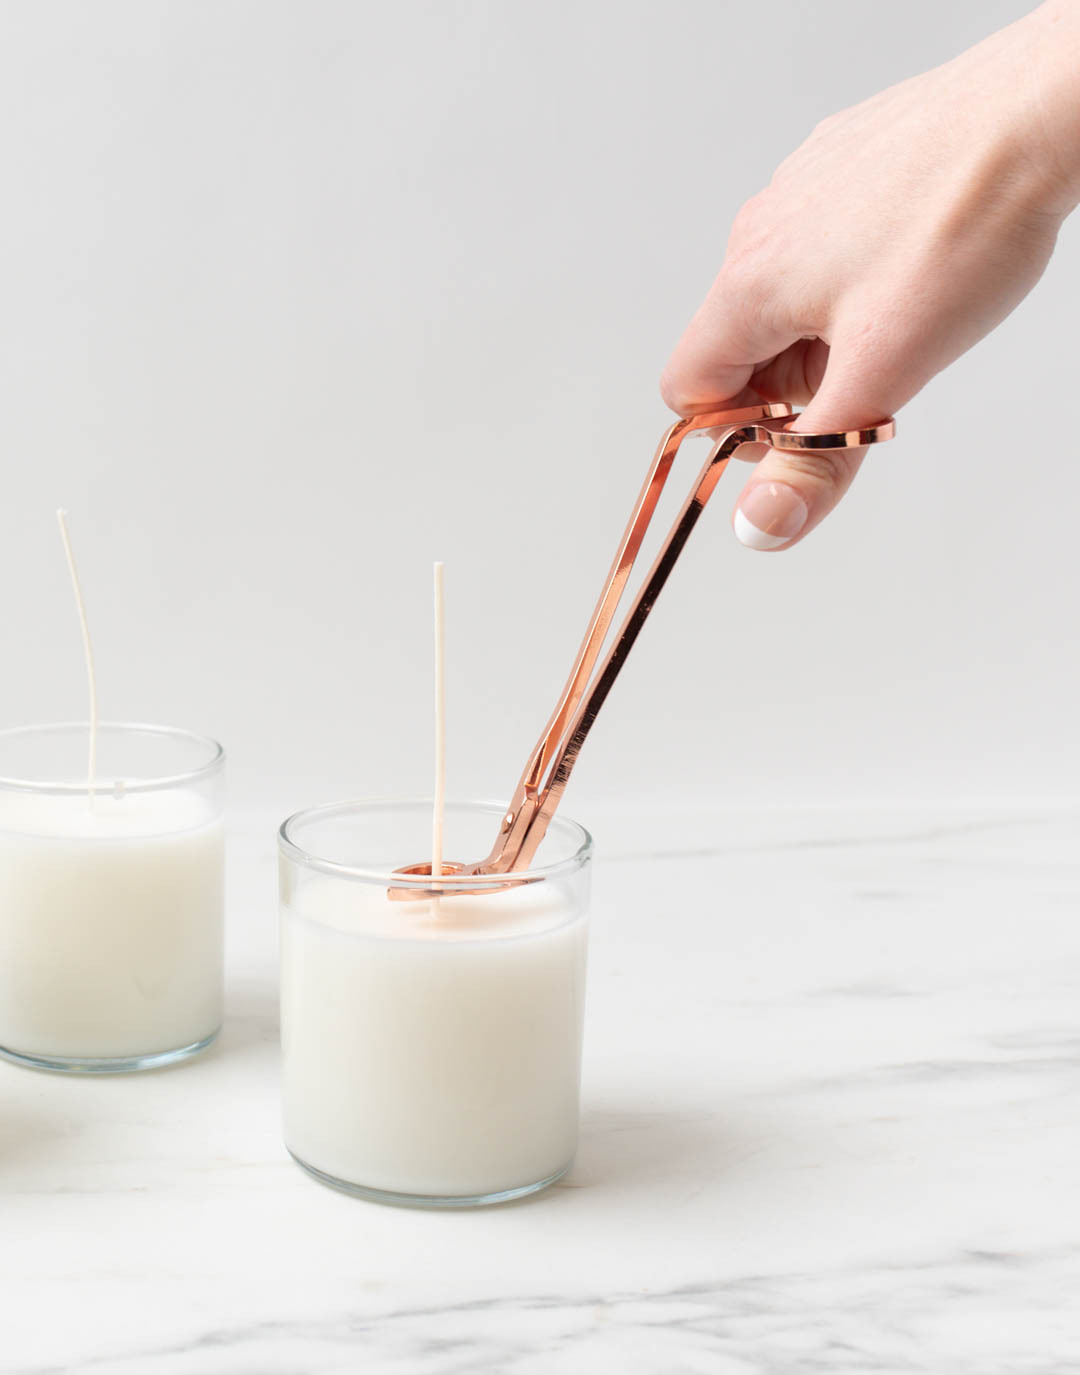
Once you candles have cooled completely, remove the wick bars and trim the wicks to 1/4 in (.635 cm). Place a warning label on the bottom of each candle and add any other labels you choose.

We designed our labels using Canva and printed them using Avery WePrint. These candles feature a 2" x 2.5" label on matte clear film. Learn how you can save 10% on Avery labels by visiting our partnership page.
Project Variation
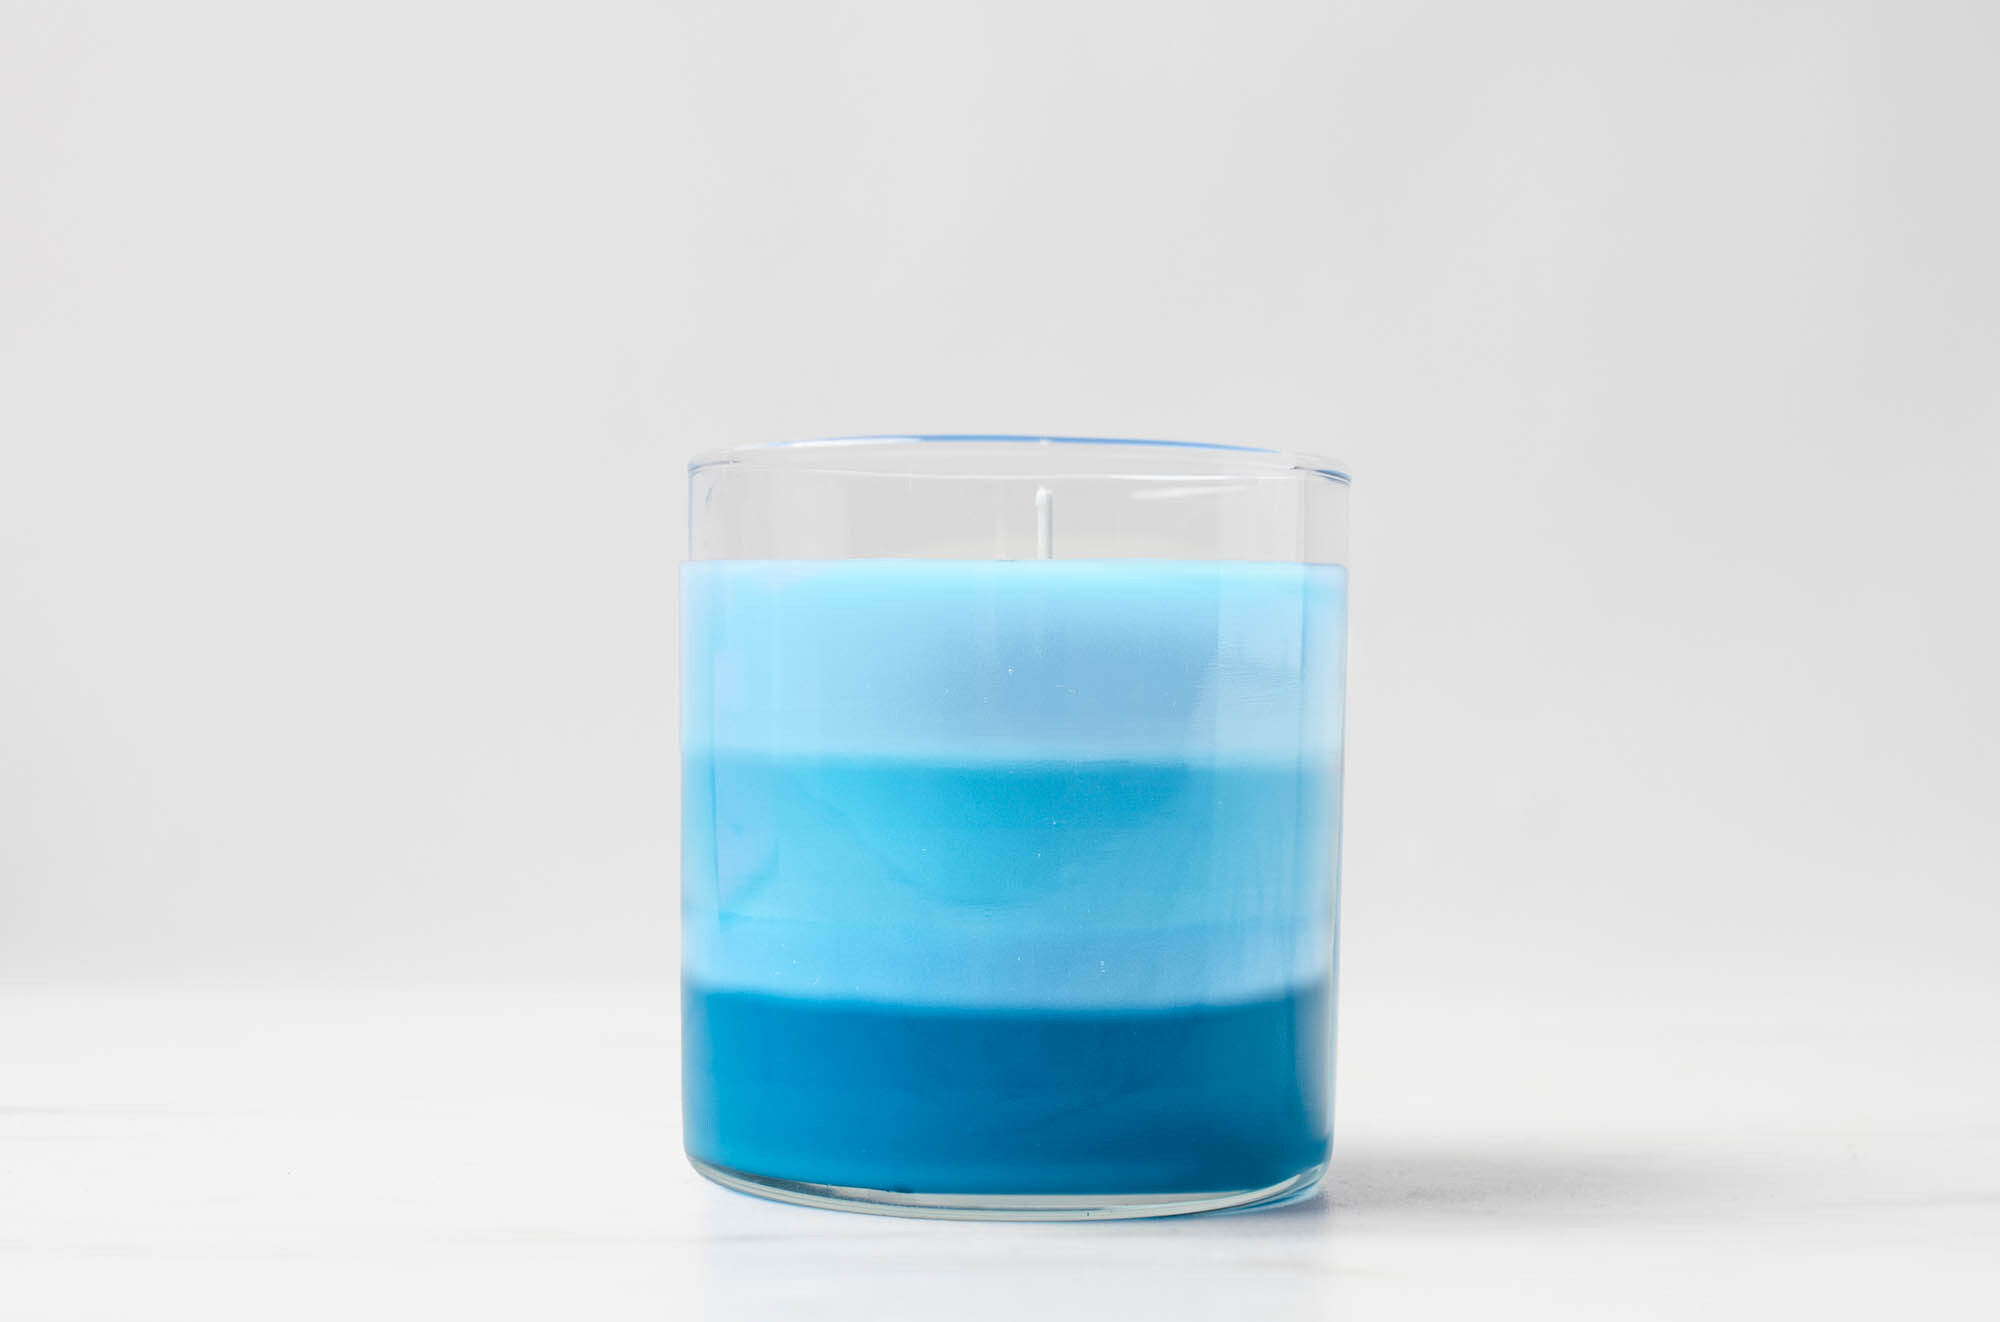
Instead of keeping the wax undyed, you can dye each candle layer. This creates not only a colorful aesthetic, but also a subtle signal of each scent shift—a multi-sensory experience.
We chose an ombre effect for our variation by starting with the most liquid dye for layer 1 and decreased it for each layer. This involes a bit of testing to acheive the color transitions you want.
.jpg)
Show off your take on layered scented candles and all your handmade creations, with the CandleScience community by tagging us @CandleScience and using the #CandleScientist hashtag on Facebook and Instagram. We may feature you in our Stories or on our website!