How to Make Soy Tealight Candles
Soy tealight candles are the perfect project for beginners! These little candles are simple to create, easy to customize with colors and fragrances for any season, and add a warm, flickering glow to any room or event
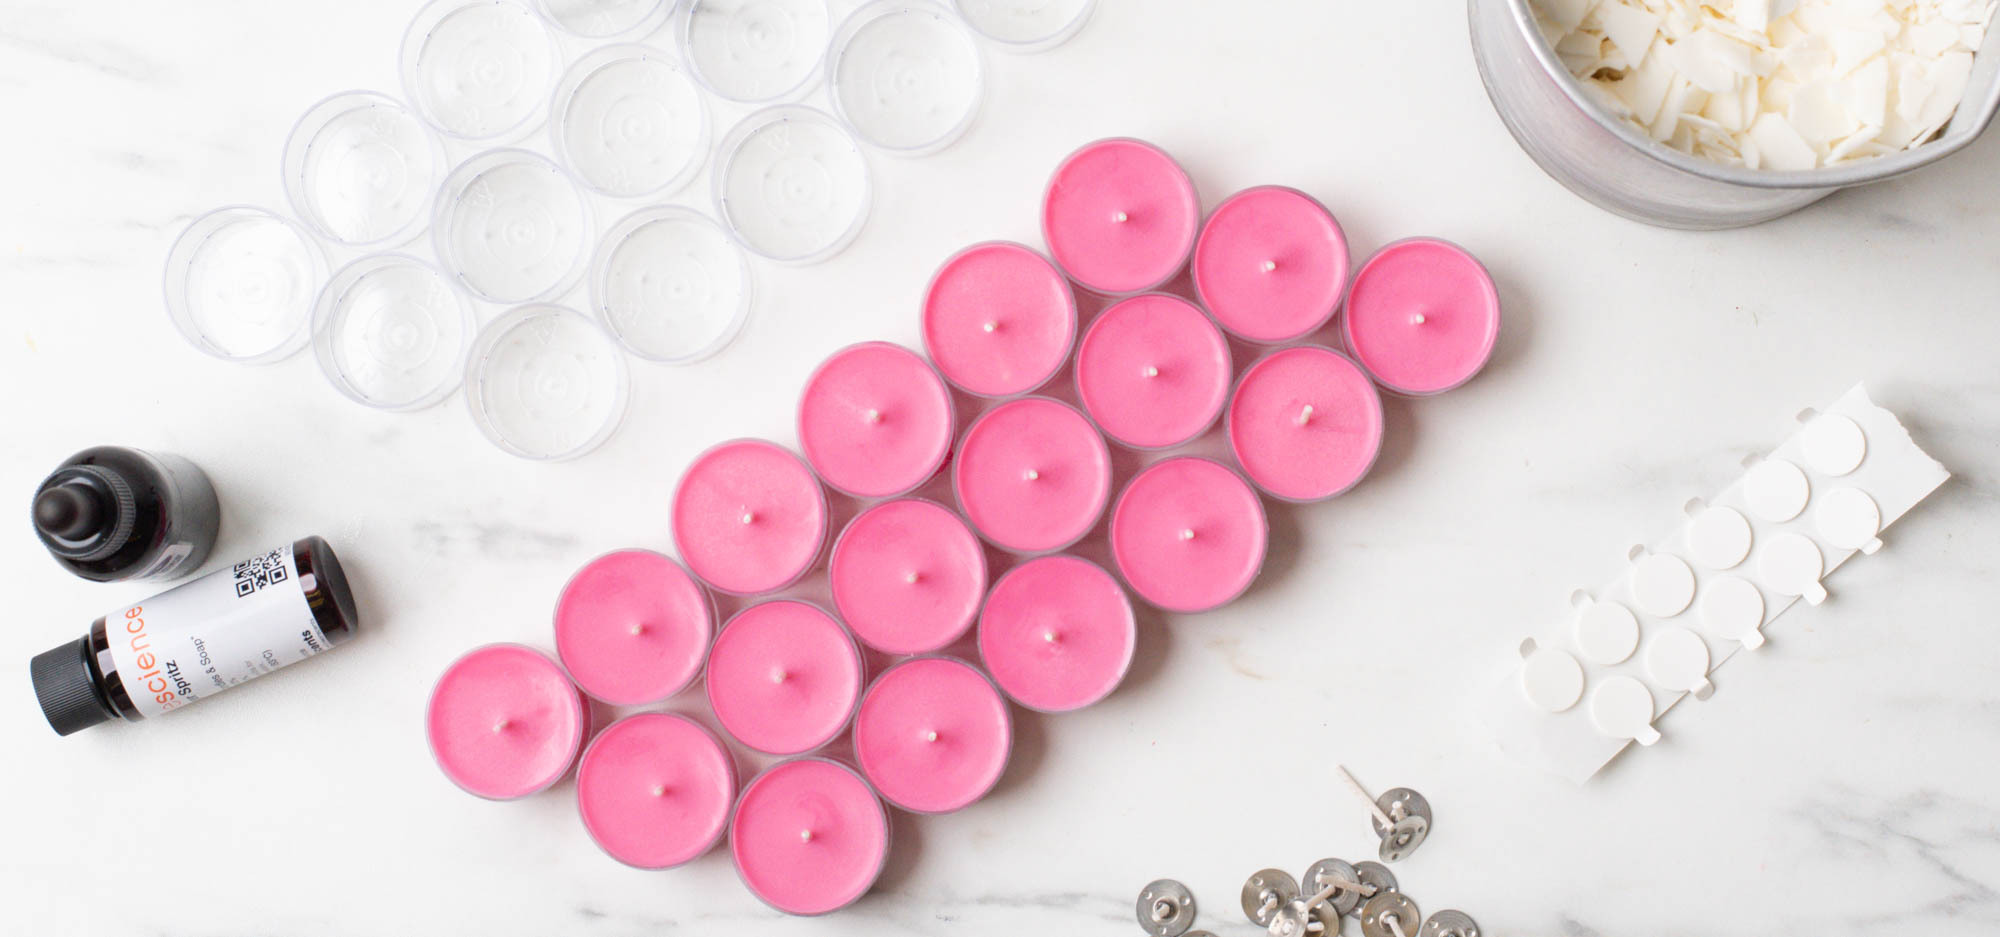
This project will make 32 tealight candles. You can adjust the amount of materials according to how many tealights you want to make.
In order to keep our projects up to date and on trend, we will sometimes make adjustments or updates. This tutorial was updated on 1/24/25.
EO Notes: You can also use candle-approved essential oils for this project. Check the recommended usage percentage on the essential oil product page and start with low percentages. How to Make Soy Candles with Essential Oils
Directions:
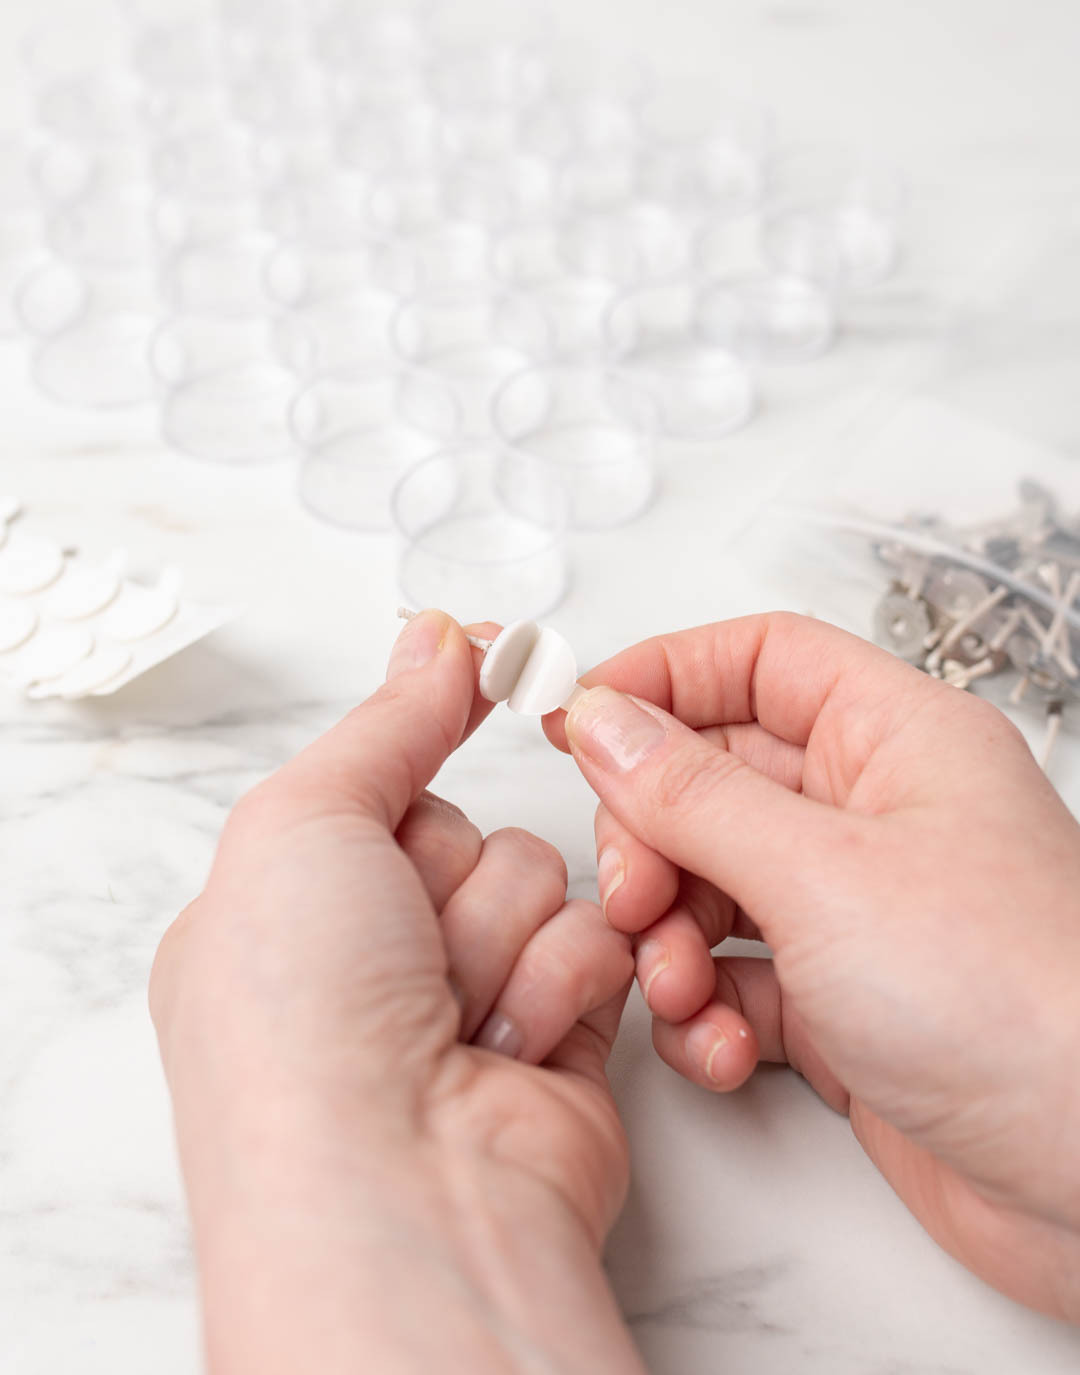
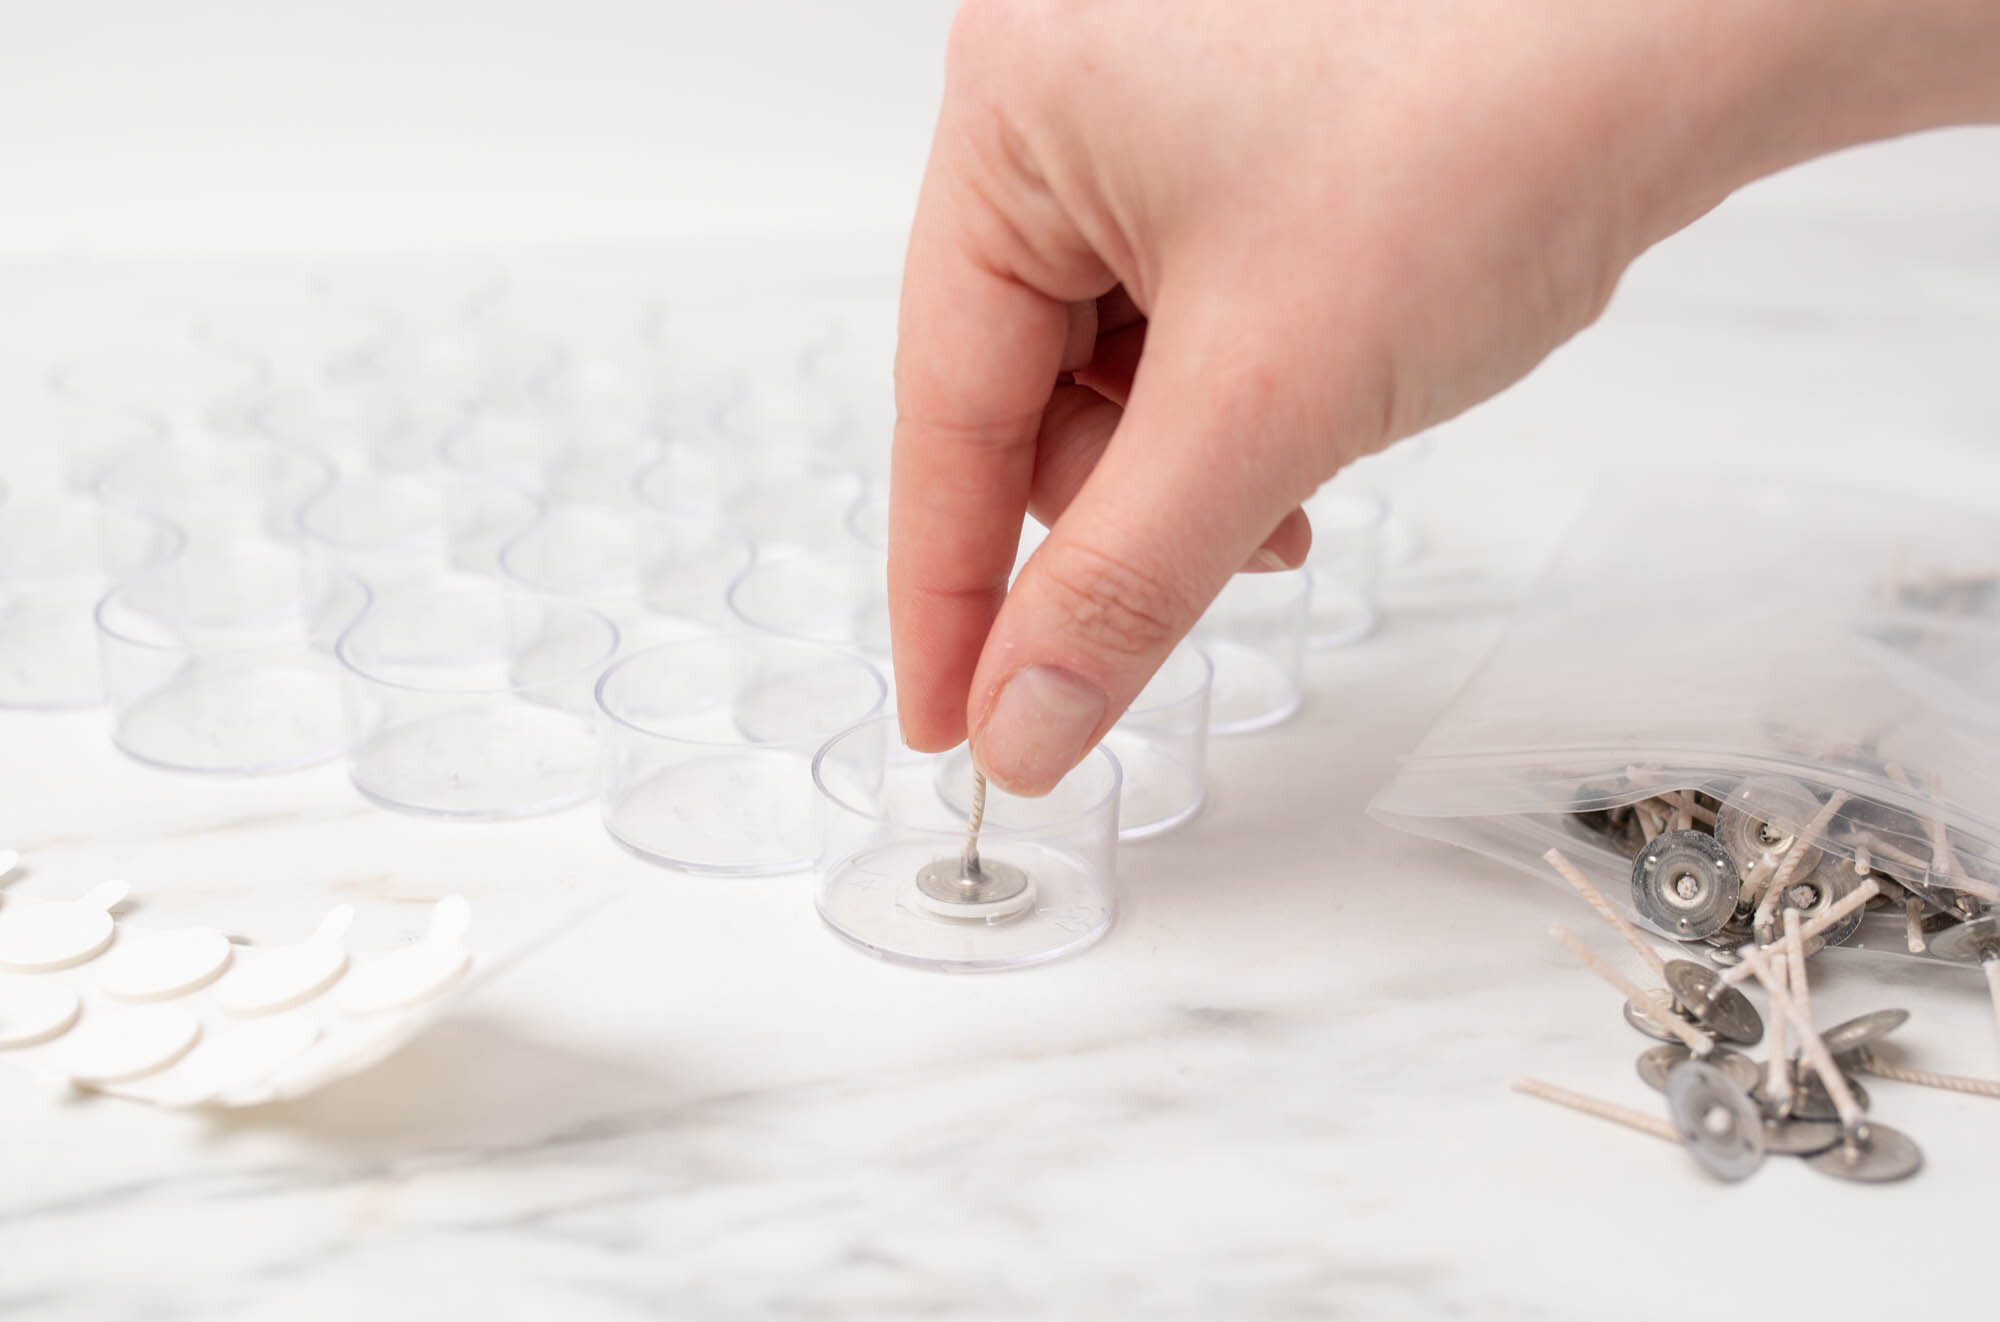
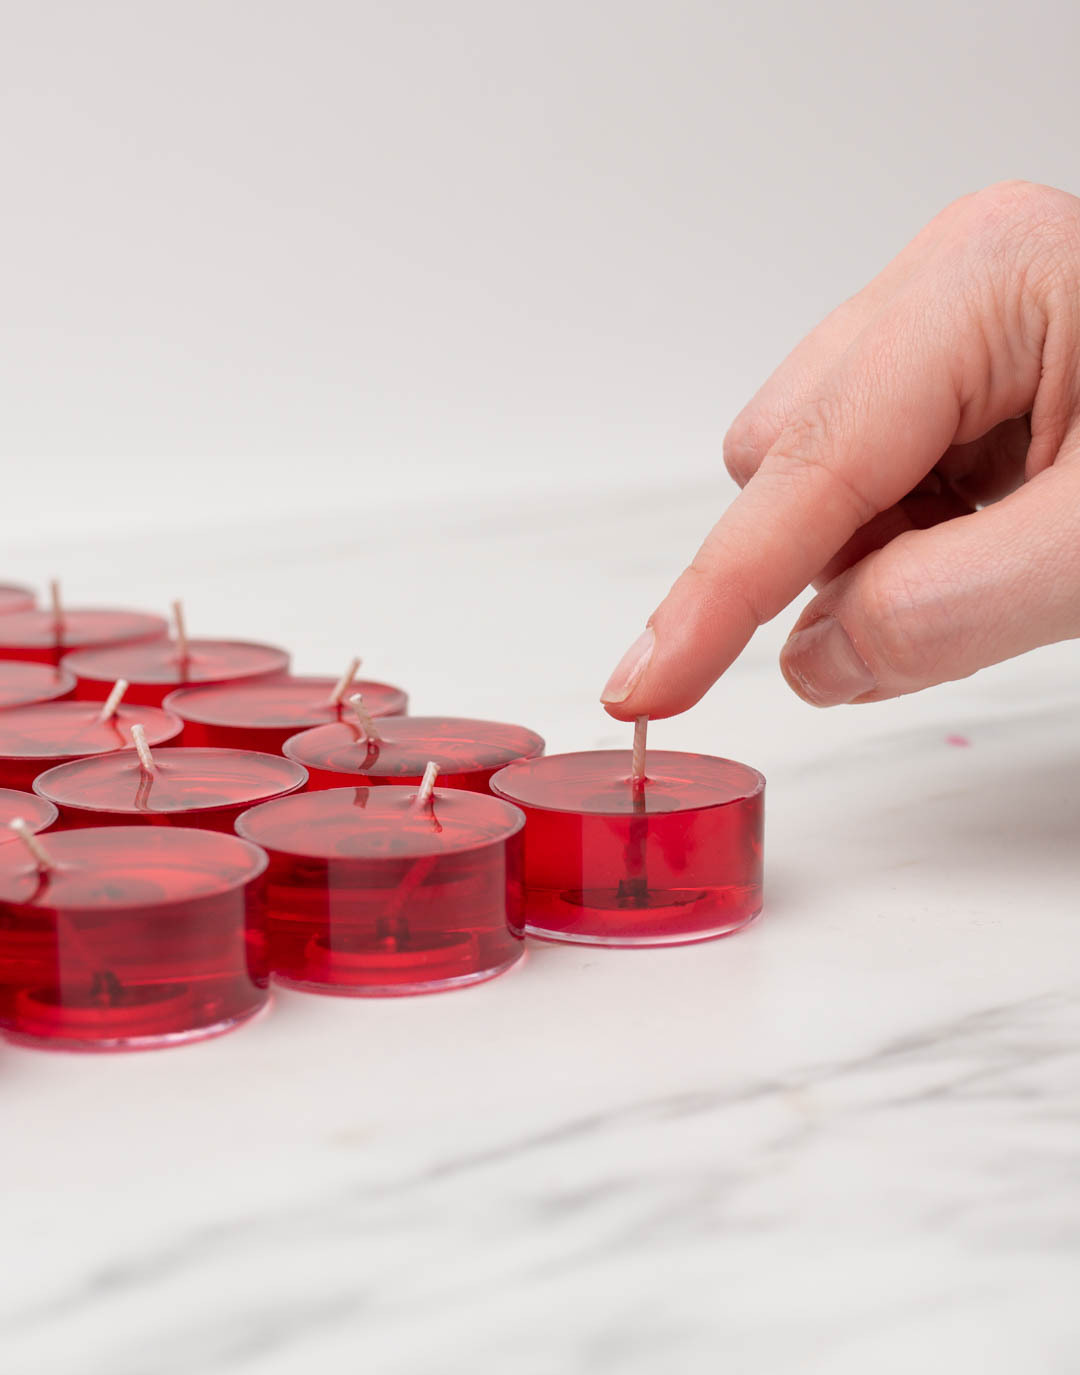
Step 1: Center wicks in the tealight cups
Using a wick sticker, center one ECO 0.75 wick in each tealight cup. Use the four plastic prongs on the bottom of the cup to help you center each one. Line them up.
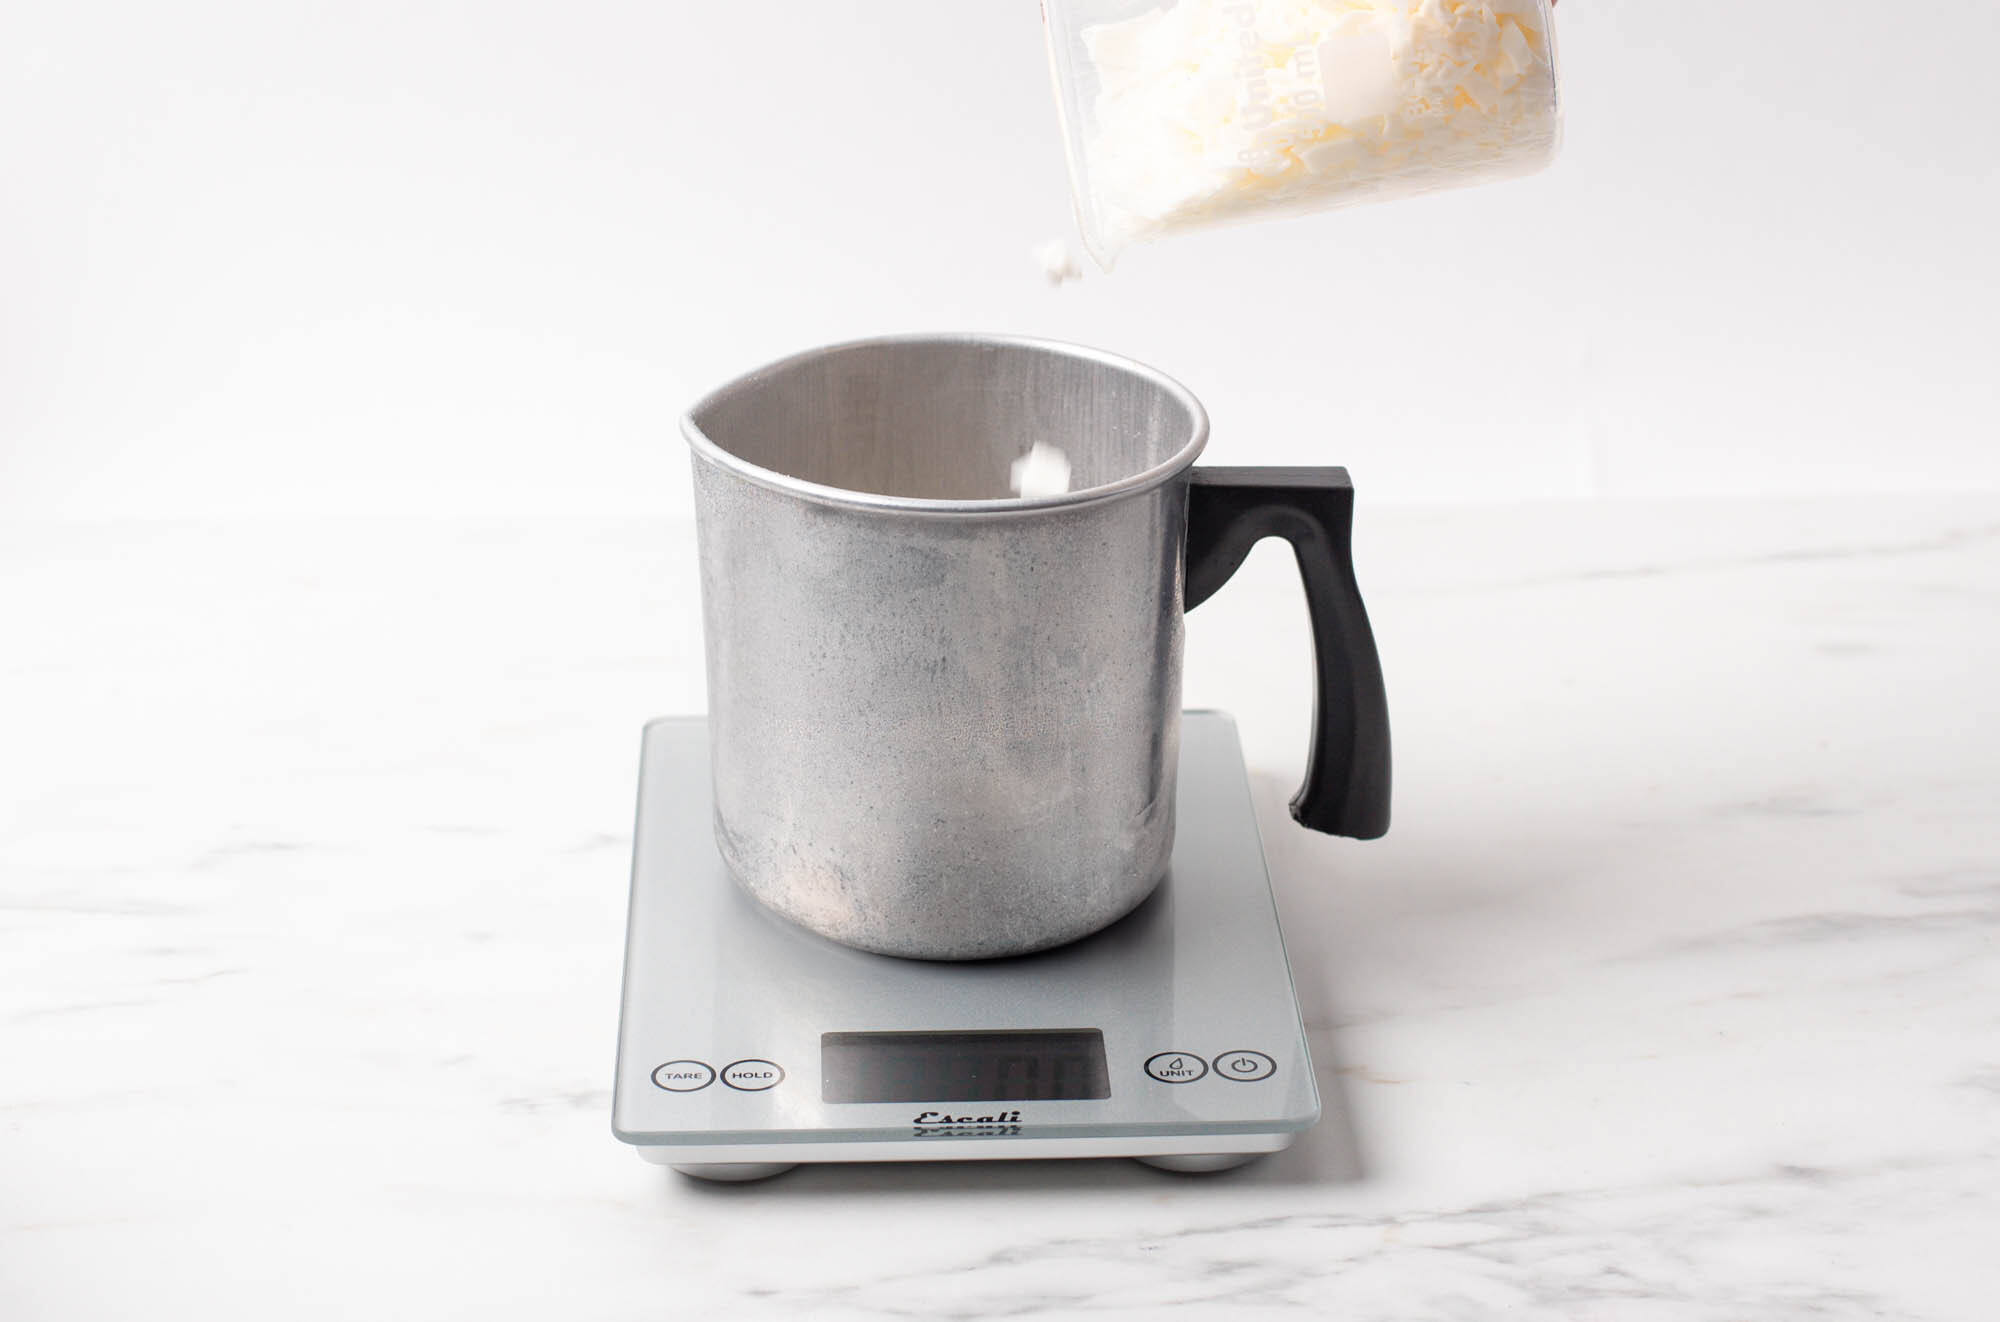
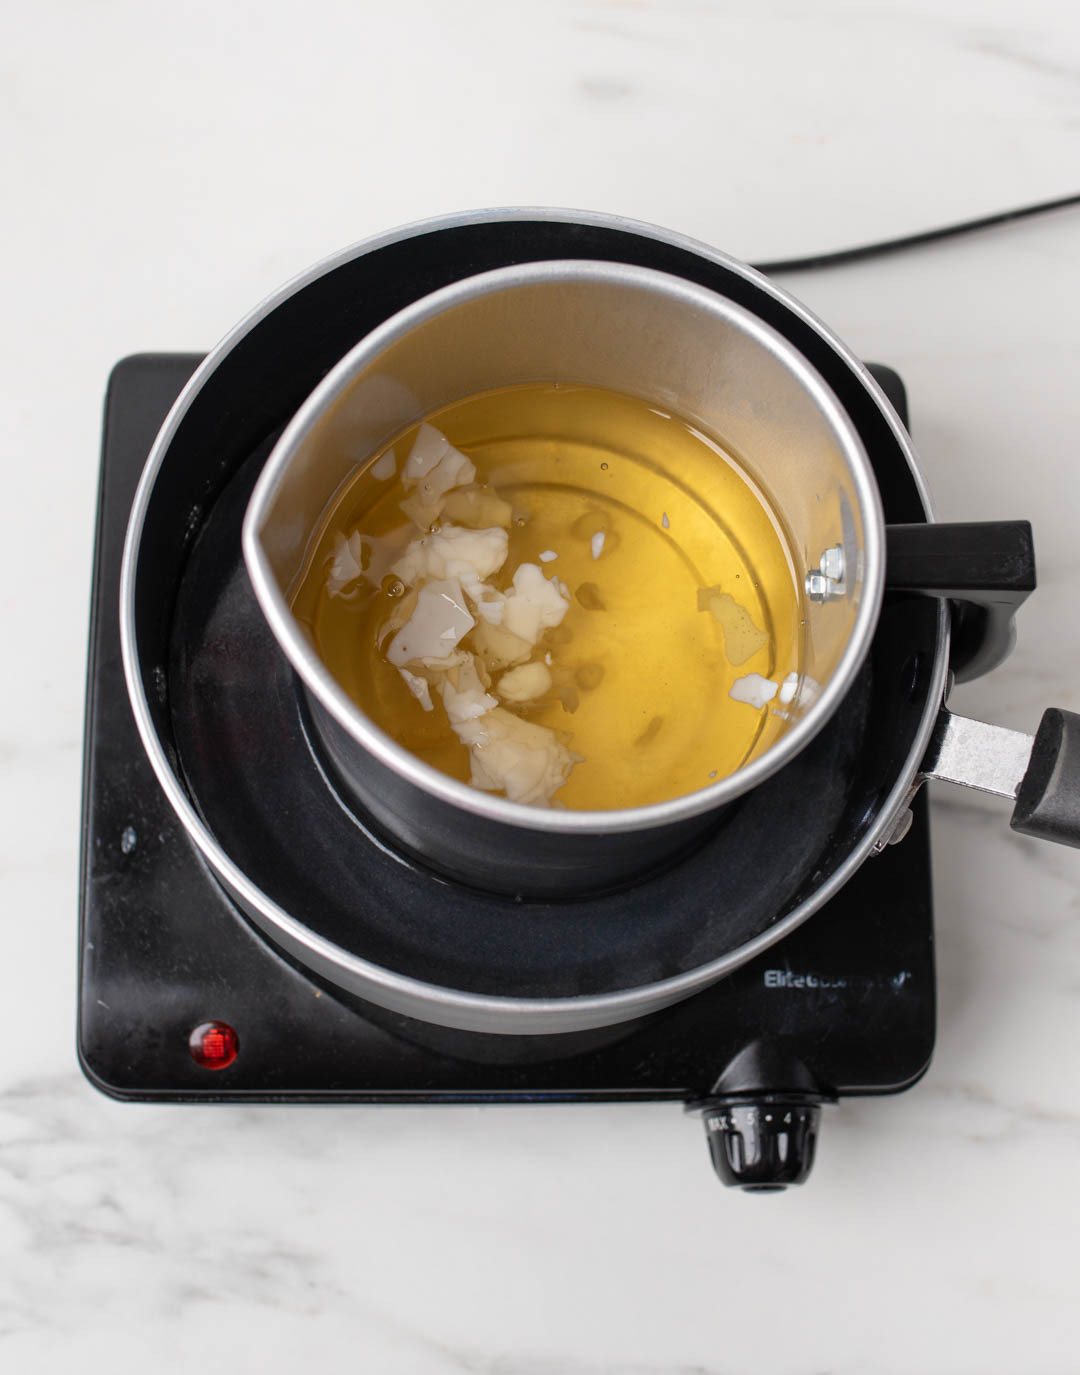
Step 2: Weigh and melt the soy wax
Place a pouring pitcher on your digital scale and tare the weight. Weigh 16 oz (454 g) of Golden Brands 464 Soy Wax in the pouring pitcher. Begin to melt the wax with a double boiler.
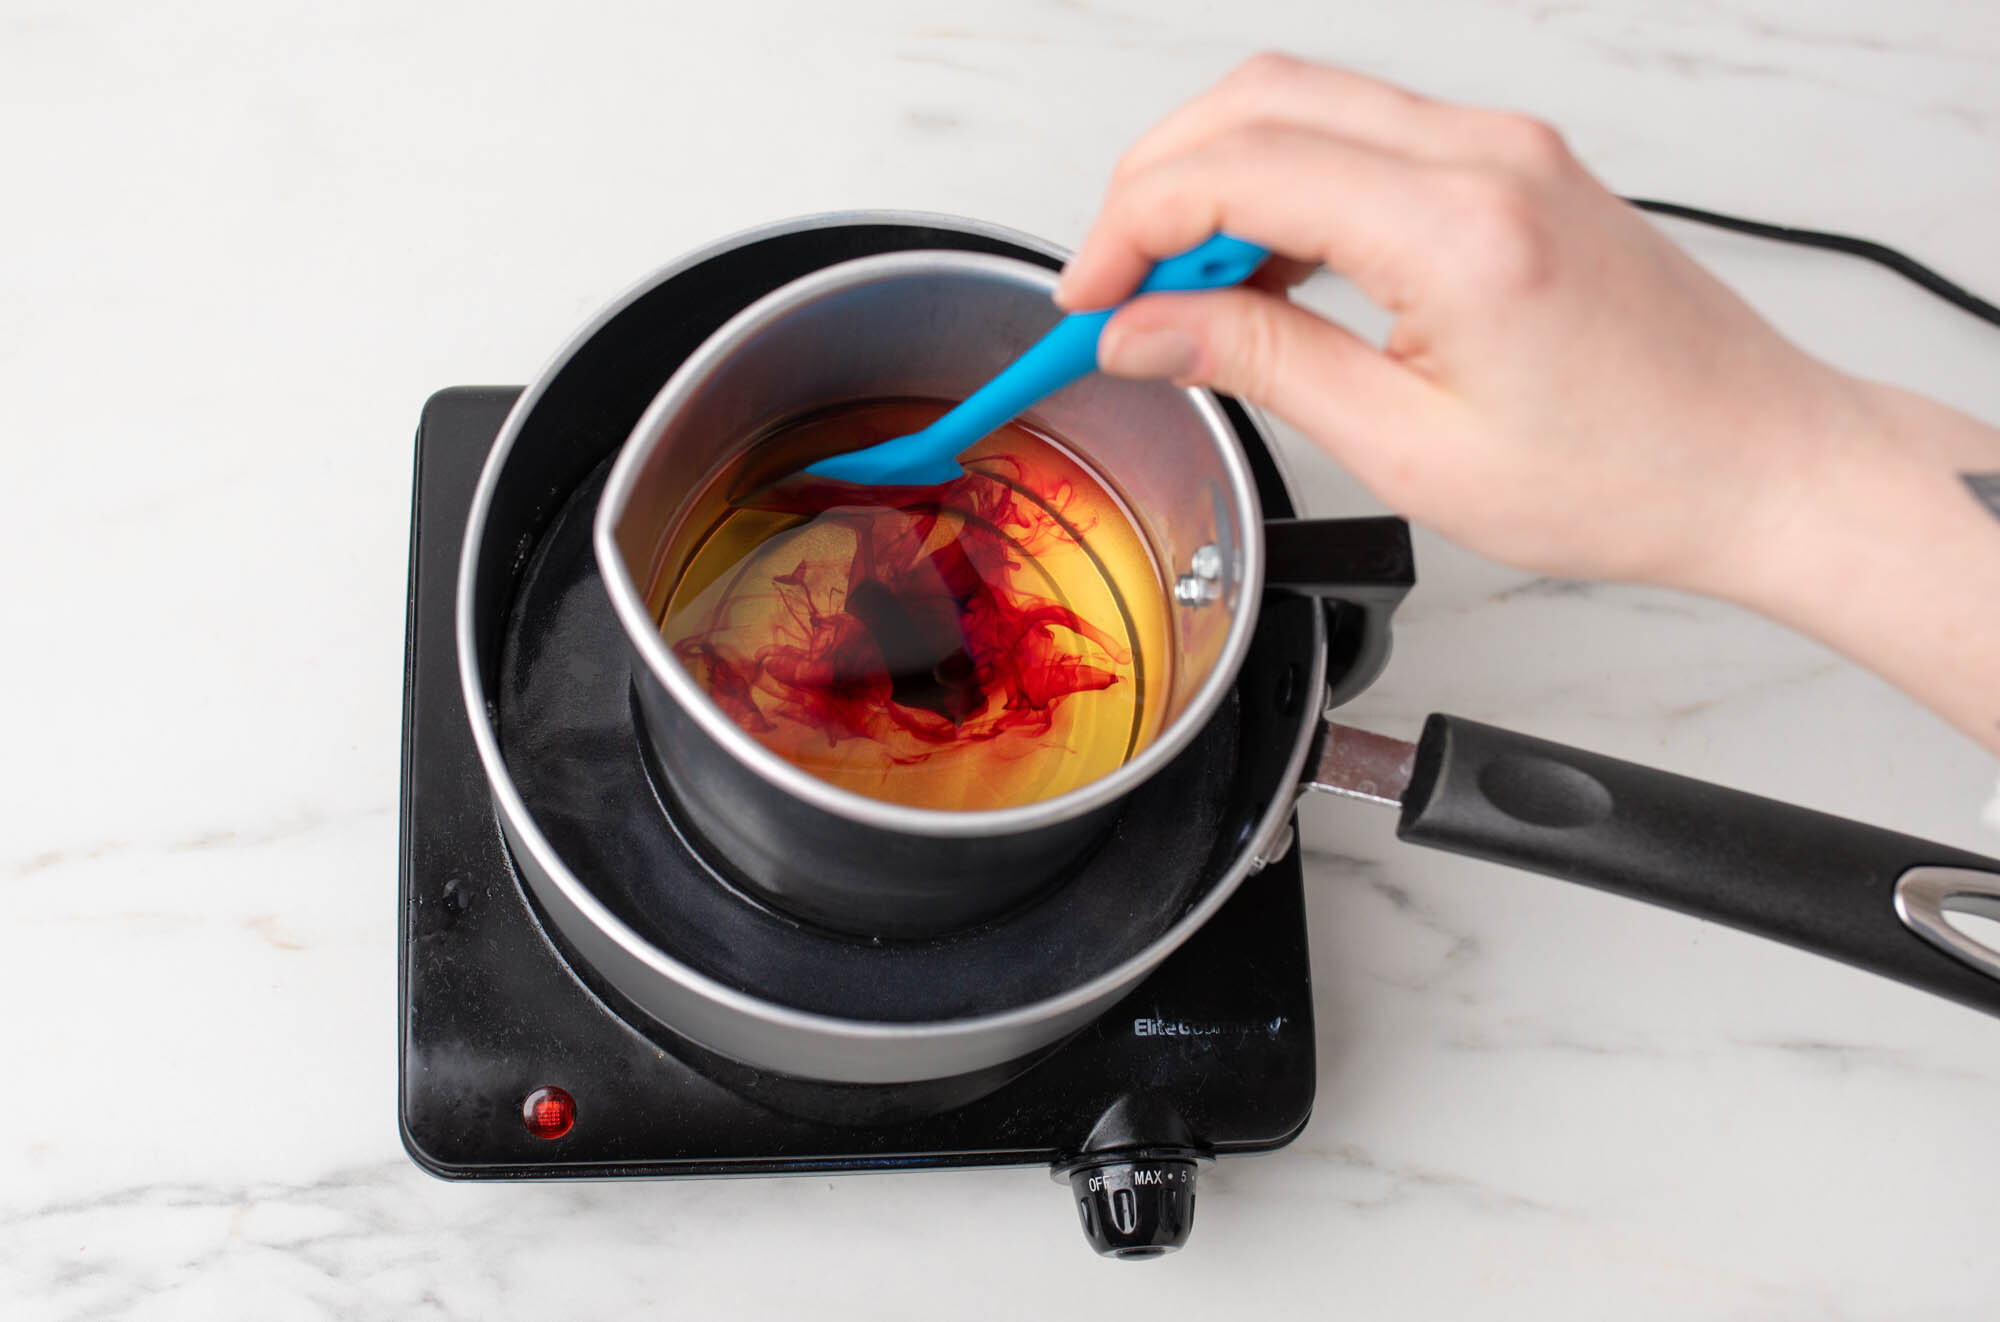
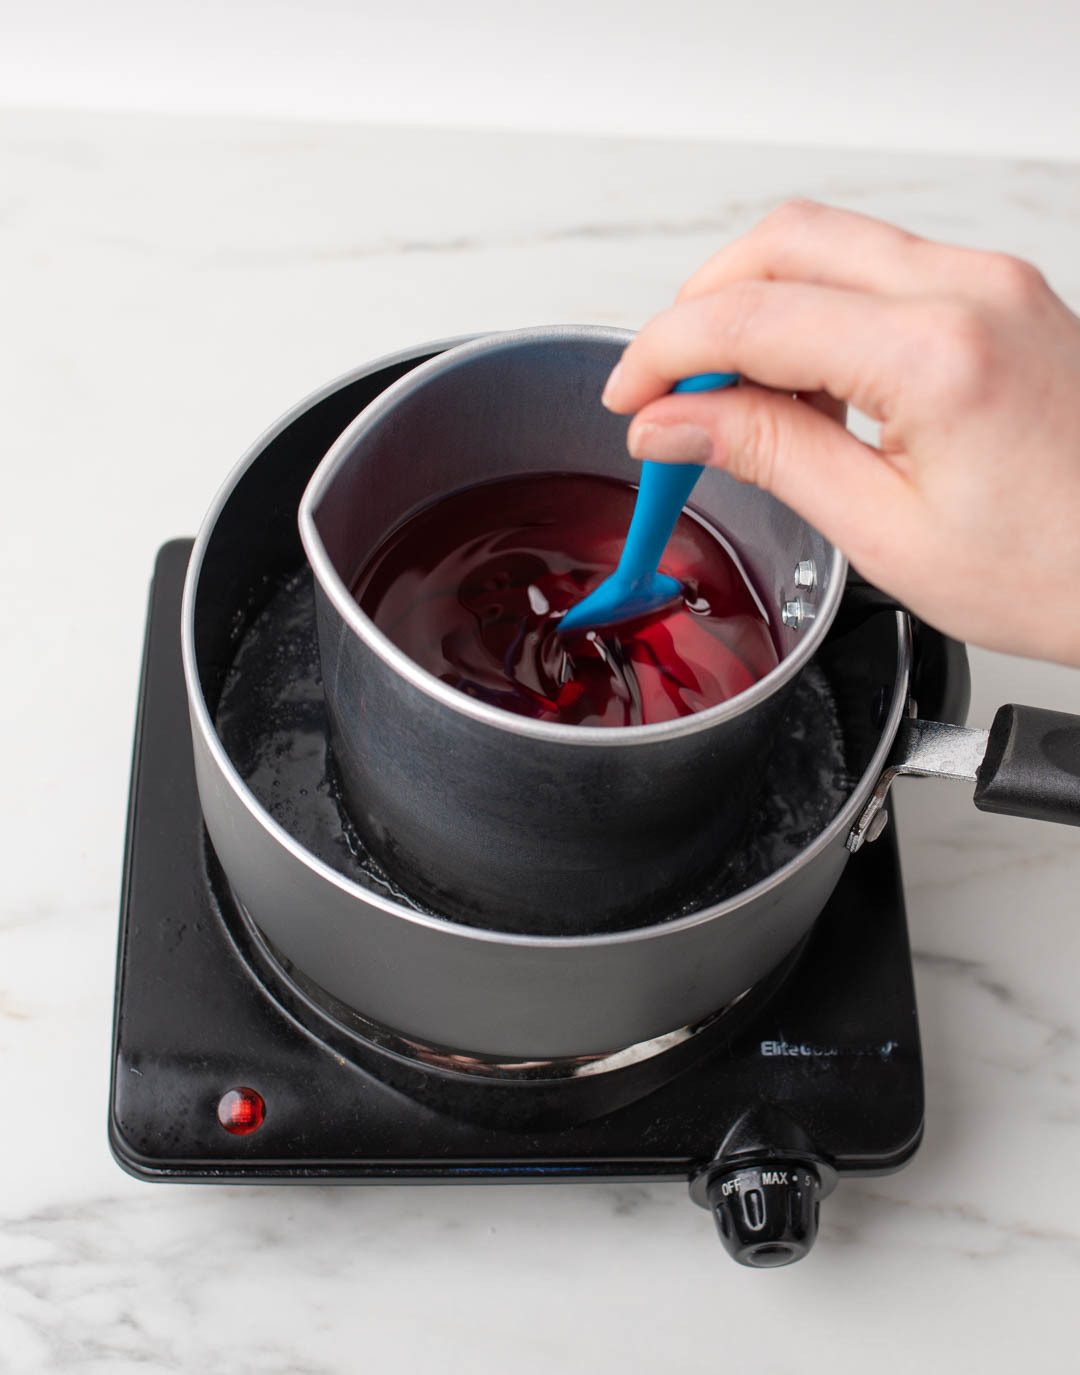
STEP 3: Add dye and stir
Once your wax is fully melted, add 4 drops of Magenta Liquid Candle Dye. Stir gently for about 2 minutes until the dye is fully mixed in with the wax.
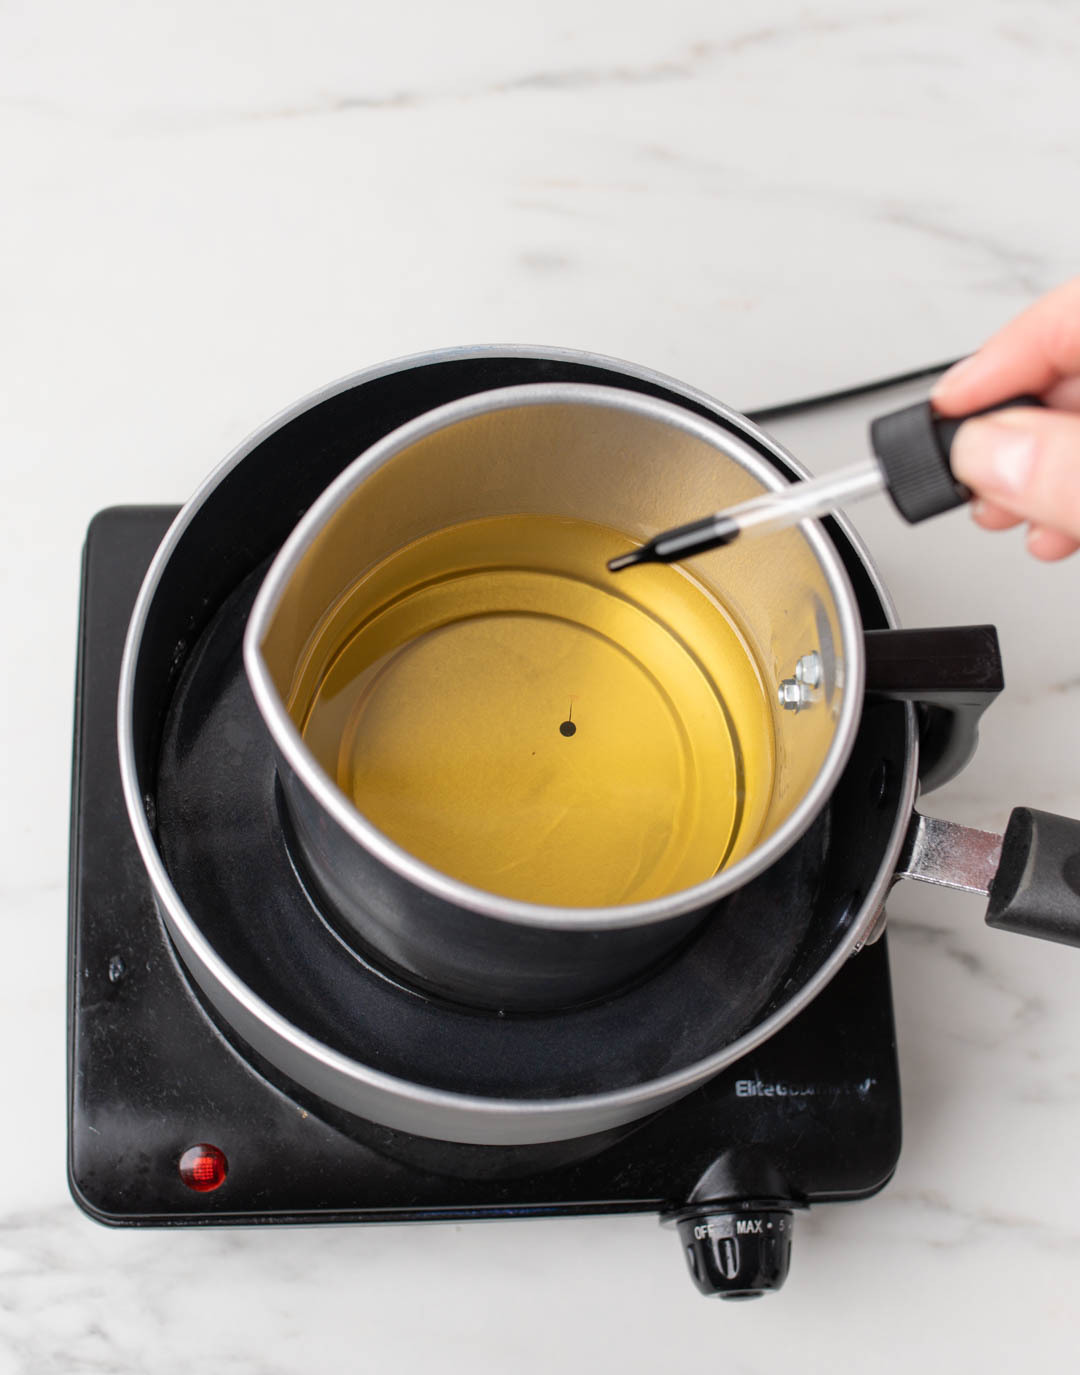
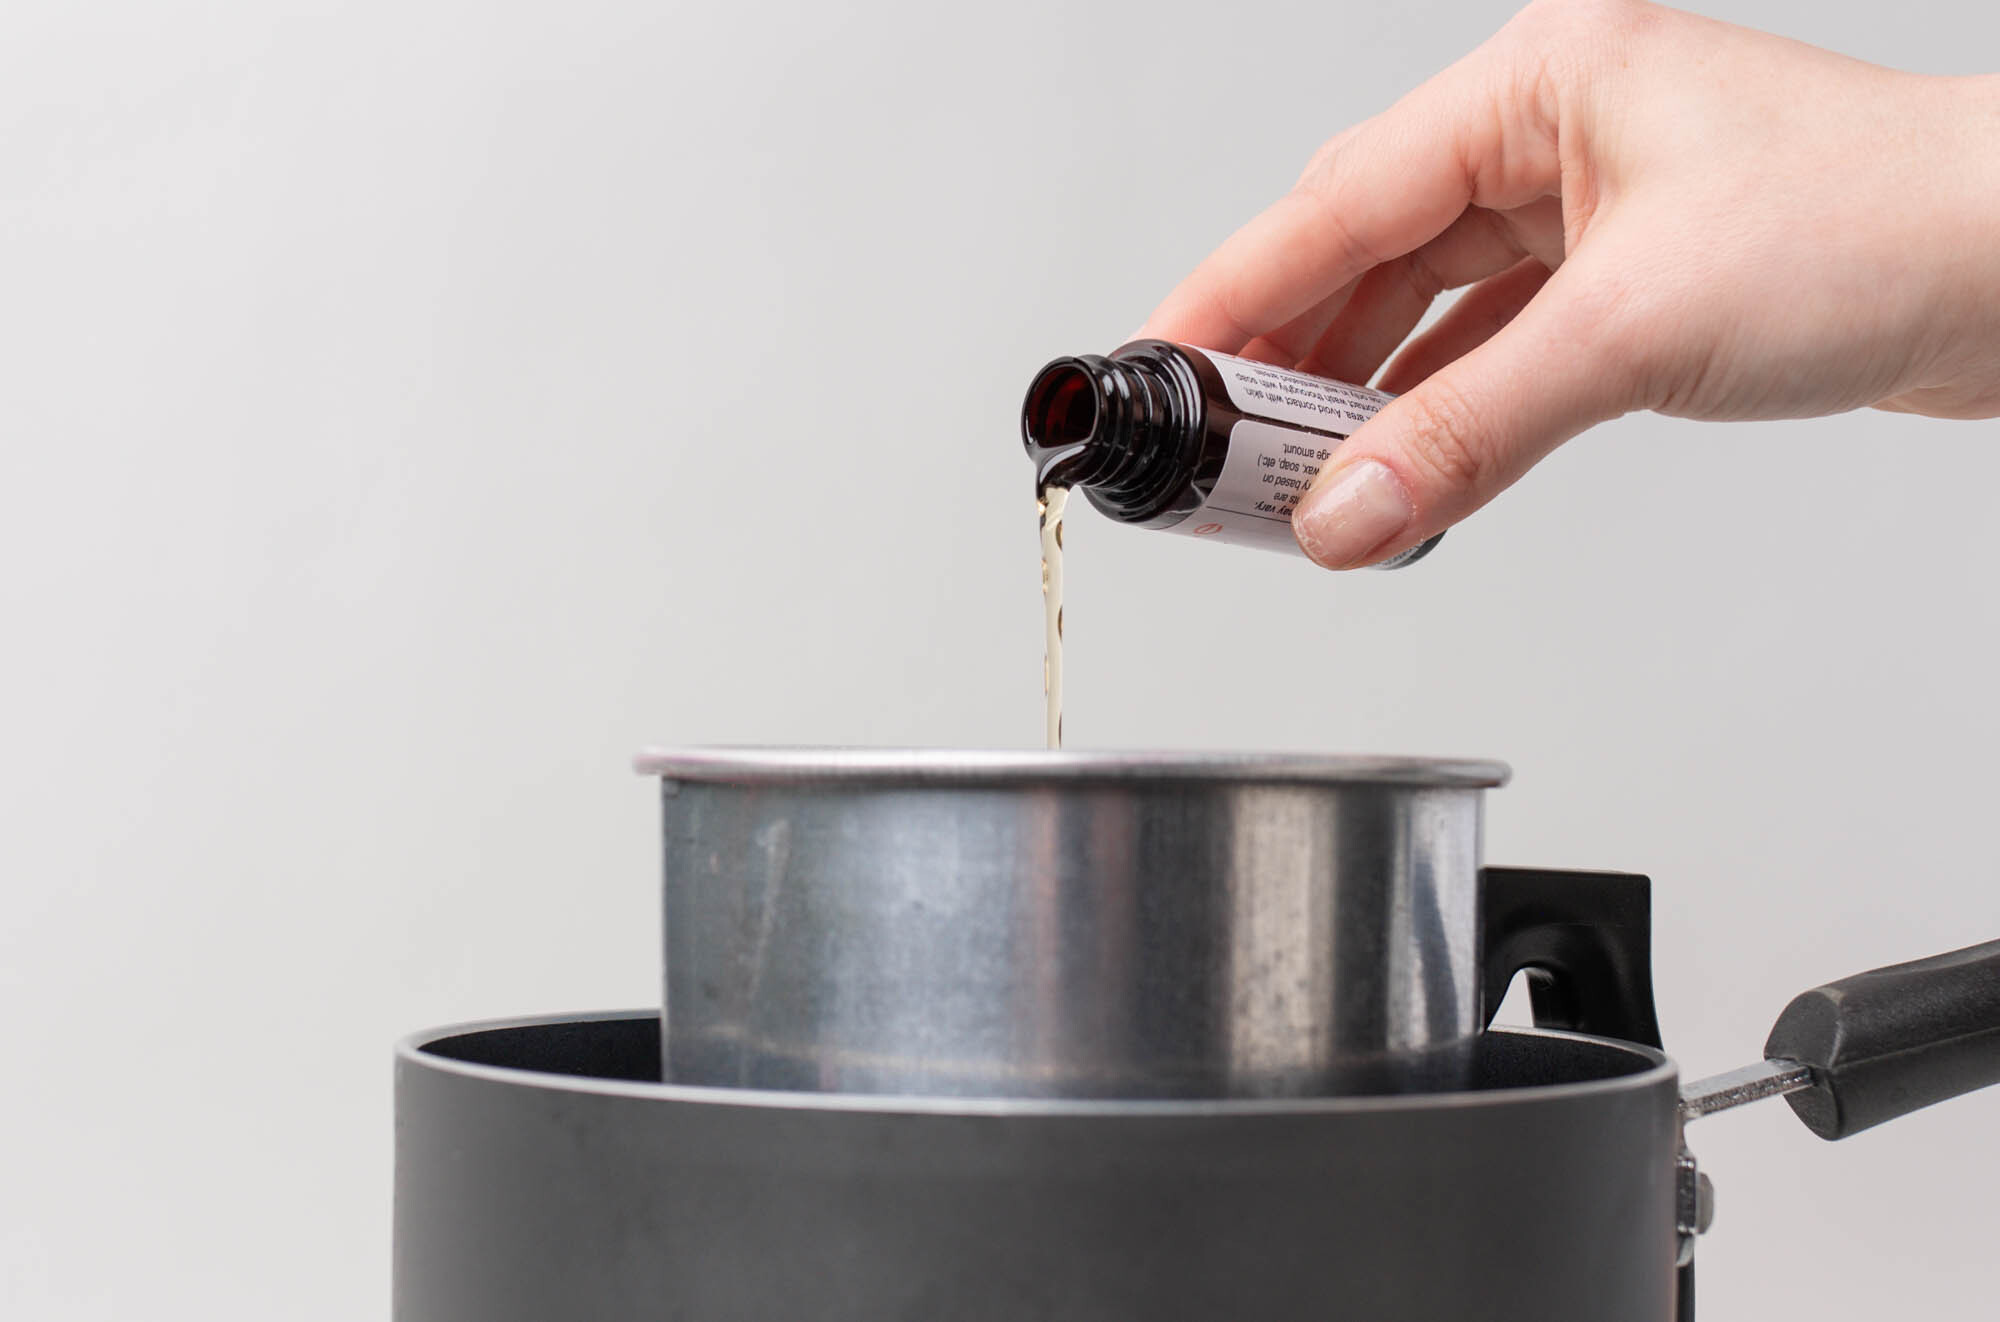
Step 4: Add fragrance oil and stir
When the wax has reached 185°F (85°C), pour in 1 oz (28 g) of Tulip Fields fragrance oil (or the fragrance oil of your choice) to the melted wax. Stir gently for 2 minutes to ensure that the oil is fully incorporated with the wax.
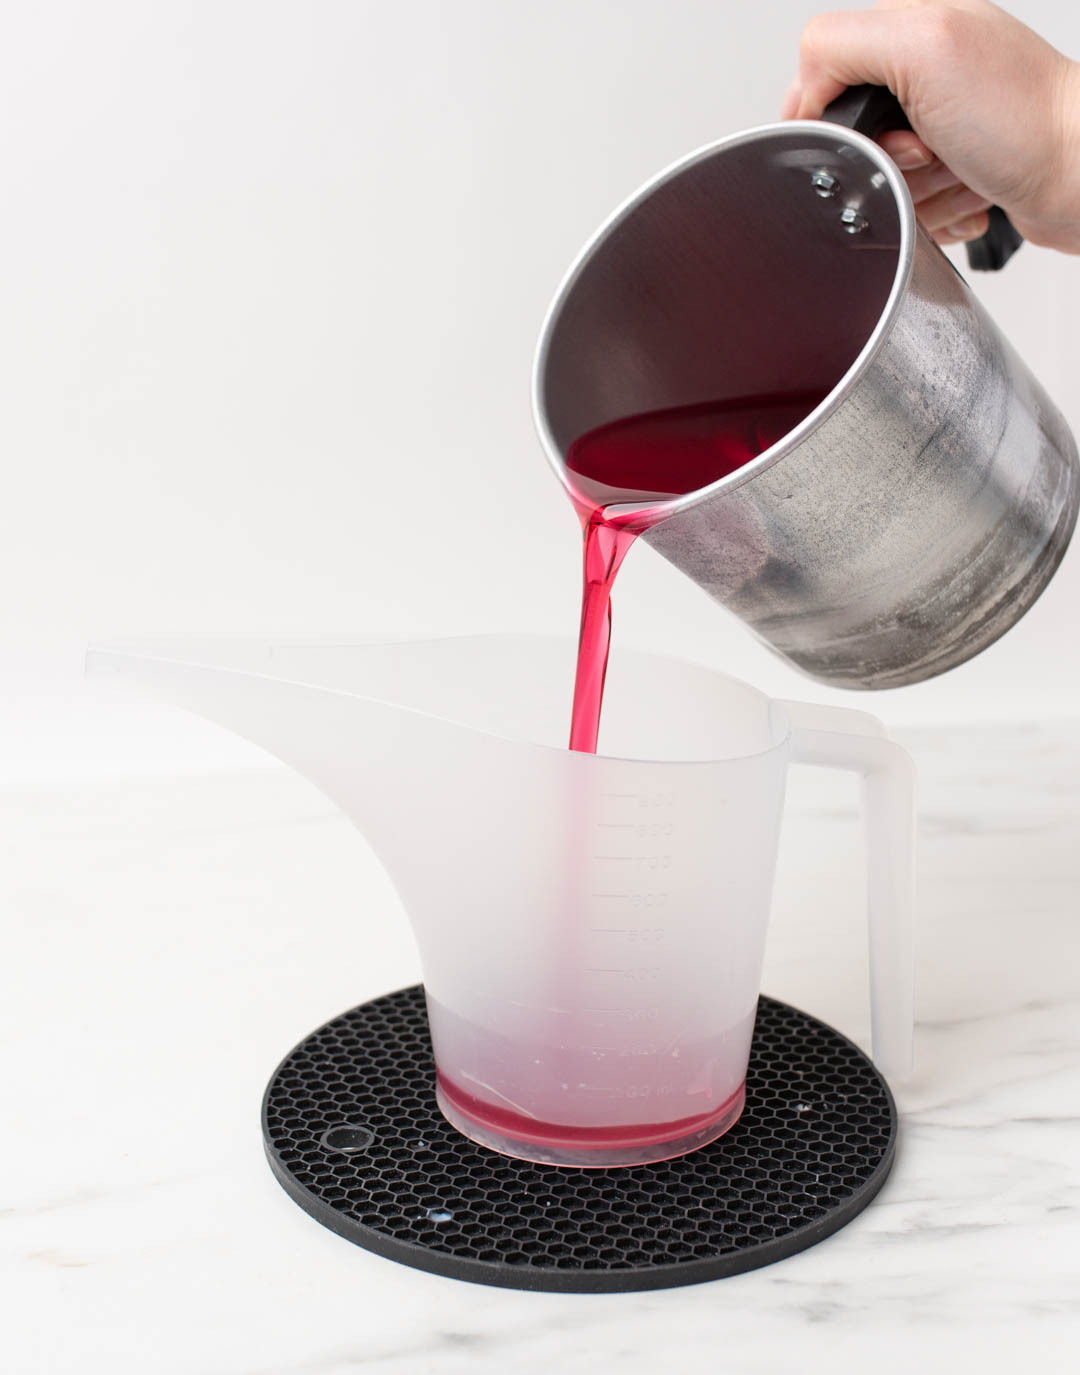
Step 5: Pour wax into tealight cups
When the wax has cooled to 135ºF (57.2°C), pour the wax into the Funnel Pouring Pitcher.
Note: Using the Funnel Pouring Pitcher is optional, but it makes pouring the small amounts of wax into the tea light cups much easier.
Working carefully and slowly pour the wax into the prepared tealight cups.
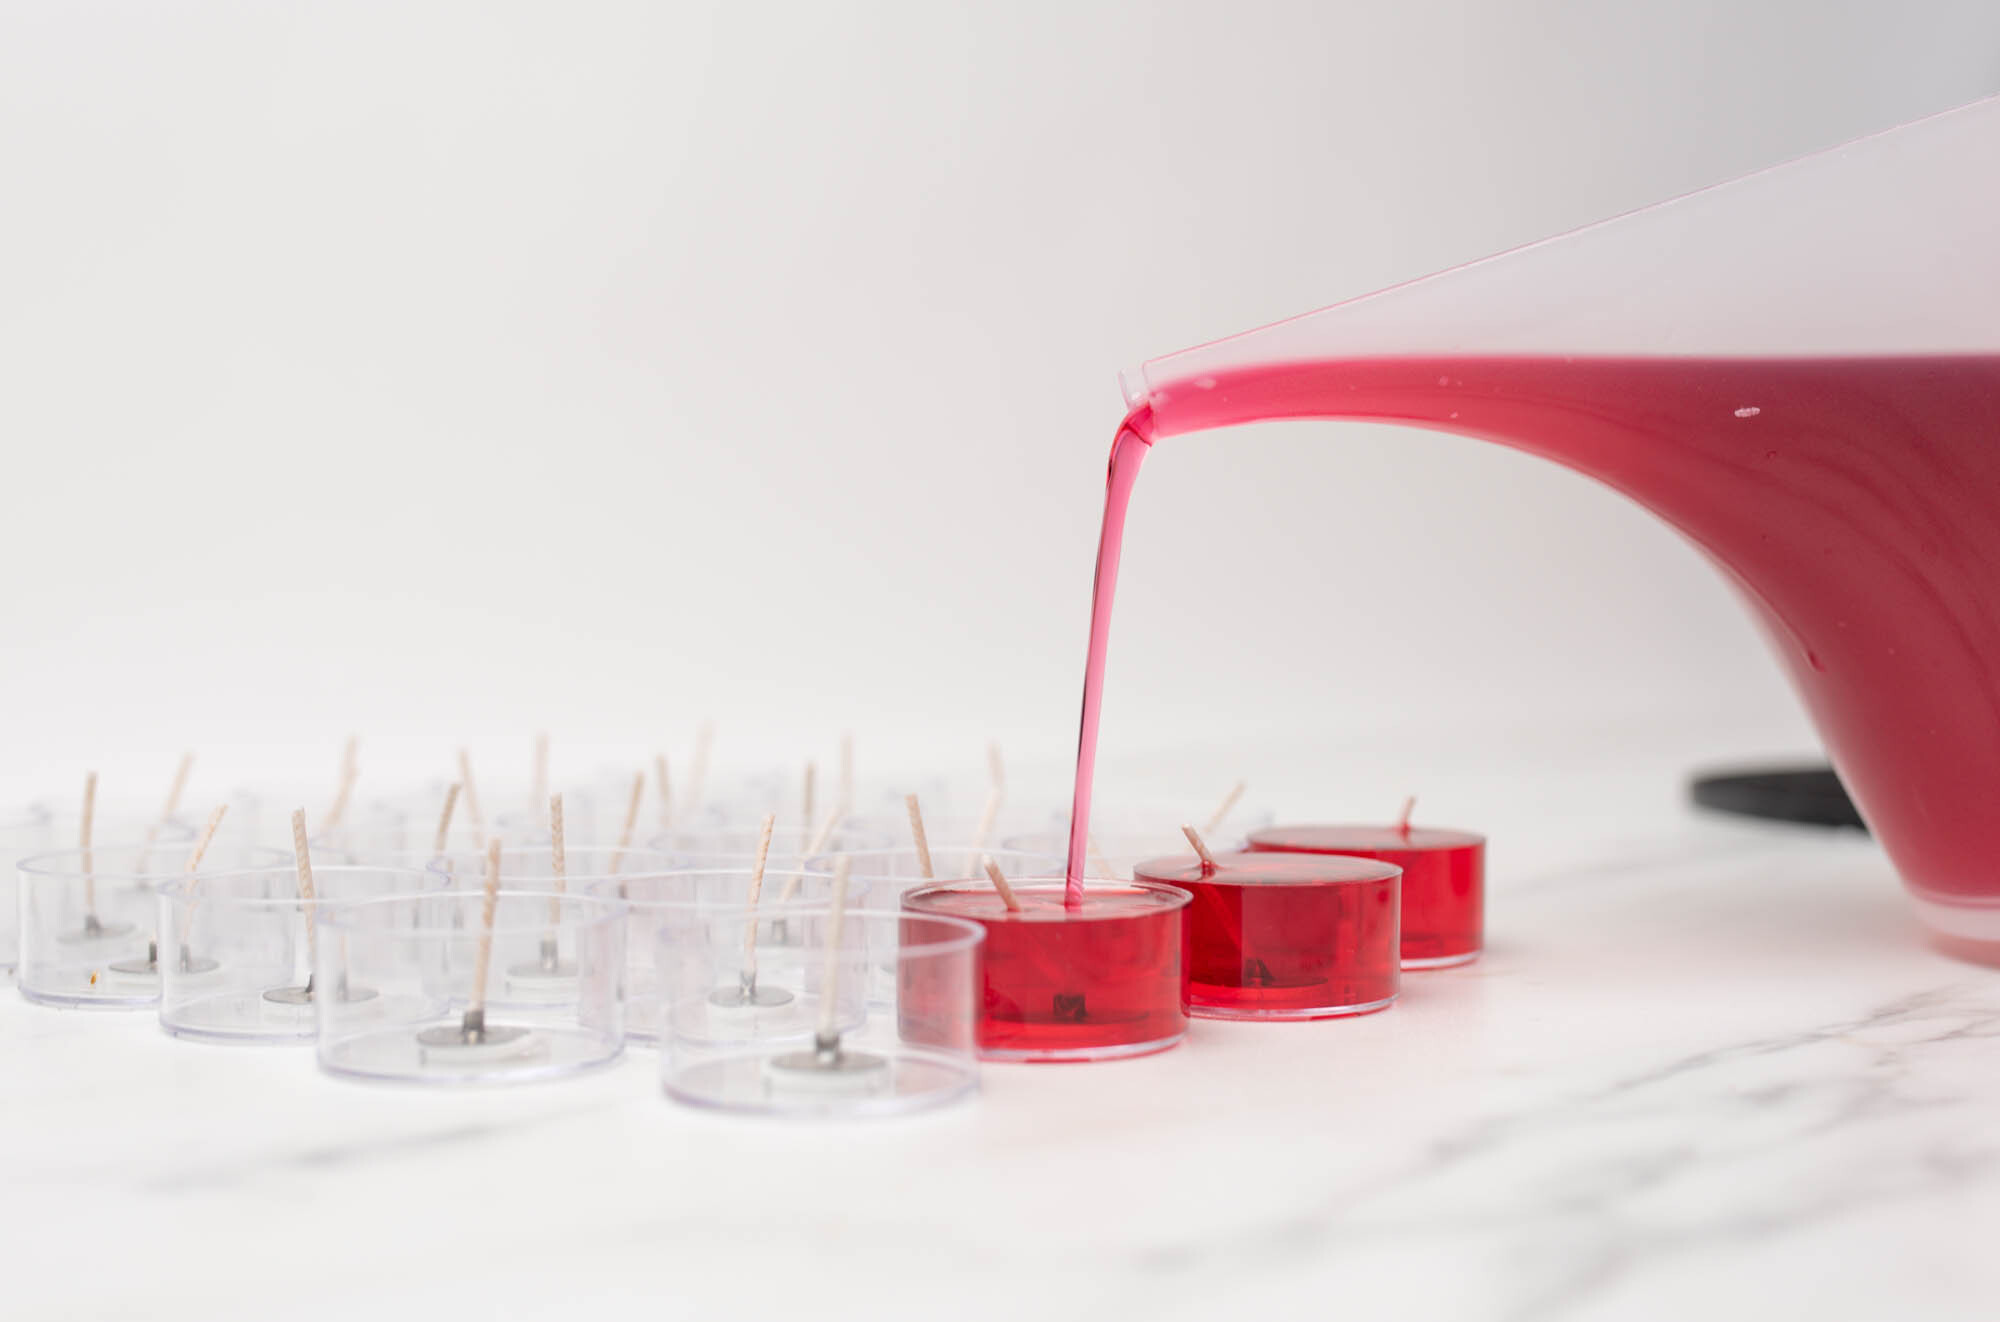
Step 6: Recenter wicks
During pouring the wicks can sometimes lean to the side. Check each wick to make sure they are completely straight and centered in each cup. Readjust as needed while the wax is still liquid. Allow the candles to cool completely.
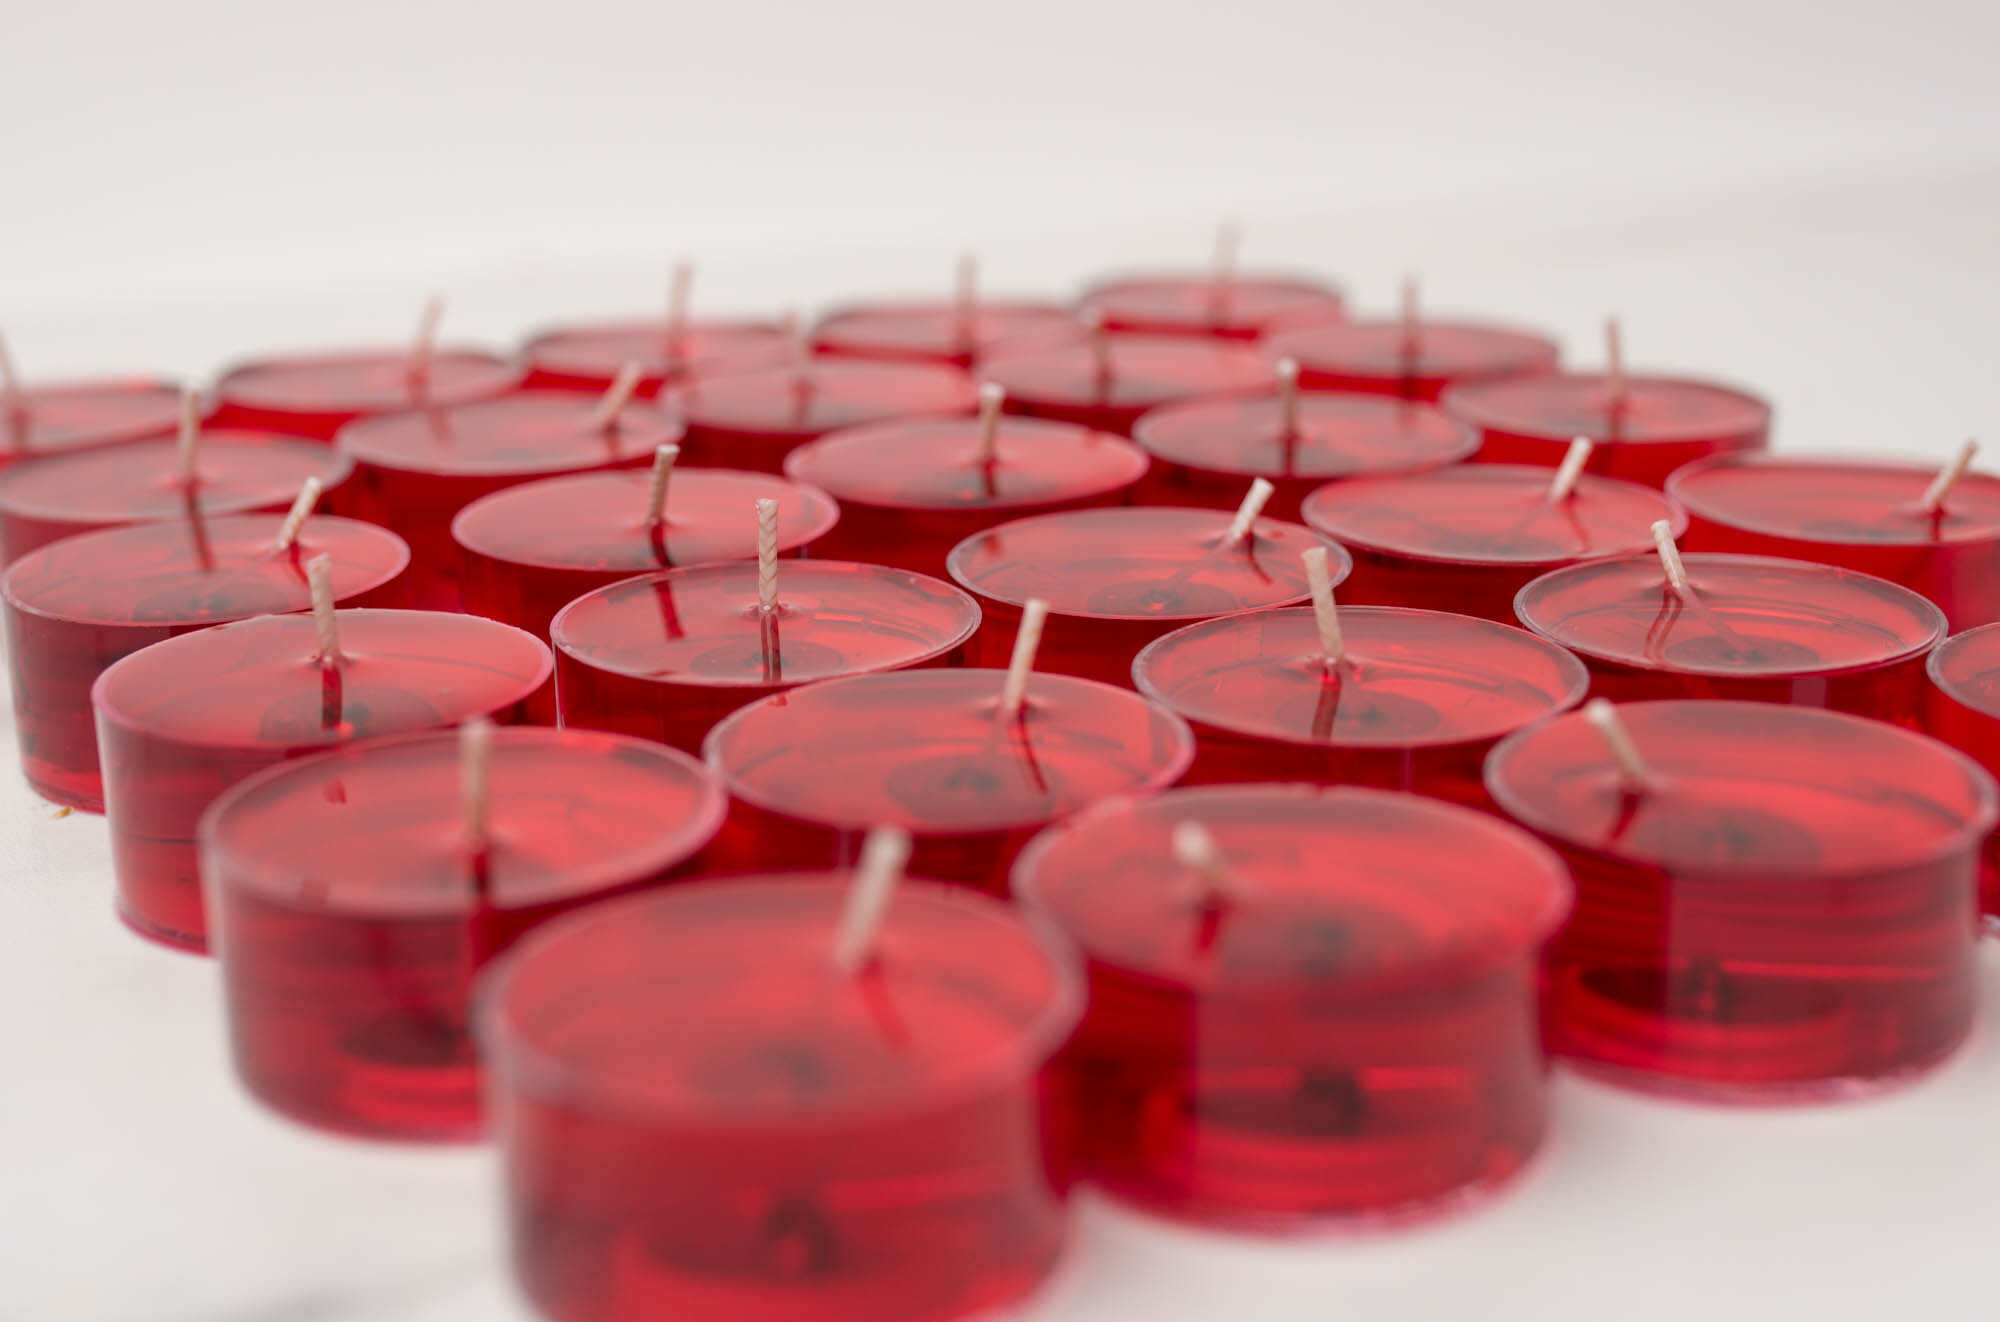
Step 7: Cure tealight candles
Allow the tealights to cure for three days before burning to ensure optimal fragrance throw.
Remember to always follow all candle burning safety rules.

