How to make DIY candle wedding favors
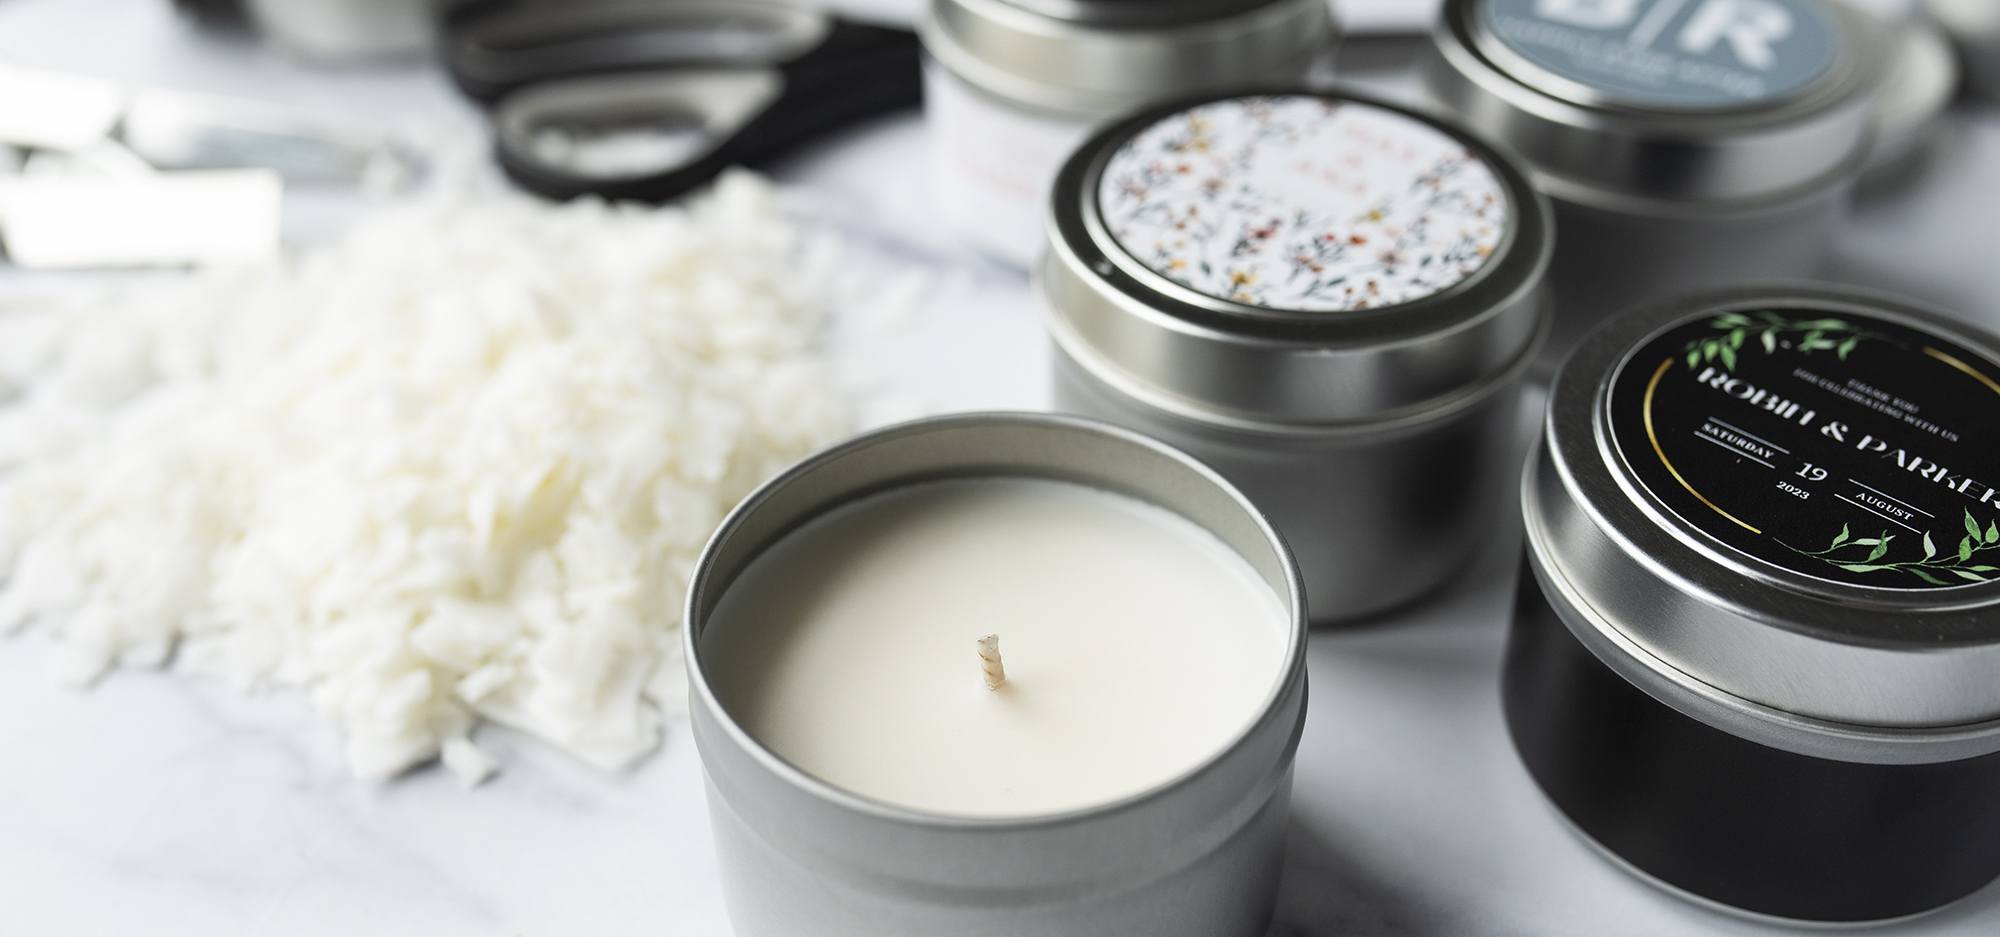
DIY wedding favor candles are the perfect way to memorialize your special day. Super customizable and beginner-friendly, this project ensures everyone leaves your wedding with a meaningful, handmade memento. Plan a date night with your significant other to select the perfect fragrance for your wedding day, and get ready to check this to-do off your list.
In order to keep our projects up to date and on trend, we will sometimes make adjustments or updates. This tutorial was updated on 7/14/22.
EO Notes: You can also use candle-approved essential oils for this project. Check the recommended usage percentage on the essential oil product page and start with low percentages. How to Make Soy Candles with Essential Oils
Additional items needed:
- Double Boiler
- Metal or Silicone Stirring Spatula
- Paper towels
- Isopropyl alcohol
- Scissors
- Small glass containers (for measuring fragrance oil)
Directions:
Note: These directions will make 12 - 4 oz candle tins at a time so you will need to make multiple batches depending on how many candles you need. For example, if you need 120 candles, you will make 10 batches.
Materials per batch:
- 36 oz (1021 g) Golden Brands 464 Soy Wax
- 2.5 oz (71 g) Santal and Coconut Fragrance Oil
- 12 - 4 oz Candle Tins
- 12 - CD 8 Pretabbed Wicks
- 12 - Wick Bars
- 12 - Wick Sticker Pros
- 12 - 1.25” Warning Label
Check out our Candle Batch Supplies Calculator to calculate supplies for a custom number of candles!
Step 1: Weigh and melt soy wax
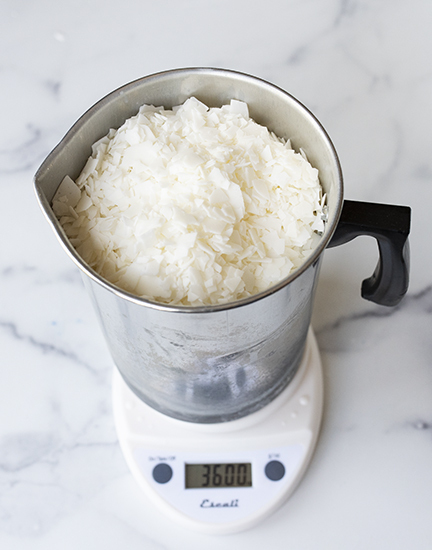
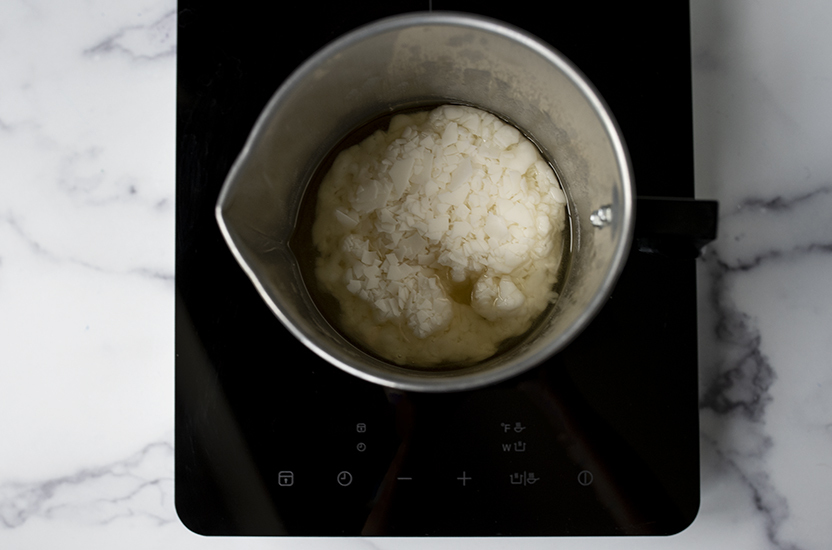
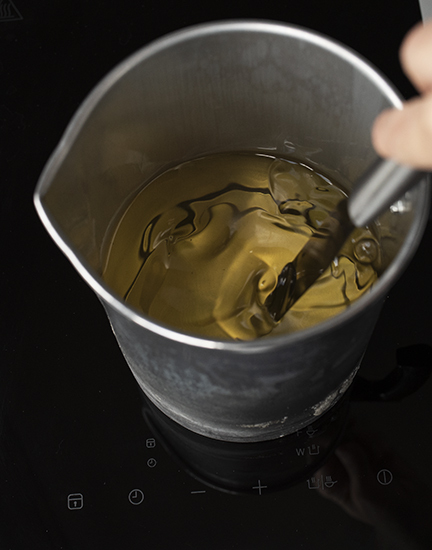
Place the pouring pitcher on your digital scale and tare the weight. Weigh 36 oz (1021 g) of the Golden Brands 464 Soy Wax flakes in the pouring pitcher. Begin to melt the wax with a double boiler or hot plate.
Step 2: Prepare the candle tins
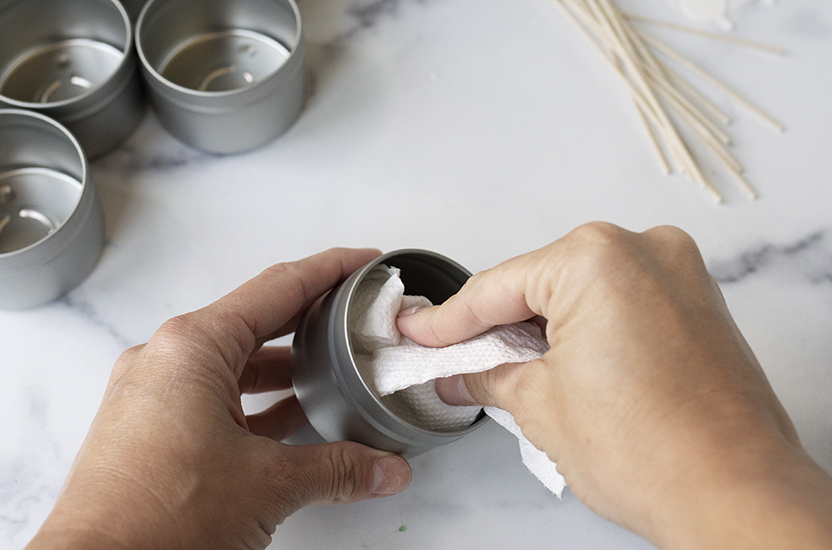
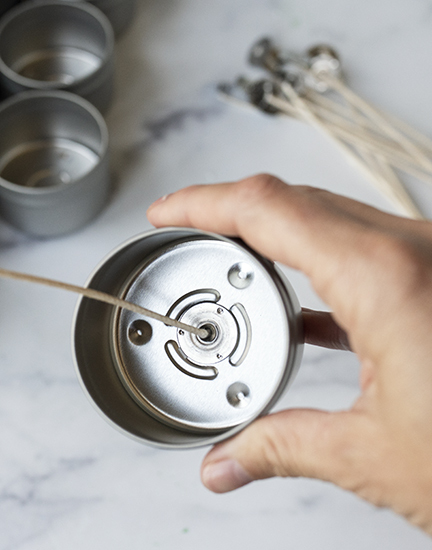
While you're waiting for the soy wax to melt, you can begin to prep your 4 oz. Candle Tins. Wipe out each jar with a small amount of isopropyl alcohol and a clean paper towel. Using a wick sticker, center one CD 8 wick in each jar. You should have 12 prepped candle tins.
Step 3: Weigh and add the fragrance oil
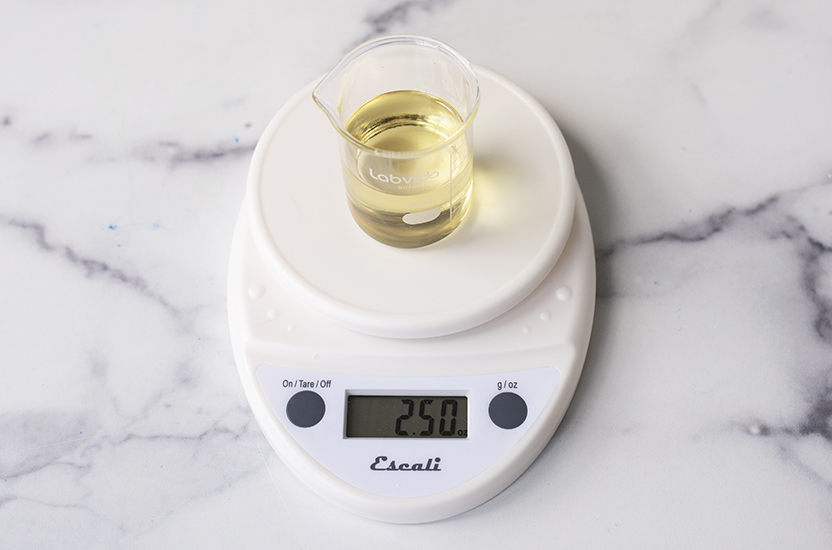
In a glass container, weigh 2.5 oz (71 g) of the Santal and Coconut fragrance oil, which is around a 7% fragrance load. You can adjust up or down to your preference.
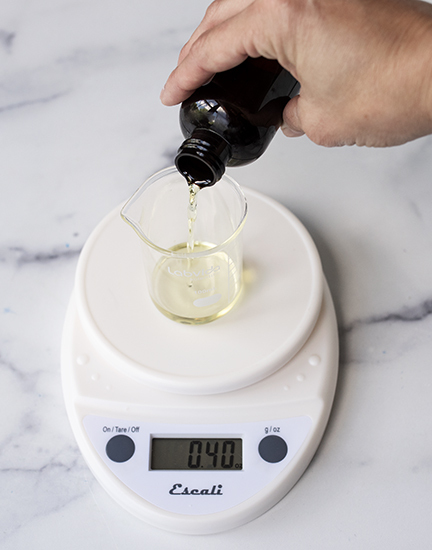
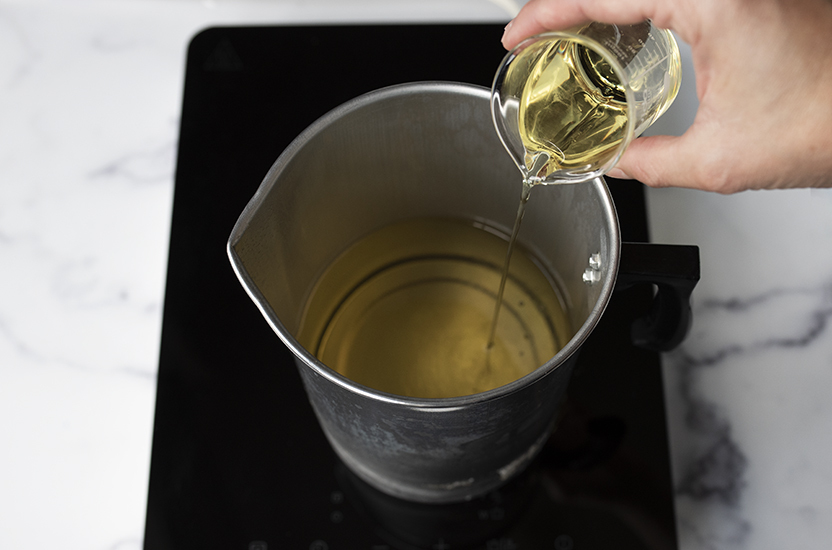
Once your wax has reached 185°F (85°C), add the fragrance oil. Stir gently for 2 minutes to ensure that the oil is fully incorporated with the wax.
Step 4: Pour your candle and secure wick
When the wax cools to 135°F (57.2°C), carefully pour the wax into the tins. Pour your wax up to the embossed ring on the inside of the tin. Secure wick with a wick bar.
You can begin your next batch of candles in the second pouring pitcher while you’re waiting for your wax to cool to 135°F (57.2°C).
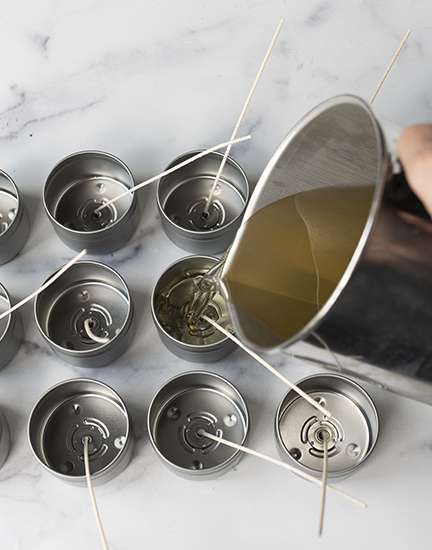
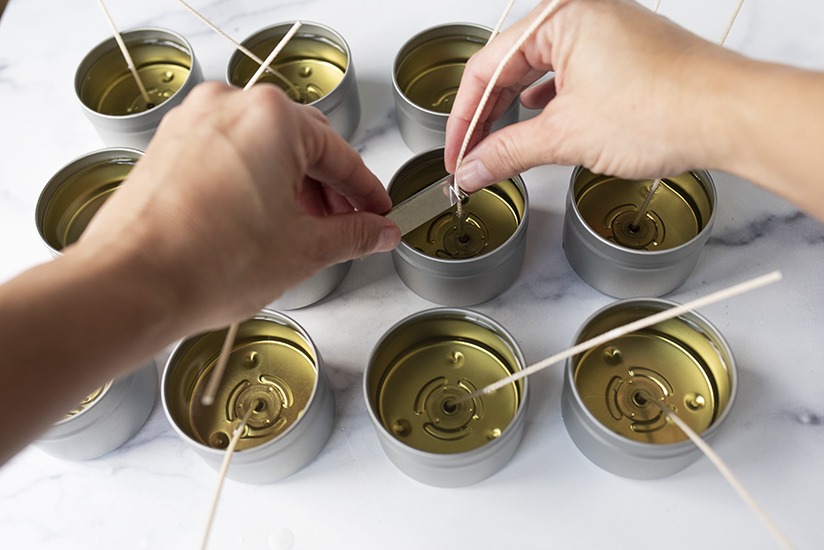
Allow your candles to fully cool.
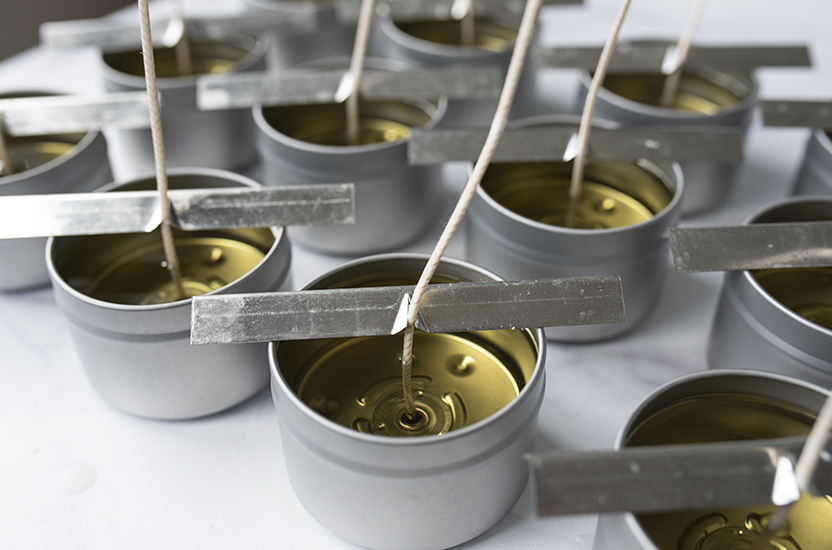
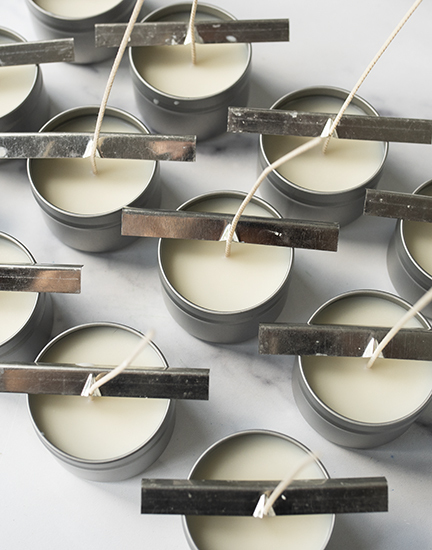
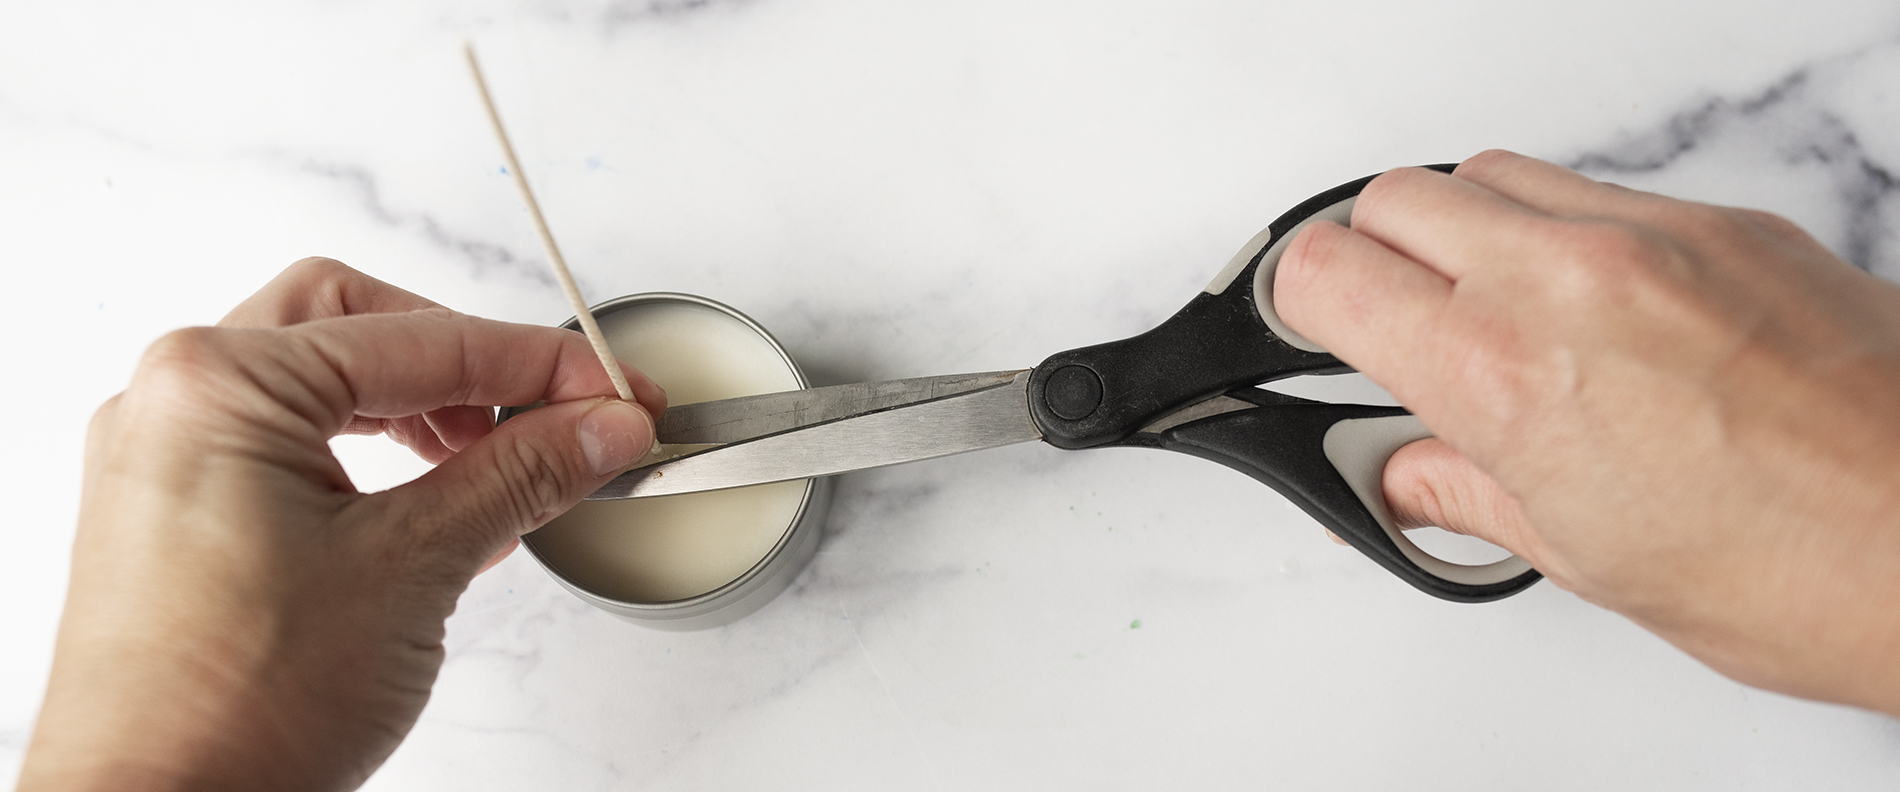
Step 5: Trim the wick
Once your candles have cooled completely, remove the wick bars and trim the wicks to 1/4 in (6 mm).
Pop the lid on your tin candle, place a warning label on the bottom of each tin, and finish with your customized label—your wedding favor is complete!
Note: It's best to allow the candles to cure for at least 1-2 weeks. Store the candles at room temperature (about 72°F or 22.2°C).
Custom labels are a great way to add a personal touch to your wedding day. Incorporate your wedding colors, invitation design, and theme—you can even come up with a creative fragrance name that reflects you and your soon-to-be spouse!
For printing your own custom labels, we recommend Avery WePrint™. All CandleScience customers receive an exclusive discount on any WePrint order.
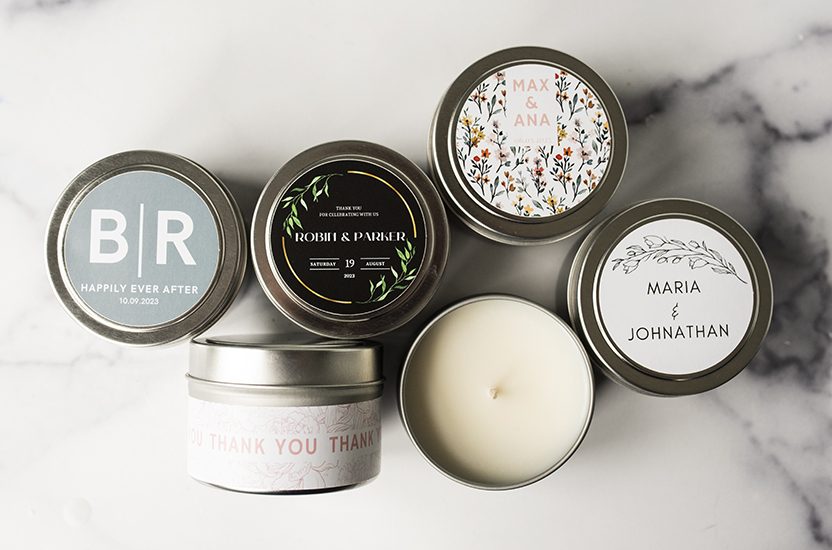
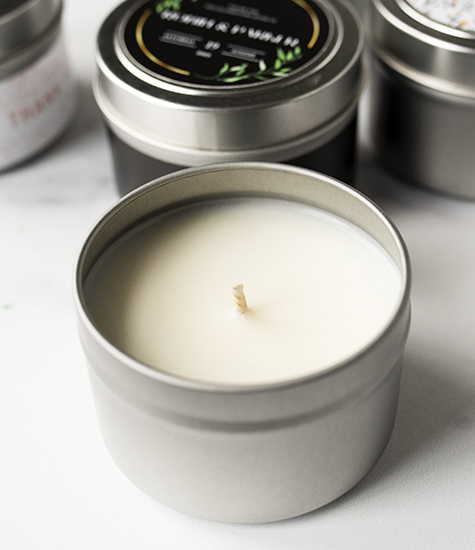
Show off your take on the candle wedding favors and all your handmade creations, with the CandleScience community by tagging us @CandleScience and using the #CandleScientist hashtag on Facebook and Instagram. We may feature you in our Stories or on our website!